Ready to release your toddler's inner artist? You don't need fancy classes or expensive supplies! Set up a fun, messy-friendly space at home with washable paints, crayons, and big sheets of paper. Get creative with nature-inspired projects using leaves and twigs, or repurpose household items like egg cartons for crafty fun. Try finger painting, sponge art, or play dough sculpting for age-appropriate techniques. Organize themed playdates with friends for extra excitement! Display your little one's masterpieces proudly, and don't forget easy cleanup solutions. With these frugal ideas, you'll be hosting amazing DIY art classes in no time. Keep searching for even more artsy adventures!
Creative Highlights
- Set up a dedicated art space with washable surfaces and easily accessible, budget-friendly supplies.
- Choose age-appropriate techniques like finger painting, sponge painting, and play dough sculpting.
- Repurpose household items for crafts, such as egg cartons, pasta shapes, and newspapers.
- Organize themed art projects using seasonal elements or favorite stories to maintain engagement.
- Incorporate nature into art activities by using leaves, flowers, and twigs for eco-friendly and cost-effective crafting.
Setting Up Your Art Space
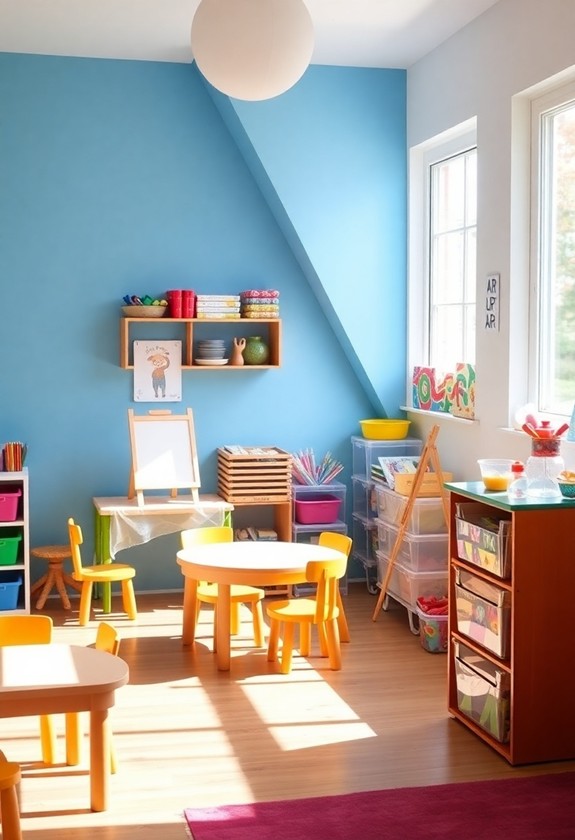
Where should you begin when creating a DIY art space for toddlers? First, pick a spot that's easy to clean – think tile or hardwood floors. You'll want to protect the area with a large, washable tablecloth or plastic sheet. Next, gather your supplies:
- Child-safe paints and brushes
- Washable markers and crayons
- Finger paints
- Large sheets of paper
- Smocks or old t-shirts
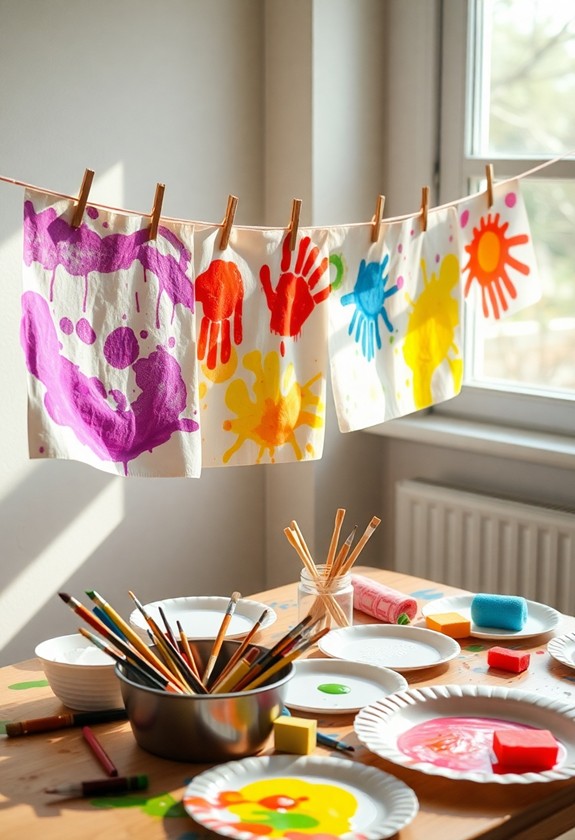
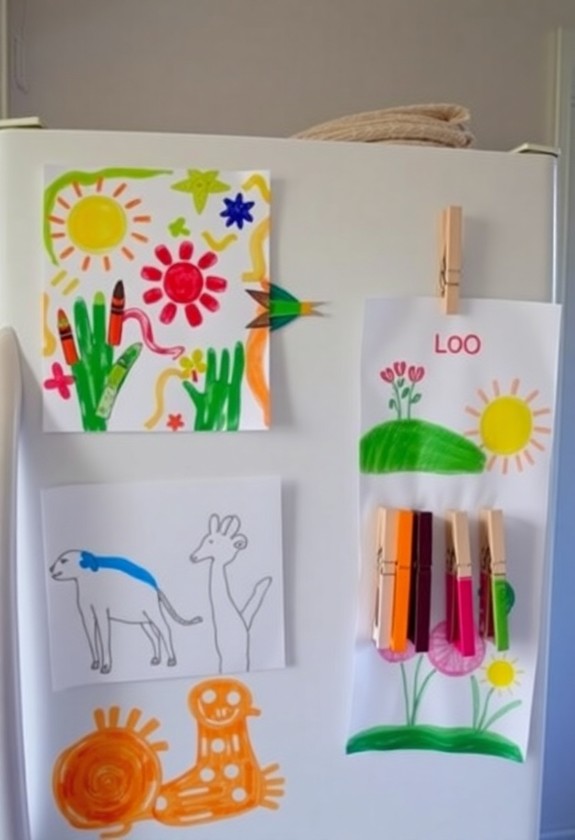
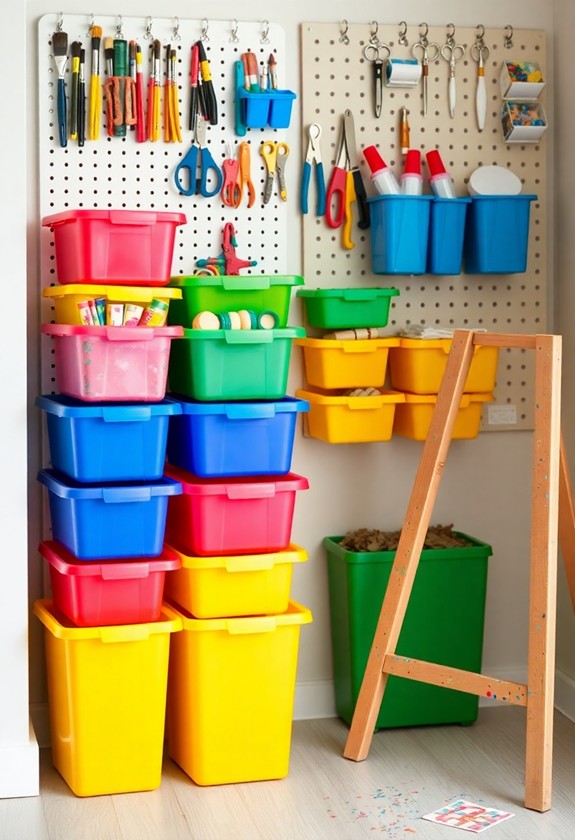
Don't forget to set up a drying area for masterpieces! A clothesline with clothespins works wonders. And remember, storage is key! Use clear, labeled containers to keep everything organized. Ensure supplies are within reach but safe from curious hands when not in use. For added safety and ease of cleanup, consider non-toxic, washable options like jumbo crayons and water-based paints that minimize stains on clothing and furniture.
Voila! You've created a toddler-friendly art zone that's ready for action. Get ready to release your little Picasso's creativity!
Essential Supplies on a Budget
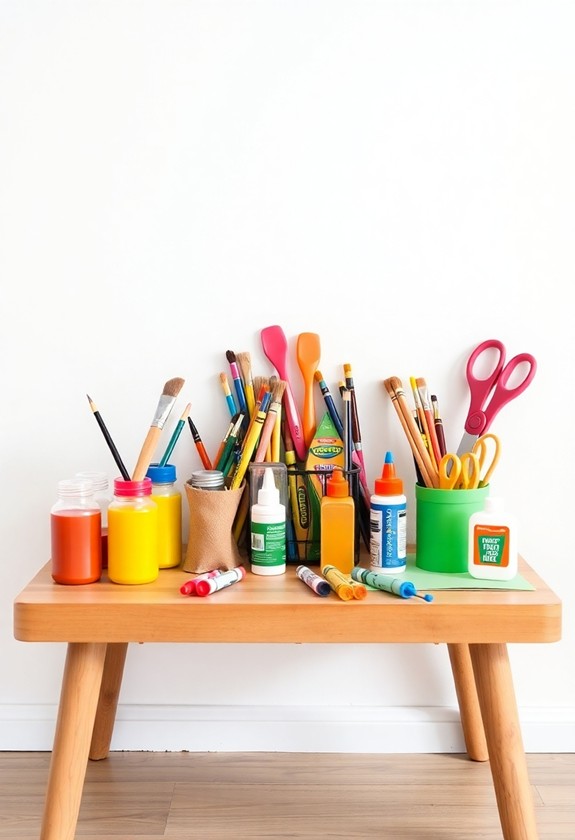
Now that you've set up your art space, let's focus on stocking it without breaking the bank. You'll be amazed at how much fun you can have with just a few basic supplies! When choosing materials, prioritize non-toxic, washable options for safety and easy cleanup. Look for supplies that meet ASTM D-4236 or EN71 safety standards to guarantee they're suitable for young children. Here's what you need:
- Paper: Grab a pack of construction paper and a roll of butcher paper for big projects.
- Crayons and markers: Look for washable ones to make cleanup a breeze!
- Paint: Washable tempera paint is perfect for little hands.
- Brushes: Get a variety of sizes for different effects.
- Glue sticks: These are less messy than liquid glue.
- Safety scissors: Let those little artists snip away!
Don't forget to check dollar stores and clearance bins for great deals. And remember, creativity doesn't need fancy supplies – it just needs imagination! With these fundamentals, you're ready to start a colorful adventure with your tiny Picasso!
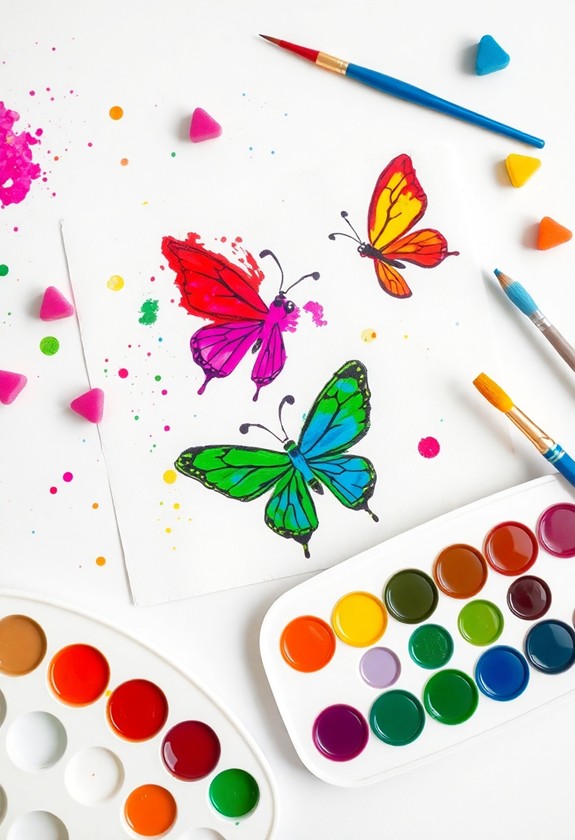
Age-Appropriate Art Techniques
Every toddler is unique, with varying levels of motor skills and artistic interests. That's why it's essential to choose age-appropriate art techniques that'll spark their creativity and keep them engaged. Let's investigate some fantastic, mess-free options that'll have your little Picasso beaming with pride! Paint with Water coloring books are an excellent choice for toddlers, offering integrated tools and unique designs that prevent mess during encouraging creativity.
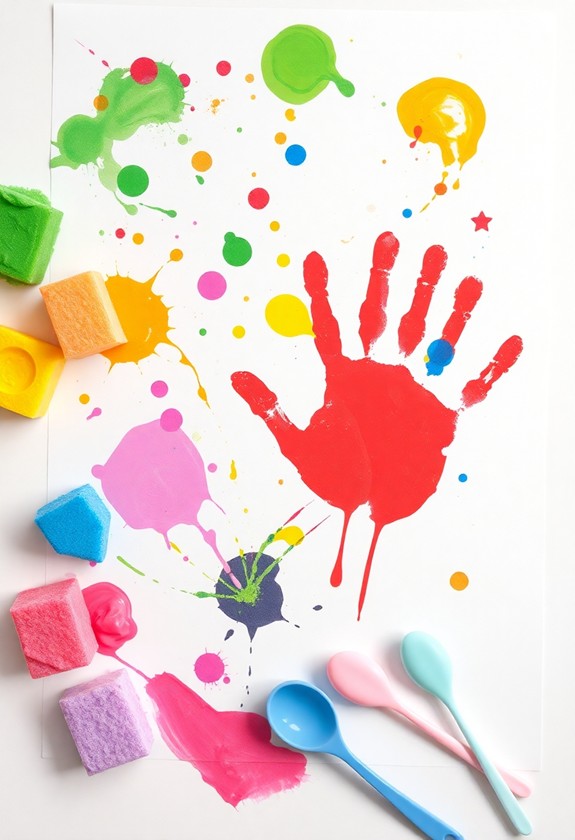
- Finger painting with washable, non-toxic paints
- Coloring with chunky, easy-to-grip crayons
- Sticker art on paper or cardboard
- Play dough sculpting and cookie cutter shapes
- Sponge painting with fun shapes and textures
These techniques are perfect for tiny hands and big imaginations! Start with simple projects and gradually introduce more complex ones as your toddler's skills improve. Remember, it's all about the process, not the finished product. Encourage engagement and praise their efforts. You'll be amazed at how quickly they progress and the joy they'll find in creating their own masterpieces!
Themed Art Projects for Toddlers
Building on these age-appropriate techniques, you can create exciting themed art projects that'll enchant your toddler's imagination. Let's explore some fun ideas:
- Seasons spectacular: Create a tree for each season using different materials!
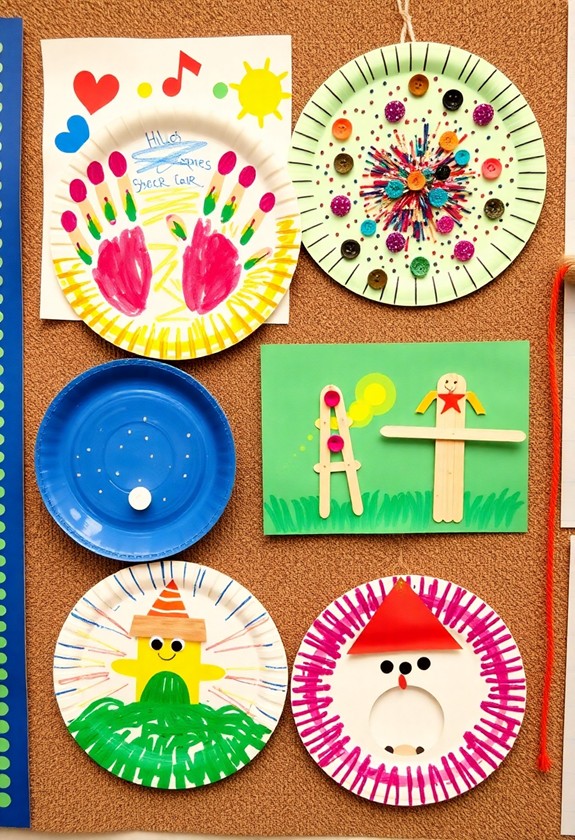
- Animal adventures: Make paper plate masks of your child's favorite critters!
- Under the sea: Paint with bubble wrap to create fish scales and coral textures!
These activities not only nurture creativity but also improve fine motor skills and cognitive development. Regular engagement in such crafts stimulates brain regions associated with problem-solving and spatial reasoning.
But wait, there's more! Try these crowd-pleasers:
- Foodie fun: Use veggie stamps to make a "delicious" masterpiece!
- Space odyssey: Sprinkle salt on watercolor planets for a stellar effect!
- Fairy tale frenzy: Craft magic wands and crowns fit for royalty!
Incorporating Nature Into Art Activities

Incorporating nature into your toddler's art activities can open up a world of sensory experiences and creative possibilities. It's a fantastic way to connect your little one with the environment as you nurture creativity. You'll be amazed at how excited they'll get about making art with natural materials! Nature collages using sticky contact paper offer an engaging way to investigate textures and colors found outdoors. This activity not only boosts creativity but also develops fine motor skills as children carefully place their found objects.
- Leaf printing: Paint leaves and press them onto paper
- Rock painting: Decorate smooth stones with bright colors
- Flower pounding: Smash petals onto fabric for beautiful prints
- Stick sculptures: Create 3D art with twigs and string
- Sand art: Make colorful designs using dyed sand
Get ready for some outdoor fun! Collect materials during nature walks, then let your toddler's imagination run wild. They'll love feeling different textures and discovering new ways to create. Plus, you're teaching them to appreciate nature's beauty. It's a win-win for creativity and environmental awareness!
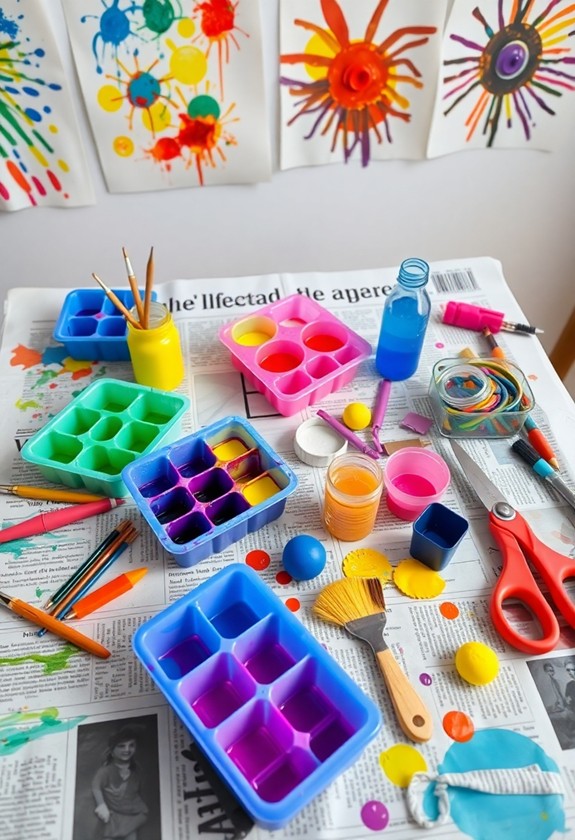
Repurposing Household Items for Crafts

Why spend money on expensive art supplies when your home is full of potential craft materials? Look around – you'll find treasures everywhere! Empty toilet paper rolls become cute animals, old buttons turn into colorful mosaics, and cardboard boxes transform into miniature houses. It's time to get creative!
Here are some easy ideas to try:
- Turn egg cartons into caterpillars or flower pots
- Use pasta shapes for jewelry or picture frames
- Paint with sponges, leaves, or even potato stamps
Don't toss those recyclables! They're a goldmine for toddler art projects. Yogurt cups make great paint holders, and newspaper can be twisted into fun sculptures. Let your imagination run wild! With a little creativity, you'll never run out of art supplies again. Plus, you're teaching your little one about recycling and resourcefulness. It's a win-win!
Organizing Group Art Playdates

Group art playdates offer a fantastic opportunity for toddlers to socialize during examining their creativity. You'll love watching the little ones bond over messy fingers and colorful creations! To organize a successful art playdate, start by inviting a small group of friends with their toddlers. Choose a theme that'll spark imagination, like "Underwater Adventure" or "Jungle Safari." Set up stations with various materials and activities to keep everyone engaged.
Here are some fun ideas to get you started:
- Finger painting with edible, homemade paints
- Play dough sculpting station
- Collage-making with nature items
- Sensory bins filled with colored rice or pasta
- Sidewalk chalk mural creation
Don't forget to prepare easy-to-clean surfaces and have plenty of wipes on hand. And remember, it's all about the process, not the product. Let the kiddos examine and have a blast!
Displaying and Preserving Toddler Artwork
After your toddler's artistic adventures, you'll want to showcase and safeguard their masterpieces. Get ready to turn your home into a mini art gallery! Here are some fun ideas to display your little Picasso's creations:
- Hang a clothesline across a wall and use colorful clothespins to clip up artwork
- Create a "fridge frame" using magnetic strips to easily swap out new pieces
- Dedicate a wall to a rotating gallery, changing it up monthly
To preserve these priceless treasures:
- Take high-quality photos of 3D projects
- Use acid-free paper for long-term storage
- Consider laminating favorite pieces
Don't forget to date each masterpiece! You'll love looking back on your child's artistic path. And remember, it's okay to let go of some artwork – your home isn't the Louvre!
Cleanup Tips and Storage Solutions
Every art session with toddlers inevitably leads to a whirlwind of mess and creativity. But don't worry! Cleanup can be a breeze with these smart tips. First, lay down a plastic tablecloth or newspapers before you start. When it's time to tidy up, simply roll it all up and toss it out. Genius!
For storage, try these fun and practical solutions:
- Use a clothesline to hang artwork with clothespins
- Create an "art gallery" with a magnetic wall
- Store supplies in clear, labeled containers
- Repurpose shoe organizers for paint bottles
- Use rolling carts for easy mobility
Curious Little Questions
How Can I Encourage My Toddler Who Shows No Interest in Art Activities?
Don't worry! You can spark your toddler's interest in art with some fun tricks! Try these exciting ideas:
- Mix it up! Offer different materials like finger paints, crayons, or play dough.
- Get messy! Let them investigate textures with shaving cream or pudding painting.
- Make it a game! Turn art into a treasure hunt or "Simon Says" activity.
- Join in! Your enthusiasm is contagious, so create alongside them.
- Celebrate their efforts! Display their masterpieces proudly.
What Are the Best Ways to Handle a Toddler's Frustration During Art Projects?
Patience and play, that's the way! When your little artist gets frustrated, take a deep breath and stay calm. Encourage, don't push! Try these fun tricks:
- Take a quick break for a silly jig or song
- Switch to a different art medium – maybe finger paints instead of crayons
- Break the project into smaller, manageable steps
- Praise their effort, not just the result
Are There Any Art Supplies I Should Avoid Due to Potential Allergies?
In terms of toddler art supplies, it's always better to be safe than sorry. Here are some common allergens to watch out for:
- Wheat paste (gluten alert!)
- Egg-based paints
- Latex in some modeling clays
- Nut-based products
But don't worry! There are tons of safe alternatives. Try washable, non-toxic paints and crayons. And remember, always check labels. If you're unsure, ask your pediatrician. Safety first, but fun's a close second in your little Picasso's art adventures!
How Can I Involve Siblings of Different Ages in Toddler Art Classes?
Imagine a colorful art party where everyone's invited! Involving siblings of different ages in toddler art classes is like conducting an orchestra – you're the maestro, and each child plays a unique instrument. Here's how to make it work:
- Assign age-appropriate tasks: Let older kids help with setup or demonstrate techniques
- Create stations: Set up different activities for various skill levels
- Encourage collaboration: Have siblings work together on a big project
- Rotate roles: Let each child take turns being the "teacher's helper"
It's a win-win: everyone learns, creates, and has fun together!
What Are Some Strategies for Teaching Color Mixing to Young Toddlers?
Color mixing is a blast for little ones! Here are some fun strategies to try:
- Start with primary colors – red, blue, and yellow!
- Use finger paints or pudding for hands-on mixing
- Make it a game: "Let's make purple magic!"
- Try color-mixing bottles filled with water and food coloring
- investigate with colored playdough or ice cubes