Looking for cheap, clean art ideas for your toddler? You're in luck! Try washable window painting for mess-free creativity. Build recyclable sculptures from empty boxes. Get messy (but safe!) with edible finger painting using yogurt. Turn bath time into art time with foam painting. Create a colorful sensory bin with dyed rice. Make sticky collages on contact paper. Investigate marbling with shaving cream and food coloring. Whip up homemade playdough for endless sculpting fun. Design mosaics with stickers on paper. And don't forget good old chalk drawing on cardboard! These activities will keep your little one engaged and your home tidy. But wait, there's even more artistic inspiration coming your way!
Creative Highlights
- Washable window painting with tempera paints provides mess-free art exploration and easy cleanup.
- Edible finger painting using yogurt and cornstarch offers safe, tasty creativity for toddlers.
- Colored rice sensory play encourages texture exploration and fine motor skill development.
- Contact paper collages allow for sticky, mess-free art creation using various materials.
- Chalk drawing on cardboard utilizes recycled materials for simple, easy-to-clean artistic expression.
Washable Window Painting

Your toddler's artistic expression can take flight with washable window painting. It's a mess-free way to let their creativity shine! Here's what you'll need:
- Washable tempera paints
- Small paintbrushes
- A spray bottle with water
- Paper towels
Start by mixing the paints with a bit of water to create a thin consistency. Then, let your little Picasso go wild on the windows! Washable finger paints can likewise be a fun alternative, promoting sensory exploration and fine motor skill development. Don't worry about the mess – it's all washable. Watch as they create colorful masterpieces right before your eyes.
When it's time to clean up, simply spray the window with water and wipe away the art. It's like magic! This activity is perfect for rainy days or when you need a quick, engaging project. Plus, it's a great way to practice colors and shapes. Get ready for some window-erful fun!
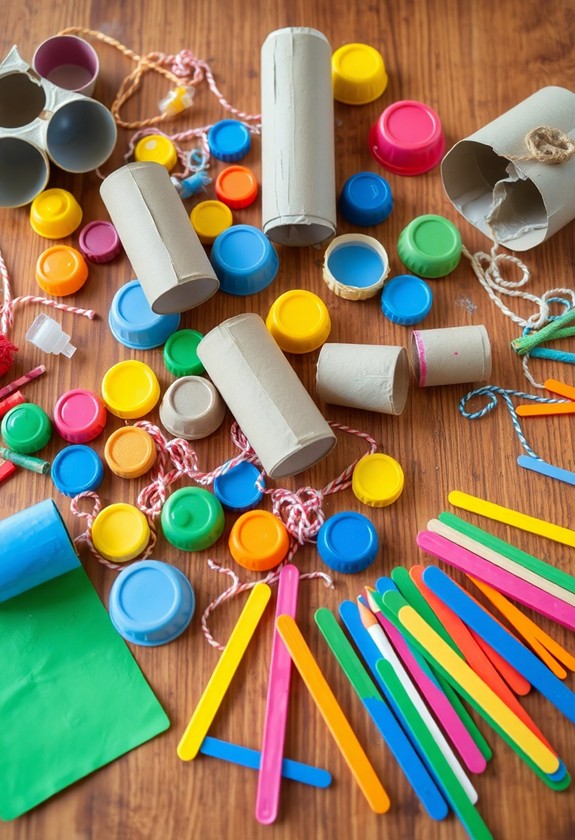
Recyclable Sculpture Building

From painting windows to crafting three-dimensional art, toddlers can explore their creativity in countless ways. Now, let's plunge into the world of recyclable sculpture building! It's a fantastic way to teach your little ones about sustainability as they have a blast. This activity aligns perfectly with environmental considerations in crafts, promoting the use of biodegradable materials and recycled products.
Here's what you'll need:
- Clean, empty cardboard boxes
- Plastic bottles and containers
- Tape or child-safe glue
Get ready for some eco-friendly fun! Encourage your toddler to stack, arrange, and connect these materials in any way they like. They'll love creating towering skyscrapers, quirky robots, or even imaginary animals. As they build, chat about shapes, colors, and textures. Don't forget to praise their efforts – every sculpture is a masterpiece! This activity isn't just entertaining; it's furthermore great for developing fine motor skills and spatial awareness. Plus, you're giving new life to items that might've ended up in the trash. How's that for a win-win situation?
Edible Finger Painting

As recyclable sculpture building offers a tactile experience, edible finger painting takes sensory exploration to a whole new level. It's time to get messy and tasty! You'll love watching your toddler create colorful masterpieces they can actually eat. Non-toxic ingredients guarantee safe use for young children, making this activity perfect for worry-free creativity. Here's how to make edible finger paints:
- Mix equal parts yogurt and cornstarch
- Add a few drops of food coloring
- Stir until smooth
Voilà! You've got safe, edible paint. Spread out some wax paper on the table, and let your little Picasso go wild! They'll squish, smear, and maybe even snack on their creations. But wait, there's more! Try these fun variations:
- Use pudding for a sweeter paint
- Add fruit puree for natural colors
- Mix in spices for scented art
Clean-up's a breeze – just lick the fingers clean!
Bathtub Foam Art

After finger painting, it's time to take the artistic fun to the tub! Bathtub foam art is a fantastic way to combine playtime with creativity. You'll love how easy and mess-free this activity is! Here's what you need to do:
- Mix shaving cream with a few drops of food coloring
- Let your toddler spread the colorful foam on the tub walls
- Watch as they create swirls, shapes, and patterns
This activity is perfect for developing fine motor skills and hand-eye coordination in young children. It's like painting, but with foam! Your little one will have a blast discovering different colors and textures. And the best part? Clean-up is a breeze – just rinse it all away! You can even join in on the fun, making it a bonding experience. So, next bathtime, turn your tub into a canvas and let your toddler's imagination run wild!
Colored Rice Sensory Play

Colored rice sensory play offers a multitude of creative possibilities for toddlers. It's easy, cheap, and oh-so-fun! Here's how to get started:
- Mix uncooked rice with food coloring in zip-lock bags
- Shake, shake, shake until the rice is lively and colorful
- Spread it out to dry overnight
Once it's ready, let your little one's imagination run wild! Pour the rice into a large bin or tray, and watch as they investigate textures, colors, and shapes. Add scoops, funnels, and small toys for extra excitement. Your toddler can create "rice rainbows," build mini mountains, or practice pouring skills. This activity not only encourages creativity and problem-solving, but also improves fine motor skills through hands-on investigation.
But wait, there's more! Use the colored rice for art projects too. Glue it onto paper to make dazzling pictures or fill clear bottles for homemade maracas. It's a "rice" way to keep your toddler entertained for hours!
Chalk Drawing on Cardboard

Want another cheap and creative art option for your toddler? Search no further than chalk drawing on cardboard! This fun activity is perfect for little artists and doesn't cost a fortune. Plus, it's easy to clean up!
Here's what you'll need:
- Large pieces of cardboard (recycled boxes work great!)
- Colorful chalk (the chunkier, the better for little hands)
- A sunny day or well-lit area
Start by laying out your cardboard canvas on a flat surface. Let your toddler's imagination run wild! They can draw shapes, scribble, or even try their hand at stick figures. The best part? If they make a mistake, just flip the cardboard over for a fresh start! Encourage them to experiment with blending colors and creating different textures. When they're done, simply shake off the excess chalk and store the masterpiece for later admiration!
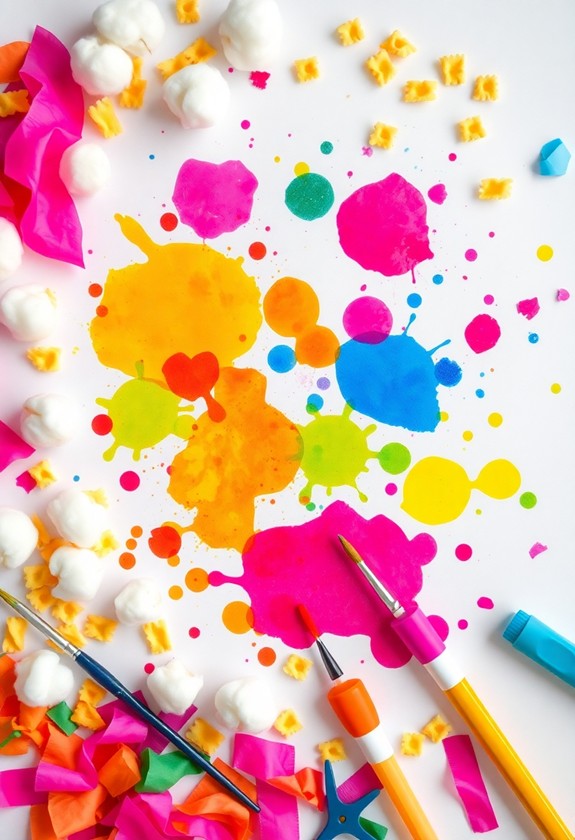
Contact Paper Collages

Looking for a sticky situation your toddler will love? Contact paper collages are the answer! This mess-free art project is a blast for little hands. Here's how to do it:
- Peel off the backing of a sheet of contact paper
- Tape it to a table or wall, sticky side out
- Gather colorful materials like tissue paper, feathers, and pom-poms
- Let your toddler stick them onto the contact paper
Watch as your child creates a masterpiece! They'll love the tactile experience and instant gratification. Plus, it's super easy to clean up. When they're done, simply peel off the contact paper and hang their artwork proudly.
Pro tip: Cut the contact paper into shapes like hearts or stars for extra fun. Your little artist will be sticking with this activity for hours!
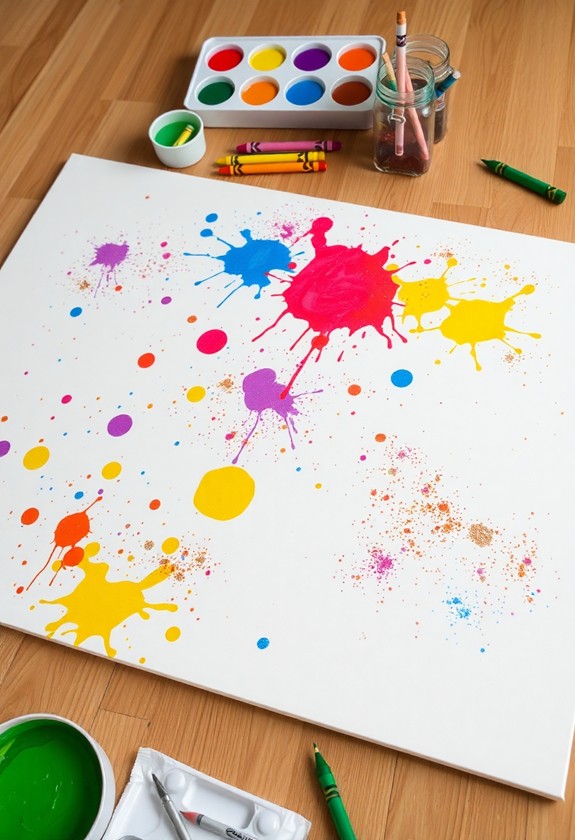
Shaving Cream Marbling

From sticky to foamy, let's explore another exciting art technique for toddlers. Shaving cream marbling is a messy but oh-so-fun way to create swirly, colorful masterpieces! It's simple, inexpensive, and guaranteed to bring giggles.
Here's what you'll need:
- Shaving cream (the foamier, the better!)
- Food coloring or liquid watercolors
- A shallow tray and paper
Squirt a layer of shaving cream onto the tray and smooth it out. Add drops of color and swirl with a toothpick. Now for the magic! Press a sheet of paper onto the surface, then lift it off. Scrape away the excess foam, and voilà! You've got a marbled masterpiece.
This activity is a sensory delight that'll have your little one squealing with joy. Plus, clean-up's a breeze – just rinse the tray!
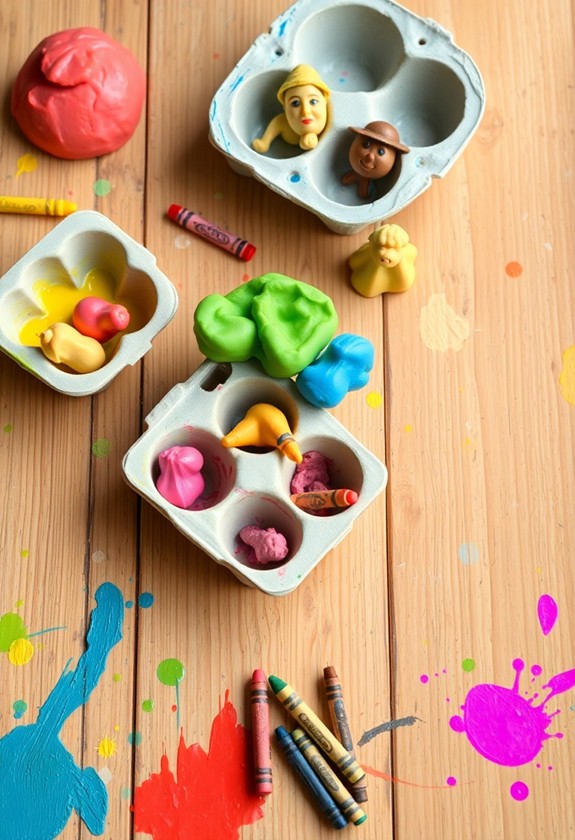
Toddler-Safe Playdough Creations

Who doesn't love squishing, rolling, and molding colorful dough? Playdough is a toddler's dream come true, and you can easily whip up a batch at home! Here's how:
- Mix 2 cups flour, 1 cup salt, and 2 tbsp cream of tartar in a bowl.
- Add 2 tbsp oil and 1.5 cups boiling water. Stir until it forms a dough.
- Knead the dough until smooth. Add food coloring for fun hues!
Now for the fun part! Let your little one go wild with their dough-lightful creation. They can:
- Make silly faces
- Roll out "snakes"
- Cut shapes with cookie cutters
- Build a mini zoo
The possibilities are endless! And the best part? This playdough is safe if accidentally tasted. So let your toddler's imagination run wild – it's time to get dough-mestic!
Sticker Mosaic Pictures

While playdough offers tactile fun, sticker mosaics bring a new dimension to toddler art. It's a simple, mess-free activity that'll keep your little one entertained for hours! All you need are colorful stickers and paper. Let your toddler's imagination run wild as they create lively masterpieces!
Here's how to get started:
- Choose a theme (animals, shapes, or letters)
- Draw a simple outline on paper
- Help your child fill it in with stickers
Sticker mosaics aren't just fun – they're educational too! They help develop fine motor skills, color recognition, and pattern-making abilities. Plus, you can easily display these sticky creations on your fridge or walls. It's a win-win situation: your toddler gets to express their creativity, and you get adorable, clean artwork to treasure!
Curious Little Questions
How Can I Encourage My Toddler to Participate in Art Activities?
Did you know that 90% of a child's brain develops by age 5? That's why encouraging your toddler's creativity is essential! To get them excited about art, try these fun ideas:
- Make it a game! Hide colorful supplies and go on an "art treasure hunt"
- Let them get messy! Finger painting is a blast
- Be their biggest fan! Proudly display their masterpieces
- Join in the fun! Create together and watch their eyes light up
What Safety Precautions Should I Take During Toddler Art Sessions?
Safety first, art lovers! When your little Picasso's ready to create, you've got to be on your toes! Here are some must-do precautions:
- Always supervise – no solo painting parties!
- Use non-toxic, washable materials – bye-bye, harmful chemicals!
- Avoid small items that could be swallowed – choking's not cool!
- Cover surfaces and dress for mess – it's gonna get wild!
- Keep water containers shallow – no accidental swimming lessons!
- Have a first-aid kit nearby – just in case!
How Do I Store and Preserve My Toddler's Artwork?
Your little Picasso's masterpieces are flooding your home? Don't let them gather dust! Here's how to preserve those precious creations:
- Snap photos: Capture digital memories!
- Create a gallery wall: Show off their best work!
- Make a scrapbook: A fun family project!
- Use storage tubes: Keep larger pieces safe and sound!
- Frame special pieces: Turn art into decor!
Are There Any Art Supplies I Should Avoid for Toddlers?
You're right to be cautious! In relation to toddler art supplies, it's best to avoid:
- Anything toxic or non-washable
- Small items that could be choking hazards
- Sharp tools or scissors
- Glitter (it gets everywhere!)
- Oil-based paints or markers
Instead, opt for:
- Chunky, washable crayons
- Finger paints
- Play dough
- Large, washable markers
- Child-safe scissors (for older toddlers)
How Can I Incorporate Learning Into Toddler Art Projects?
Learning through art is like planting seeds of knowledge in a colorful garden! You can easily incorporate learning into toddler art projects. Try these fun ideas:
- Paint with numbers to teach counting
- Use shapes to create animals and objects
- Spell names with alphabet pasta
- Mix colors to learn about primary and secondary hues
- Create texture collages with different materials