Get ready for a winter wonderland of creativity with these 10 frosty art adventures! Your little ones will love making icy handprint snowflakes, snowy cotton ball paintings, and frozen bubble art. They'll giggle as they create melting crayon snowmen and glittery salt crystal designs. Frosty window clings and colorful ice cube sculptures will transform your home into a winter paradise. Don't forget shaving cream snow terrains and snowflake salt paintings for extra tactile fun! These projects are perfect for chilly days indoors, keeping tiny hands busy and imaginations soaring. Grab your supplies and prepare for a flurry of artistic excitement – there's snow much more to discover!
Creative Highlights
- Icy Handprint Snowflakes transform little hands into unique winter art, fostering creativity and fine motor skills.
- Snowy Cotton Ball Paintings offer a mess-free, tactile experience for toddlers to create textured winter scenes.
- Frozen Bubble Art combines science and art, allowing children to observe and capture magical ice crystals.
- Melting Crayon Snowmen encourage artistic expression through colorful, drippy designs using simple materials.
- Colorful Ice Cube Sculptures provide a hands-on, sensory experience in building and observing color transformations.
Icy Handprint Snowflakes
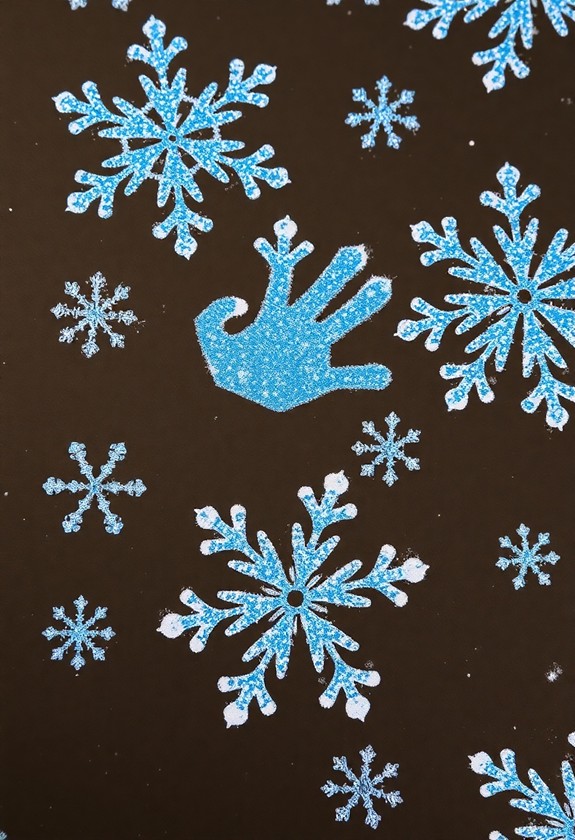
Transform your child's handprints into dazzling icy snowflakes with this fun and frosty winter craft. It's a cool way to capture those little hands in a sparkly, seasonal keepsake! This activity not only improves fine motor skills but likewise stimulates brain regions associated with creativity and spatial awareness. Regular engagement in such crafts can cultivate neural connections essential for cognitive development.
Here's what you'll need:
- White paper
- Blue paint
- Glitter
- Paintbrush
Ready to get frosty? Follow these simple steps:
- Paint your child's hand with blue paint.
- Press it onto white paper – voila, a handprint!
- Repeat to create a snowflake shape.
- Sprinkle glitter as the paint's wet.
- Let it dry and admire your icy creation!
Watch as your little one's eyes light up with wonder at their sparkling snowflake! This chilly masterpiece is perfect for decorating windows or creating a winter wonderland on your walls. Brr-illiant!
Snowy Cotton Ball Paintings
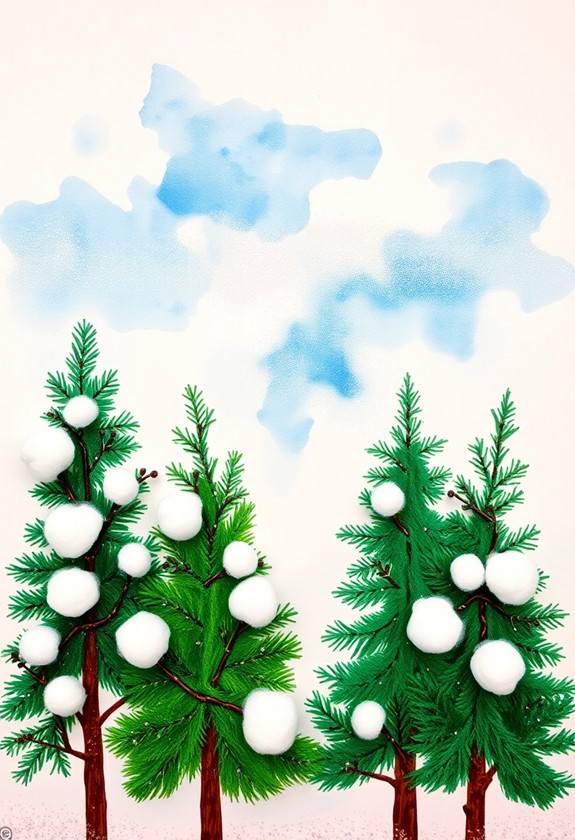
Three simple materials come together to create a tactile winter wonderland in this Snowy Cotton Ball Painting activity. You'll love how easy and fun it is to make these frosty masterpieces! Grab some blue construction paper, white paint, and fluffy cotton balls. Let's get started on your snowy scene! This mess-free art project is perfect for toddlers, minimizing cleanup during encouraging creativity and fine motor skill development.
Here's how to create your cotton ball masterpiece:
- Dip a cotton ball in white paint
- Dab it onto the blue paper to make snow
- Add more cotton ball prints for snowdrifts
- Use your fingers to create icy patterns
Watch as your winter setting comes to life! The cotton balls create a unique texture that looks just like real snow. You can even add glitter for extra sparkle! This activity is perfect for chilly days when you're stuck inside. Get ready to release your inner snow artist!
Frozen Bubble Art
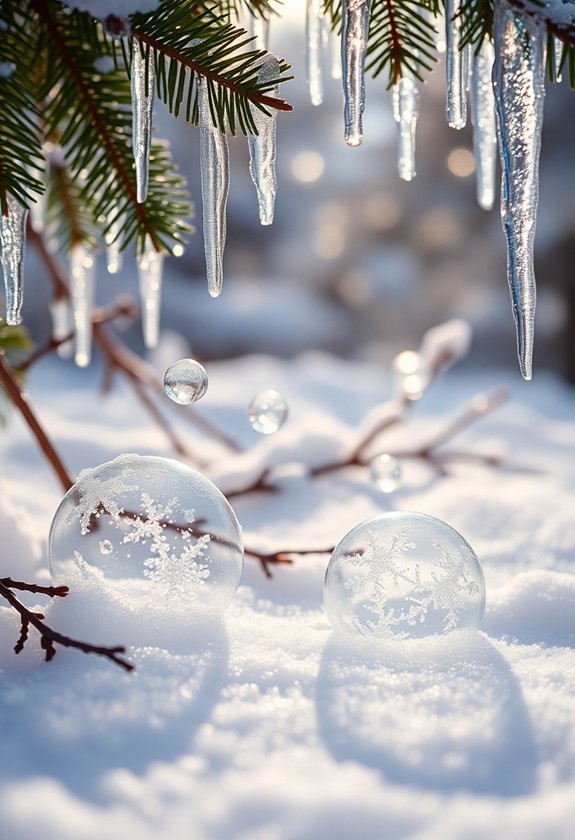
A magical winter experiment awaits with Frozen Bubble Art. You'll be amazed as you watch bubbles transform into icy orbs right before your eyes! Here's what you'll need:
- Bubble solution
- Bubble wands
- A freezing cold day (below 32°F)
Ready to create? Bundle up and head outside! Dip your wand in the solution and blow gently. Watch as your bubbles float through the air and land softly on the snow. But wait, there's more! These aren't ordinary bubbles – they're about to become frosty masterpieces!
As the temperature works its wintry magic, you'll see delicate ice crystals form on the bubble's surface. It's like nature's own snow globe! Snap some photos quickly, since these frozen wonders won't last long. They'll pop and disappear, leaving behind a sprinkle of icy dust. Brr-illiant fun!
Melting Crayon Snowmen
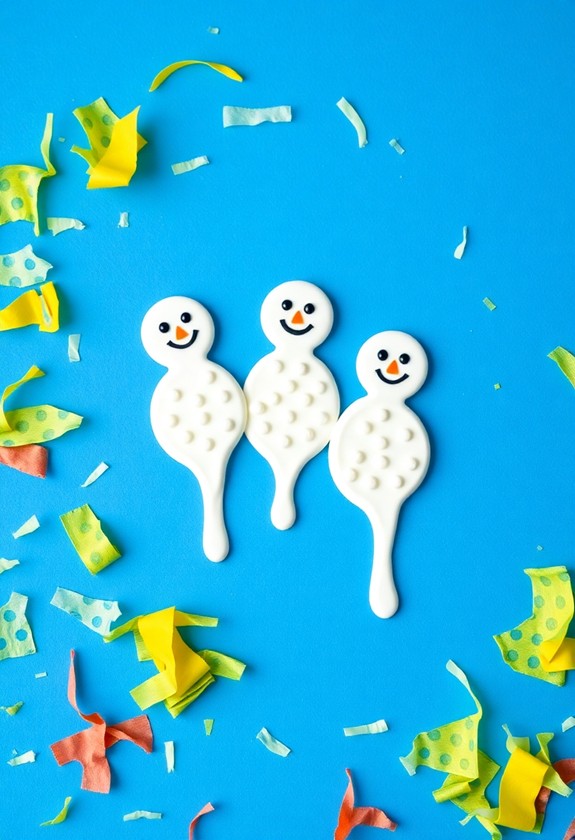
Inside on a chilly day, you can create playful Melting Crayon Snowmen. This fun and easy project will have you grinning from ear to ear! Grab your white paper, crayons, and a hairdryer, and let's get started. Using non-toxic art supplies is vital for your little one's safety, so choose crayons carefully. Here's how to make your very own melting snowman:
- Draw a simple snowman shape on your paper using a white crayon.
- Color the snowman's features with different crayons. Don't forget the carrot nose!
- Hold the hairdryer close to your snowman and watch the magic happen!
- As the crayons melt, tilt your paper to create drippy, melty effects.
It's snow much fun to see your creation come to life! You'll love how each snowman turns out unique and colorful. Get ready for a flurry of artistic excitement!
Glittery Salt Crystal Designs
Creating glittery salt crystal designs offers a magical way to explore the wonders of science and art together. You'll love watching crystals form before your eyes! This activity promotes fine motor skills and color recognition, making it perfect for toddlers and young children. Here's how to make your own sparkly masterpiece:
- Mix warm water and salt in a jar until no more salt dissolves.
- Add food coloring and glitter for extra pizzazz!
- Dip a piece of black construction paper into the solution.
- Let it dry overnight on a flat surface.
Voila! As the water evaporates, salt crystals will grow, creating a frosty, glittering design. It's like your own miniature ice palace! Experiment with different colors and patterns. Why not try making snowflakes or winter scenes? The possibilities are endless, and each creation is unique. This cool (pun intended!) activity combines chemistry and creativity for a truly magical winter art experience.
Puffy Paint Snow Scenes
Imagine bringing fluffy, 3D snowscapes to life right on your kitchen table! Puffy paint snow scenes are a magical winter craft that'll make you feel like you're playing in real snow. It's easy and fun! Here's how to create your own winter wonderland:
- Mix equal parts white glue and shaving cream
- Add a dash of white paint for extra brightness
- Spread the mixture on blue cardstock to create snowy hills and trees
- Sprinkle on some glitter for sparkly snow
Your puffy paint will dry light and fluffy, just like real snow! But wait, there's more! Why not add tiny cotton ball snowmen or cut-out paper skiers? You can even use q-tips to create icicles hanging from trees. Let your imagination run wild and watch your frosty masterpiece come to life!
Frosty Window Cling Creations
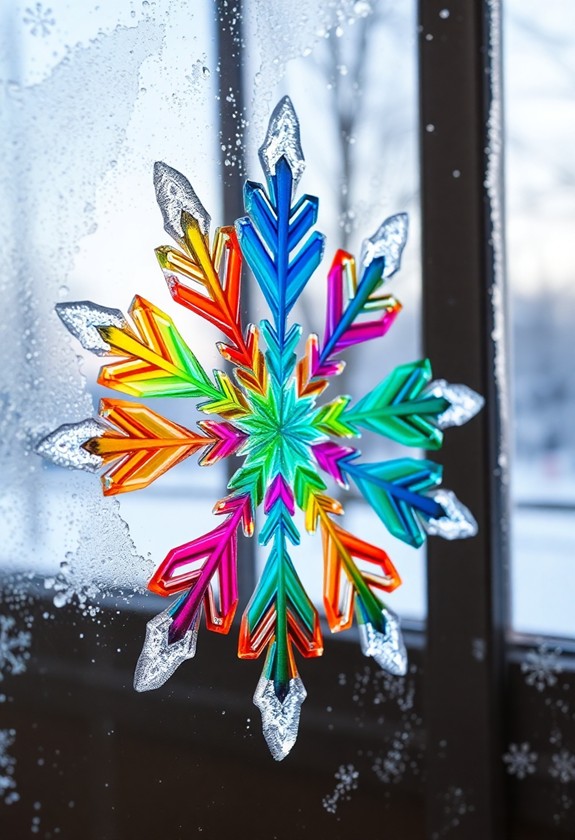
As puffy paint brings snowy scenes to your table, frosty window cling creations let you decorate your actual windows with winter wonder. It's like magic! Here's how to make your own frosty masterpieces:
- Mix equal parts white glue and dish soap
- Add a dash of water and stir well
- Pour the mixture into squeeze bottles
- Get creative! Draw snowflakes, icicles, or frosty swirls on wax paper
- Let your designs dry completely (about 24 hours)
- Peel off carefully and stick to windows!
These translucent beauties catch the light and transform your home into a winter wonderland. And the best part? They're easy to remove when spring arrives. So, gather your supplies and let your imagination run wild! You'll be "window shopping" for your own art in no time!
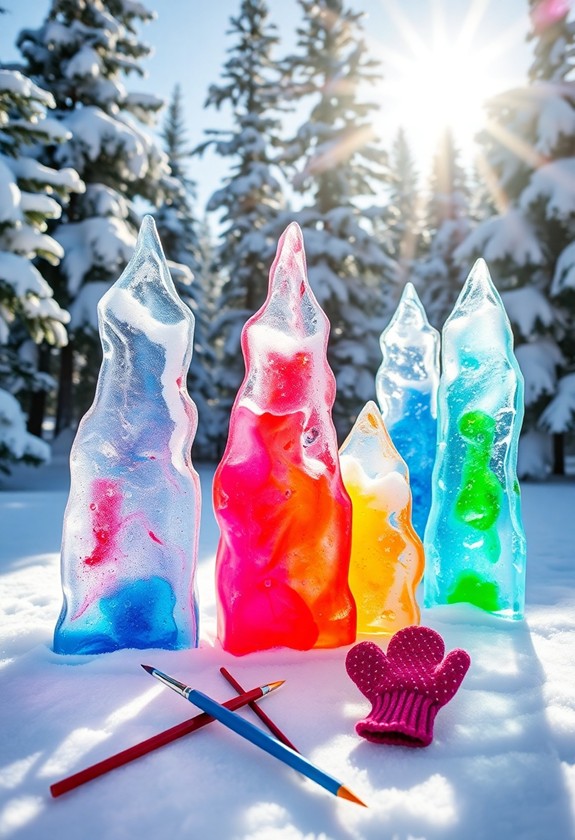
Colorful Ice Cube Sculptures
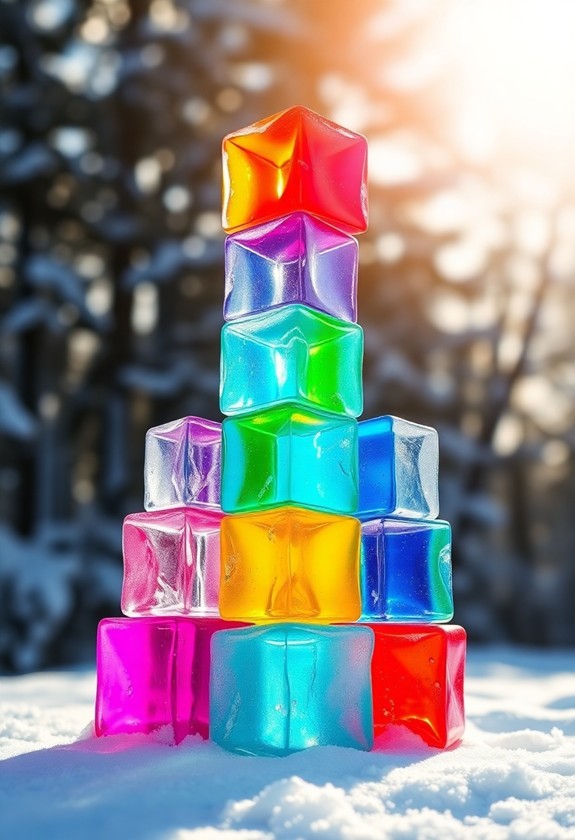
The winter cold offers a unique opportunity for children to sculpt with ice. It's time to transform ordinary water into dazzling, colorful creations! You'll need food coloring, water, and ice cube trays or small containers. This activity not only encourages creativity but additionally enhances fine motor skills as children handle the icy blocks. Let's get started on this frosty adventure!
- Mix water with different food colors in separate containers
- Pour the colorful water into ice cube trays or molds
- Freeze overnight for icy building blocks
- Stack and arrange the cubes to create amazing sculptures!
Once you've got your icy blocks, the fun really begins! Build towering castles, cool creatures, or abstract masterpieces. As the ice melts, watch the colors blend and create new hues. It's like magic! And don't worry about the mess – it's just water! This chilly activity is perfect for those days when it's too cold to play outside.
Shaving Cream Snow Landscapes
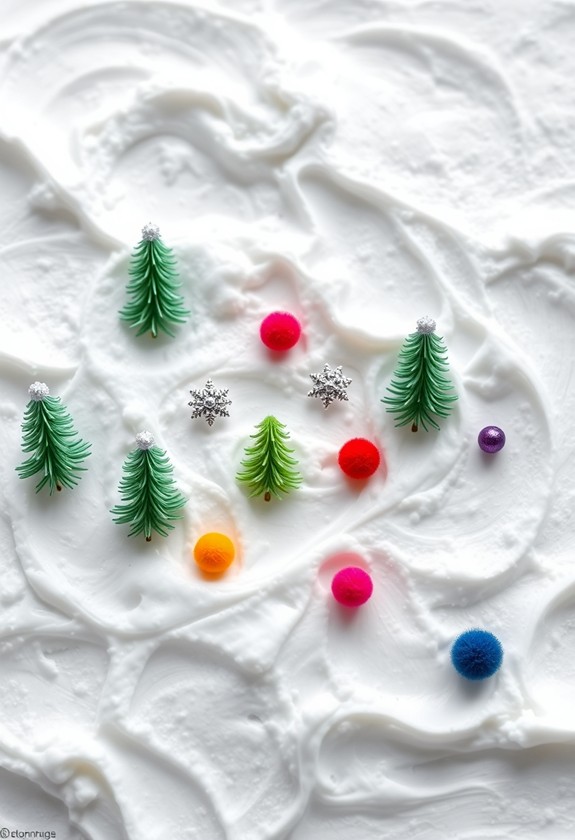
Though ice sculptures bring the winter chill indoors, you can also create snowy scenes without the cold! Grab some shaving cream and get ready for a frosty adventure! Here's how to make your own shaving cream snow scenery:
- Spread white shaving cream on a tray or paper
- Use your fingers to sculpt snowy hills and valleys
- Add miniature trees, houses, or figurines
- Sprinkle glitter for a sparkly effect
But wait, there's more! Why not add some color to your winter wonderland? Mix food coloring into small portions of shaving cream to create:
- Blue icy lakes
- Green evergreen trees
- Pink sunset skies
Let your imagination run wild! You can even use cotton swabs to draw designs in your fluffy "snow." When you're done, snap a picture of your masterpiece before it melts away!
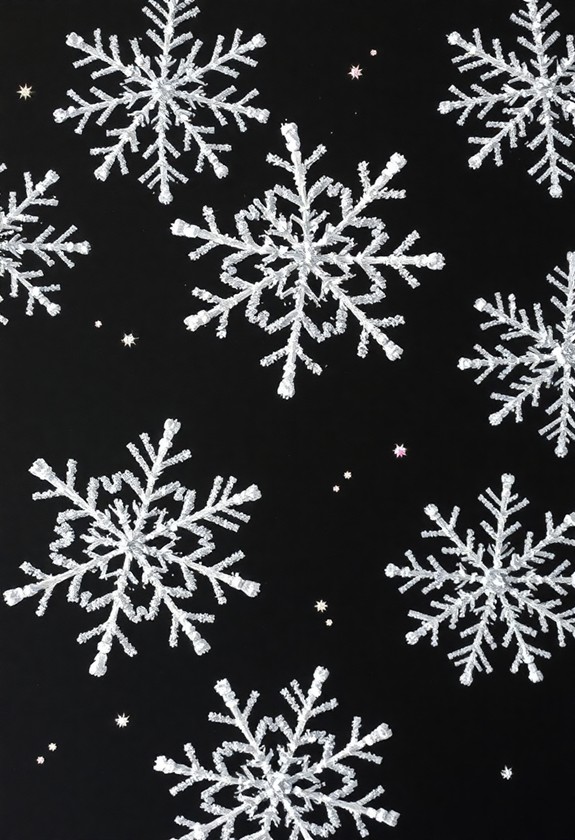
Snowflake Salt Painting

Snowflakes, delicate and unique, can be challenging to capture in art. But with salt painting, you'll create magical winter scenes in no time! This fun technique is perfect for little artists. Here's how to make your own sparkly snowflake masterpiece:
- Draw snowflakes on paper with white glue
- Sprinkle salt over the wet glue
- Tap off excess salt
- Use watercolors to paint the salt
Watch in amazement as the colors spread and blend! The salt creates a frosty texture that's just like real snow. You can add glitter for extra sparkle or try different color combinations. It's a flurry of fun! This activity is great for developing fine motor skills and investigating color theory. Plus, it's a cool way to learn about the science of salt absorption. So, grab your supplies and let it snow, let it snow, let it snow… on your paper!
Curious Little Questions
What Age Group Are These Winter Art Activities Suitable For?
You won't believe this, but these winter art activities are perfect for practically every kid on the planet! They're designed for little hands, so they're absolutely fantastic for preschoolers and elementary school children. But here's the kicker – even older kids and adults can join in on the frosty fun! Whether you're 3 or 103, you'll have a blast creating winter wonderlands with these cool crafts. So grab your mittens and let's make some magic!
How Can I Safely Store and Preserve These Winter Art Creations?
You've got some winter wonders to preserve? Awesome! Here's how to keep those frosty creations safe:
- Snap a photo first – it'll last forever!
- For paper crafts, use clear spray sealant or laminate them.
- 3D projects? Display in a clear plastic box or dome.
- Keep everything cool and dry – dampness is the enemy!
- Label each piece with the date and artist's name.
- Create a special "Winter Art Gallery" in your home.
Don't forget to show off your masterpieces to family and friends!
Are There Any Eco-Friendly Alternatives for Materials Used in These Projects?
You've got so many eco-friendly options for your winter art projects. Try these awesome alternatives:
- Use recycled paper or cardboard instead of new materials
- Swap glitter for biodegradable alternatives like colored salt or crushed leaves
- Create natural dyes from berries, vegetables, or spices
- Use pine cones, twigs, and leaves as decorations
- Make your own play dough with flour, salt, and water
These earth-friendly choices are just as fun and creative! Plus, you'll be helping the planet as you make beautiful art. It's a win-win!
What Precautions Should Be Taken When Doing Outdoor Winter Art Activities?
Hey, winter art enthusiasts! Before you grab your VR headsets—oops, I mean mittens—let's talk safety for outdoor art fun! You'll want to:
- Bundle up like a cozy burrito! Layer those clothes.
- Wear waterproof gear to stay dry.
- Don't forget sunscreen and sunglasses. Snow glare is real!
- Take frequent warm-up breaks indoors.
- Stay hydrated (yes, even in the cold).
- Keep an eye on the weather forecast.
- Tell someone where you're going.
Now you're ready to create frosty masterpieces safely!
How Can I Adapt These Projects for Children With Sensory Sensitivities?
You've got this! For kids with sensory sensitivities, try these fun tweaks:
- Use warmer materials like fuzzy pipe cleaners or soft felt instead of cold snow
- Offer noise-canceling headphones to block out harsh winter sounds
- Provide gloves or mittens for those who don't like touching cold or wet textures
- Use scent-free materials for smell-sensitive children
- Break activities into smaller, manageable steps
- Create a cozy indoor space for "winter" art