Get ready for some weather-tastic fun! You'll love these 10 art projects that bring the outdoors inside. Create a colorful rainbow plate, fluffy cotton ball clouds, and shimmering raindrop suncatchers. Paint a playful umbrella, cut out glittery snowflakes, and make sunny handprint art. Don't forget lightning scratch art, windy windsocks, and puffy paint rainy scenes! Each project is perfect for little hands and big imaginations. These crafts aren't just fun – they're additionally a great way to learn about different types of weather. So grab your supplies and get ready to storm up some creativity! The forecast calls for more exciting details ahead.
Creative Highlights
- Cotton ball cloud collages and raindrop suncatchers offer tactile experiences while teaching about sky phenomena.
- Sun handprint paintings and colorful lightning scratch art engage children in creating vibrant weather-themed artwork.
- Tornado-in-a-jar experiments and windsock creations provide interactive ways to explore wind and storm concepts.
- Rainbow paper plate crafts and painted umbrella decorations allow for colorful personalization of weather-themed items.
- Puffy paint rainy day scenes encourage three-dimensional creativity while illustrating precipitation concepts.
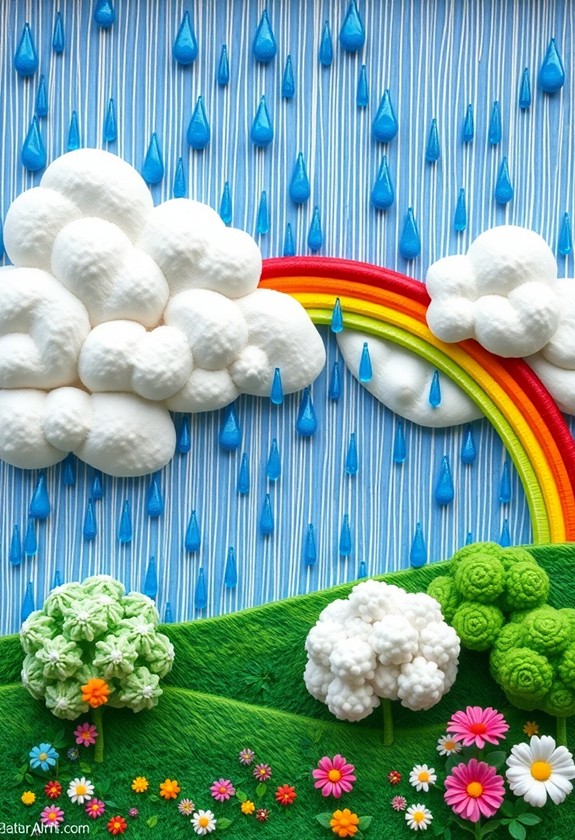
Rainbow Paper Plate Craft
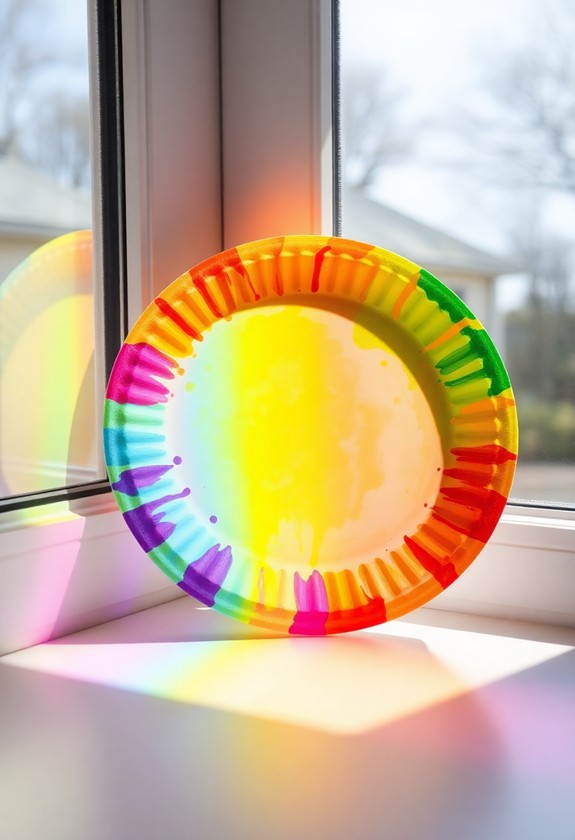
Rainbows are a perfect subject for a fun and colorful weather-themed craft. You'll love creating this lively rainbow using a simple paper plate and some basic art supplies! This activity is great for enhancing fine motor skills and encouraging creative expression in toddlers aged 1-5. Here's what you'll need:
- Paper plate
- Colored markers or paint
- Cotton balls
- Glue
- Scissors
Start by cutting your plate in half – that's your rainbow's base! Now, it's time to free your inner artist. Draw or paint arched stripes in rainbow colors (ROY G. BIV, remember?). Don't forget to leave a little white space at the bottom for clouds!
Once your rainbow's dry, it's cloud time! Glue fluffy cotton balls along the bottom edge. Ta-da! You've just created a spectacular rainbow craft that'll brighten up any room. Hang it up and watch it shine!
Cotton Ball Cloud Collage

Floating gently across the sky, clouds provide endless inspiration for weather-related art projects. Let's create a fluffy Cotton Ball Cloud Collage! You'll need:
- Blue construction paper
- White cotton balls
- Glue
- Scissors (optional)
Start by spreading out your blue "sky" paper. Now, it's time to get creative! Grab those puffy cotton balls and arrange them into cloud shapes. Don't be afraid to experiment – clouds come in all sizes and forms! This activity is perfect for enhancing fine motor skills and encouraging imaginative play in toddlers.
Once you're happy with your design, it's time to make it stick! Carefully glue each cotton ball in place. For extra texture, try gently pulling the cotton balls apart before gluing.
Want to add a silver lining? Use scissors to cut thin strips of silver paper and glue them around your clouds' edges. Voila! You've created a dreamy, touchable sky scene!
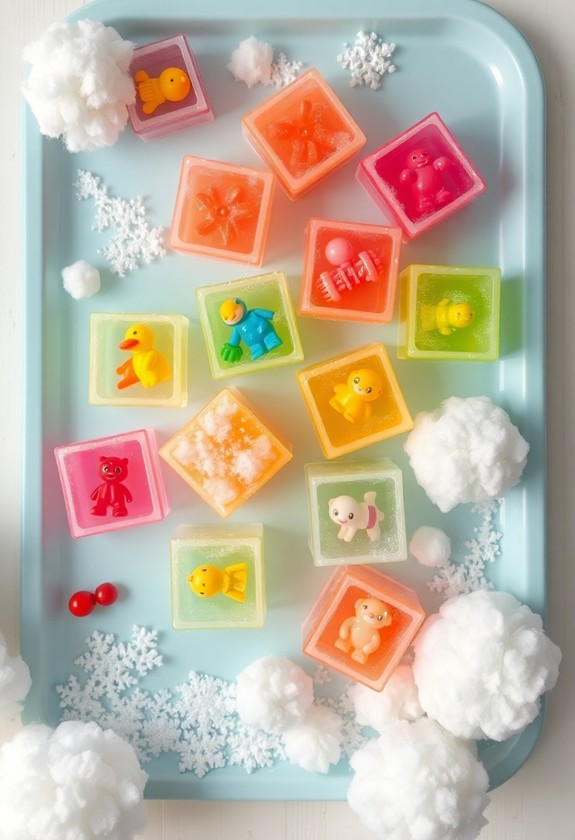
Raindrop Suncatcher Window Art

After investigating the sky with cotton ball clouds, let's bring the beauty of rain indoors with Raindrop Suncatcher Window Art. This project is a splash of fun! This craft enhances fine motor skills and encourages creative expression in toddlers. You'll need:
- Clear contact paper
- Blue tissue paper
- Scissors
- Window space
First, cut out raindrop shapes from the tissue paper. Big drops, little drops – mix it up! Next, peel the backing off the contact paper and stick it to your window, sticky side out. Now for the magic: place your tissue paper raindrops on the sticky surface. Watch as your window transforms into a watery wonderland!
As sunlight streams through, you'll see a gorgeous blue glow. It's like having your very own indoor rainstorm, minus the wet socks! This art brings a ray of sunshine to even the gloomiest days. So, get ready to make it rain… with creativity!
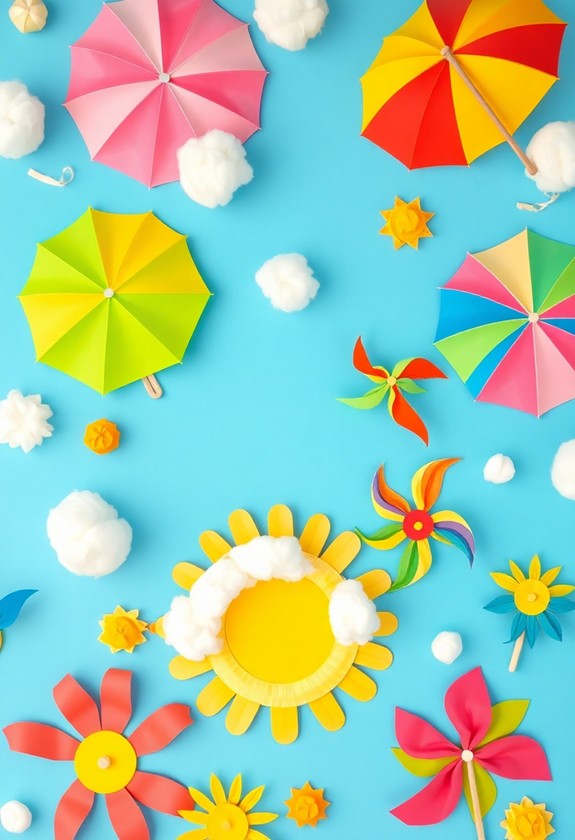
Painted Umbrella Decorations
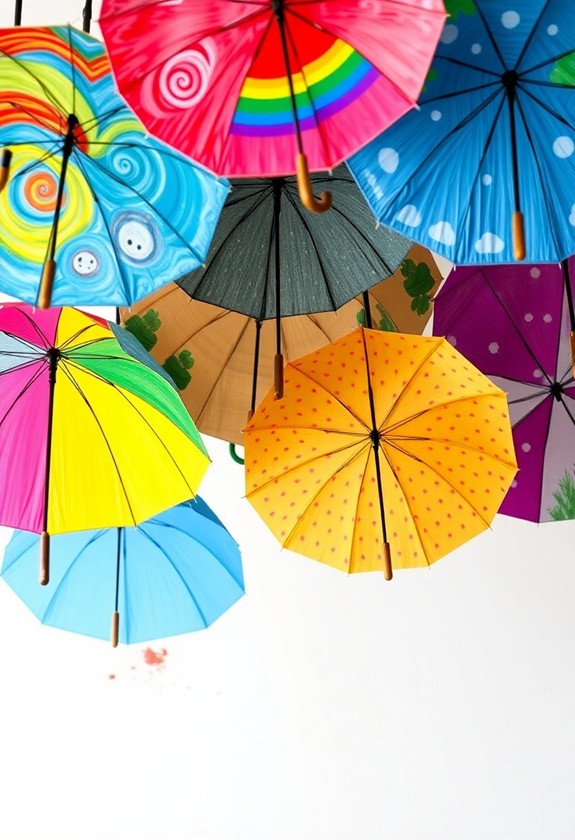
When the sky opens up, it's time to bring out the umbrellas – but not just any umbrellas! Let's transform plain umbrellas into colorful masterpieces. You'll need a clear plastic umbrella, fabric paint, and some creativity. For a mess-free alternative, consider using water reveal activity pages that can be just as engaging for little artists. Start by laying your umbrella flat and open. Now, let your imagination run wild! Paint rainbows, clouds, or even your favorite weather symbols. But wait, there's more! Here are some fun ideas to make your umbrella extra special:
- Add glitter for sparkly raindrops
- Use glow-in-the-dark paint for nighttime magic
- Paint a scene from your favorite rainy day story
Once you're done, let it dry completely. Voila! You've got a unique, weather-themed accessory that'll brighten up even the gloomiest day. And the best part? You'll actually look forward to rainy days now!
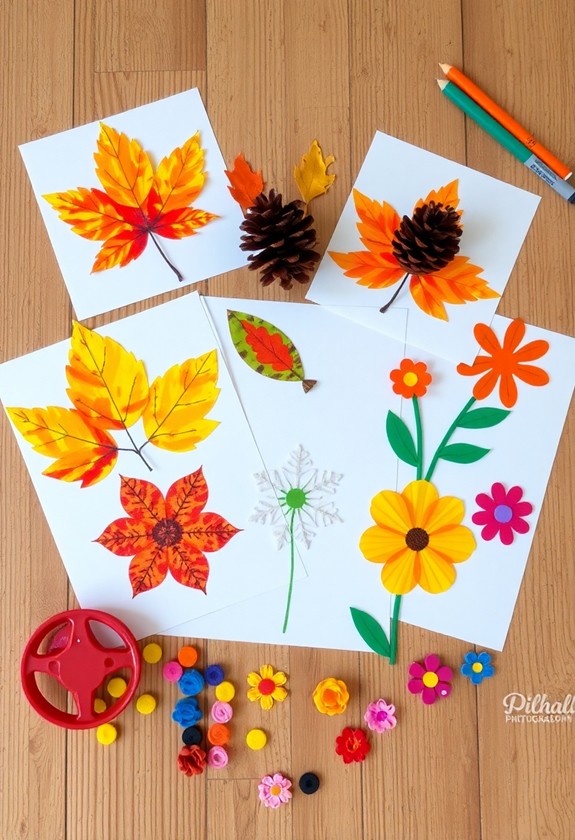
Glittery Snowflake Cutouts
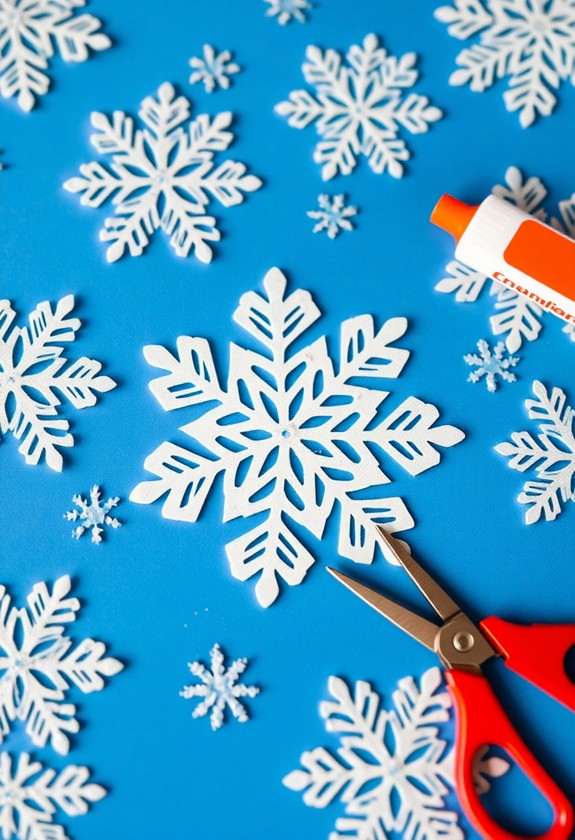
Winter wonderlands come alive with glittery snowflake cutouts. You'll love creating these sparkly decorations! Here's how to make them:
- Fold white paper into triangles
- Cut intricate patterns along the edges
- Unfold to reveal your unique snowflake shape
Now, it's time to add some pizzazz! Grab your glue and glitter, and let's get crafty:
- Brush glue onto your snowflake
- Sprinkle glitter over the glue
- Shake off excess and let dry
For a mess-free option, consider using adhesive stickers or foam shapes to decorate your snowflakes instead of glitter. This approach guarantees easy clean-up as you still allow for creative fun.
Voilà! Your frosty masterpiece is complete. Hang these dazzling snowflakes in windows or from the ceiling for a magical winter scene. But wait, there's more! Try using different colors of glitter or paper for a rainbow blizzard. And remember, just like real snowflakes, no two of your creations will be exactly alike. So let your imagination snow wild!
Tornado in a Jar
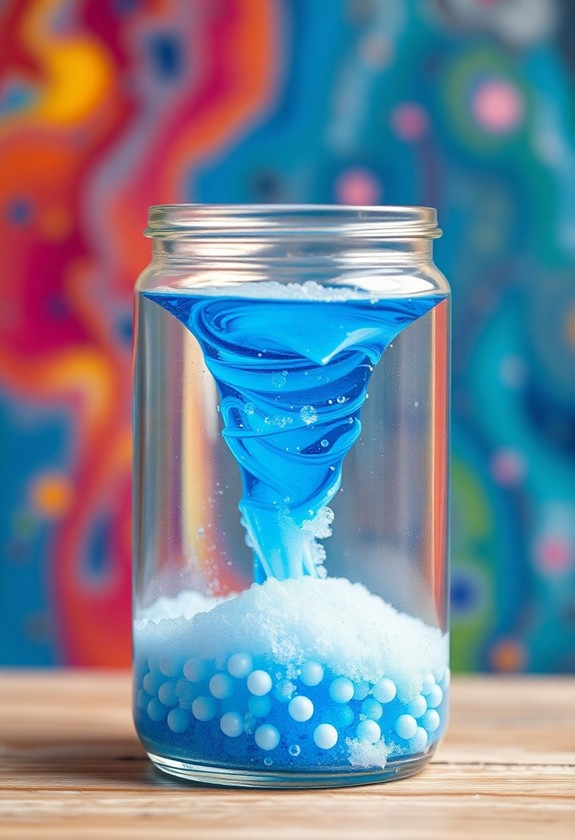
From icy wonders to swirling storms, let's move on to another fascinating weather phenomenon: the tornado. You can create your very own mini twister right in a jar! It's a fun, messy experiment that'll blow you away!
Here's what you'll need:
- A clear jar with a lid
- Water
- Dish soap and food coloring
Fill your jar almost to the top with water. Add a squirt of dish soap and a few drops of food coloring. Screw the lid on tight and shake it up! Now, swirl the jar in a circular motion and watch the tornado form. It's like magic!
But wait, there's more! Try adding glitter or small beads for extra pizzazz. You'll create a dazzling storm that's guaranteed to impress your friends and family!
Sun Handprint Painting

Shining brightly, the sun takes center stage in our next weather art project. Get ready to create a dazzling sun using your very own handprints! This fun and messy activity will have you beaming with joy.
Here's what you'll need:
- Yellow and orange paint
- Large white paper
- Paper plates
- Paintbrushes
Now, let's get started:
- Pour yellow and orange paint onto separate paper plates.
- Dip your hands into the paint – mix colors for a fiery effect!
- Press your painted hands onto the paper, forming a circular shape.
- Keep adding handprints around the center until you've created a radiant sun.
- Use a paintbrush to add details like rays or a smiley face.
Voila! You've just created a sun-sational masterpiece. Hang it up and let your artwork brighten everyone's day!
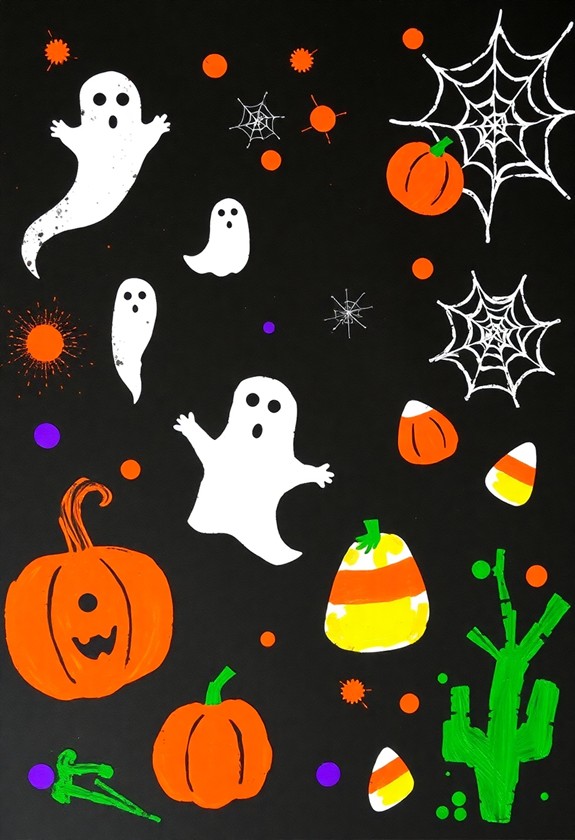
Colorful Lightning Scratch Art
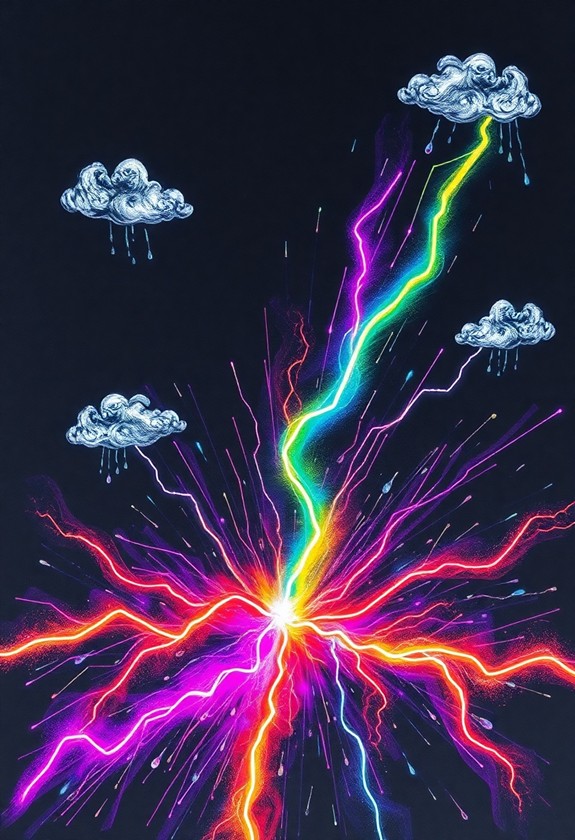
After basking in the warmth of our handprint suns, let's light up the sky with a striking lightning project. Colorful Lightning Scratch Art is an electrifying way to investigate weather phenomena! You'll need black paper, colorful crayons, and a scratching tool.
Here's how to create your masterpiece:
- Cover your black paper with lively crayon colors
- Paint over the crayon with black paint
- Once dry, scratch your lightning design
Watch in amazement as your lightning bolts come to life against the dark sky! This project is a real thunderbolt of fun, and you'll be shocked at how easy it is. But wait, there's more! You can add clouds, rain, or even a rainbow to your stormy scene. Get ready to weather the storm of compliments you'll receive for your dazzling artwork!
Wind Sock Windsock Creation

Now that we've examined lightning, let's harness the power of wind with a Wind Sock Windsock Creation. This fun project is a breeze to make and will have you swaying in the wind in no time!
Here's what you'll need:
- A cardboard tube
- Colorful tissue paper or crepe paper
- Scissors
- Glue or tape
- String
Get ready to create your windsock:
- Cut strips of tissue paper about 2 inches wide.
- Glue or tape the strips around one end of the tube.
- Decorate the tube with weather-themed designs. Think clouds, raindrops, or swirling winds!
- Punch two holes on opposite sides of the open end.
- Tie a string through the holes for hanging.
Voila! Your windsock is ready to catch the breeze. Hang it outside and watch it sway in the wind!
Puffy Paint Rainy Day Scene
Raindrops and puddles come to life in this Puffy Paint Rainy Day Scene project. You'll love creating a textured masterpiece that's as fun to touch as it is to look at! Get ready to mix up some puffy paint and watch your rainy day artwork pop off the page.
Here's what you'll need:
- White glue
- Shaving cream
- Blue food coloring
Start by blending equal parts glue and shaving cream. Add a few drops of blue food coloring, and voila! You've got puffy paint. Now, grab a piece of dark-colored paper and let your imagination run wild! Paint swirling clouds, splashing puddles, and plump raindrops. Don't forget to add some fun details like umbrellas or rubber boots. When you're done, let your creation dry overnight. In the morning, you'll have a 3D rainy day scene that's certain to make a splash!
Curious Little Questions
What Age Group Are These Weather Art Projects Suitable For?
Fasten your seatbelts, weather enthusiasts! These art projects are perfect for little astronauts aged 3 to 8. You'll find activities that'll make your kiddos' creativity soar! From preschoolers to early elementary students, there's something for everyone. Younger ones can enjoy simple tasks like finger painting clouds, as older kids can tackle more complex projects like 3D rainbows. It's a storm of fun for all! Remember, adult supervision is key to guarantee safety and maximum enjoyment. Let's make some weather magic together!
How Can I Incorporate Weather Science Lessons Into These Art Activities?
You can easily mix science into your art activities! Here's how:
- Create a rain gauge during decorating it with watercolors
- Build a wind sock and learn about wind direction
- Paint with ice cubes to investigate melting
- Make a cloud in a jar and discuss water vapor
- Craft a sundial and observe shadows
These fun projects blend art and weather science beautifully! You'll be amazed at how much you learn during having a blast. Get ready to be a weather wizard and an art maestro all at once!
Are There Any Alternatives for Children With Sensory Sensitivities?
For kids with sensory sensitivities, you've got options! Try these awesome alternatives:
- Use colored pencils instead of messy paints
- Swap Play-Doh for modeling clay
- Replace noisy materials with quiet ones, like felt or foam
- Offer noise-canceling headphones during group activities
- Create a calm, quiet corner for solo projects
How Long Does Each Project Typically Take to Complete?
You might think these projects take forever, but they're quicker than a flash of lightning! Most weather art projects for kids are speedy, fun adventures. Here's the scoop:
- Simple crafts: 15-30 minutes
- Medium projects: 30-45 minutes
- Complex creations: Up to an hour
But remember, every little artist works at their own pace. Some might zoom through like a tornado, whereas others take their time, savoring every cloudy detail. The key is to have a blast and let creativity rain down!
What Precautions Should Be Taken When Doing Outdoor Weather-Related Art Projects?
When you're doing outdoor weather art projects, safety comes first! Here are some key precautions to take:
- Check the forecast! Avoid stormy or extreme weather.
- Wear sunscreen and hats on sunny days.
- Bring water to stay hydrated.
- Use non-toxic, washable materials.
- Clean up thoroughly afterwards.
- Supervise kids closely near water or during windy activities.
- Have a backup indoor plan, just in case!