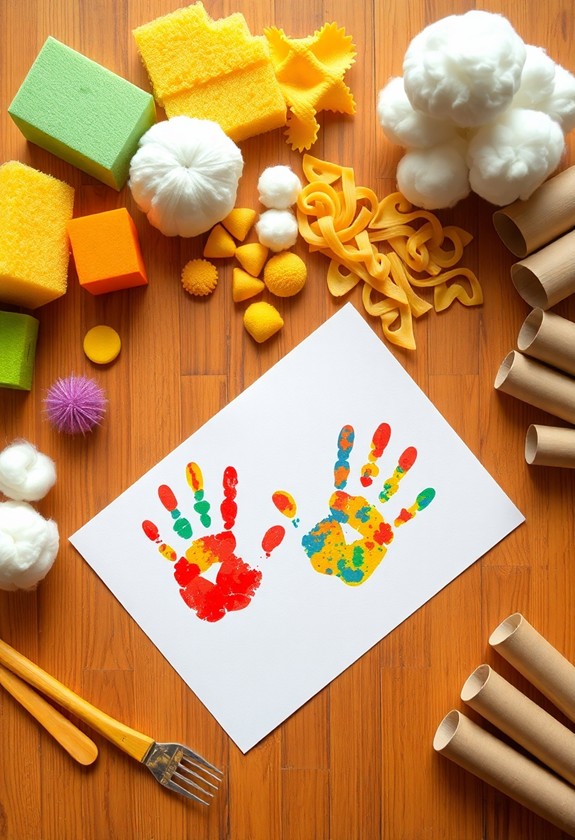
Get ready for some messy fun with your little ones! These 7 easy toddler art projects use everyday objects to create colorful masterpieces. Try spaghetti painting for squiggly designs, or cotton ball color mixing to investigate shades. Bubble wrap printing adds texture, as vegetable stamping brings produce to life on paper. Shaving cream marble art is a swirly delight, and textured salt dough creations become lasting treasures. Don't forget foil sculpture play for 3D imagination! These projects boost fine motor skills, sensory investigation, and creativity. Best of all, they're simple to set up and clean up. Ready to plunge into a world of artistic adventure?
Creative Highlights
- Spaghetti painting offers a messy, sensory experience using cooked pasta, washable paint, and paper for colorful exploration.
- Cotton ball color mixing encourages creative play with everyday items, promoting fine motor skills and color recognition.
- Bubble wrap printing creates unique textures and patterns while enhancing cognitive skills and providing auditory stimulation.
- Vegetable stamping transforms common produce into art tools, promoting sensory exploration and pattern recognition.
- Foil sculpture play allows toddlers to mold and shape aluminum foil, encouraging creativity and tactile exploration with household materials.
Spaghetti Painting
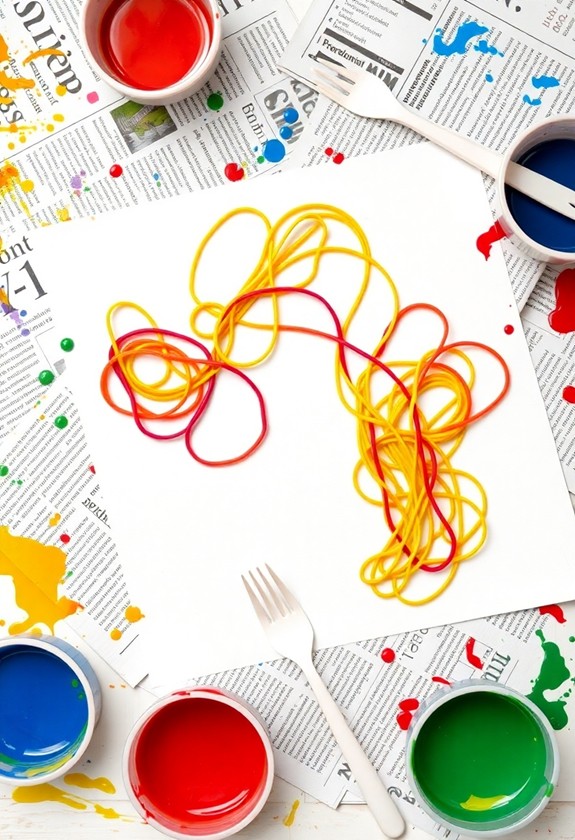
Plunge into the messy world of spaghetti painting, a perfect sensory activity for toddlers. It's spaghetti-tacular fun! Here's what you'll need:
- Cooked spaghetti
- Washable paint
- Large paper or cardboard
- Plastic cups
Ready to get noodling? Follow these steps:
- Cook the spaghetti until it's al dente.
- Divide the noodles into plastic cups.
- Add different colors of paint to each cup.
- Mix well – it's time to create a pasta-piece!
For added safety and easy cleanup, opt for washable markers or paints designed particularly for toddlers. These products are non-toxic and easily removable from surfaces, making them perfect for messy play.
Let your little one grab handfuls of colorful spaghetti and plop them onto the paper. They can swirl, smoosh, and squish to their heart's content! The result? A textured masterpiece that's guaranteed to im-pasta everyone! But wait, there's more – this activity helps develop fine motor skills and introduces color mixing. It's a win-win situation that'll leave your toddler feeling like a real spa-get-i Picasso!
Cotton Ball Color Mixing
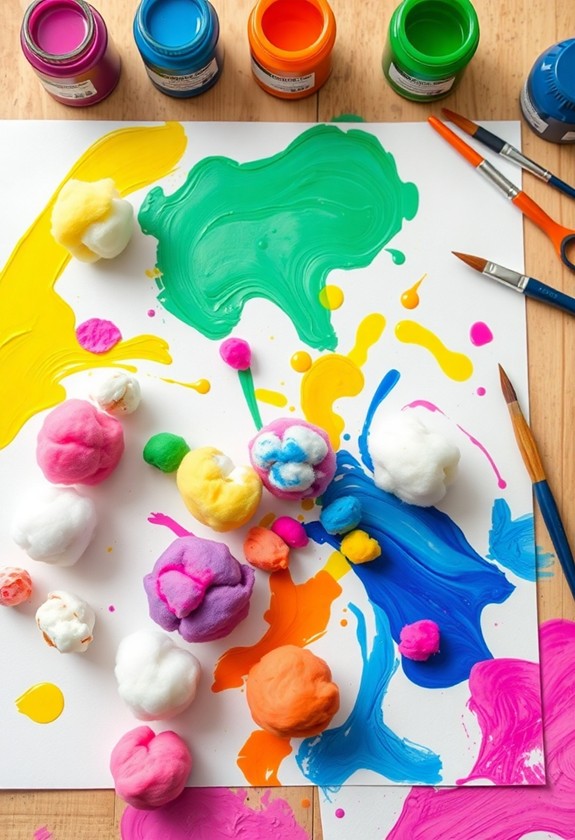
Clouds of color await your toddler with this fluffy and fun cotton ball color mixing activity. It's time to get those little hands messy and creative! Here's what you'll need:
- White cotton balls
- Liquid watercolors or food coloring
- Small containers
- Paper
Start by placing a few cotton balls in each container. Next, add different colors to each one. Let your tiny artist squeeze and squish the cotton balls, watching the colors blend like magic! This St. Patrick's Day craft is perfect for investigating the many shades of green. But wait, there's more! Once they're done mixing, it's time to create:
- Press the colorful cotton balls onto paper
- Roll them across the surface
- Use them as stamps
Your little one will be tickled pink (and blue, and green) with this cotton-tastic adventure in color investigation!
Bubble Wrap Printing
From fluffy cotton balls to bubbly plastic, your toddler's artistic adventure continues with bubble wrap printing. This fun activity is a sensory delight that'll have your little one giggling with joy! To get started, you'll need:
- Bubble wrap
- Washable paint
- Paper
- A rolling pin or spoon
Cut a piece of bubble wrap to fit your child's hand. Pour some paint onto a plate and let your toddler dip the bubbly side into it. Now, it's time to press and print! Watch as they create amazing textures and patterns on the paper. This creative exploration promotes cognitive development and improves problem-solving skills as your toddler creates. For extra fun, try rolling over the bubble wrap with a rolling pin. The popping sounds will be music to your little artist's ears! Experiment with different colors and techniques. Who knew packaging material could be so artistically inspiring?
Vegetable Stamping
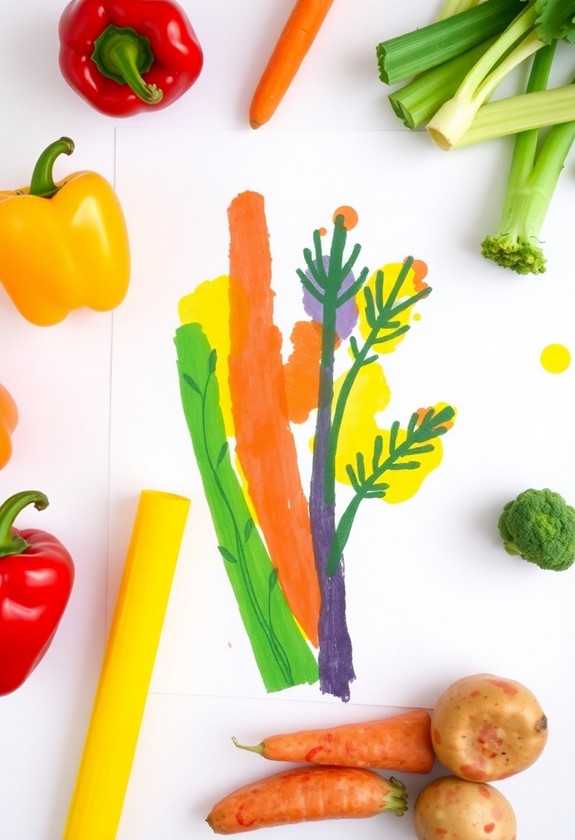
Let's plunge into the world of vegetable stamping, a delightful art project that turns ordinary produce into extraordinary paintbrushes. You'll love this messy, colorful adventure! This activity not only promotes creativity but additionally improves fine motor skills and color recognition in toddlers. Using washable paints guarantees easy cleanup, making it a stress-free experience for parents.
Here's what you'll need:
- Various veggies (carrots, celery, peppers)
- Washable paint
- Paper
- Plates for paint
Now, let's get creative:
- Cut veggies into fun shapes
- Pour paint onto plates
- Dip veggie ends into paint
- Press onto paper – voila!
Watch as your little one creates veggie-tastic masterpieces! Encourage them to mix colors and patterns. Try a celery rose or a pepper star – the possibilities are endless! This activity isn't just fun; it's a feast for the senses. Your toddler will squeal with delight as they squish and squash their way to artistic greatness!
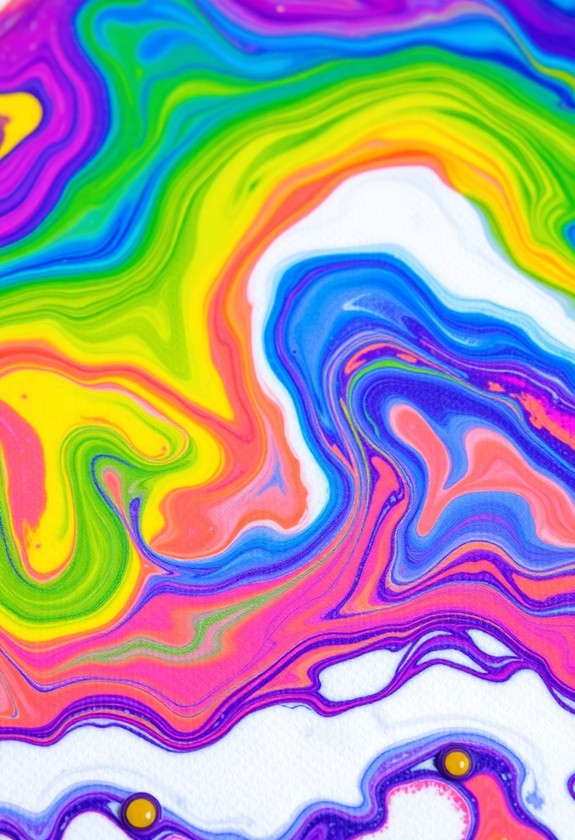
Shaving Cream Marble Art
Moving from the garden to the bathroom, we're introducing an enchanting art technique that'll have your toddler mesmerized. Shaving cream marble art is a sensory delight that's as fun to make as it is beautiful to behold! This activity not only improves fine motor skills but additionally promotes creativity and color recognition, making it an ideal craft for toddlers celebrating the New Year.
Here's what you'll need:
- Shaving cream (unscented)
- Food coloring
- A shallow tray
- Cardstock or thick paper
- A plastic card or ruler
Start by spreading a layer of shaving cream on the tray. Add drops of food coloring and swirl gently with a toothpick. Now for the magic! Press your paper onto the colorful cream, then scrape off the excess with your card. Voila! You've created a stunning marbled masterpiece. It's like tie-dye meets cloud painting! This activity is perfect for developing fine motor skills and investigating color mixing. Plus, it's a blast for kids and adults alike!
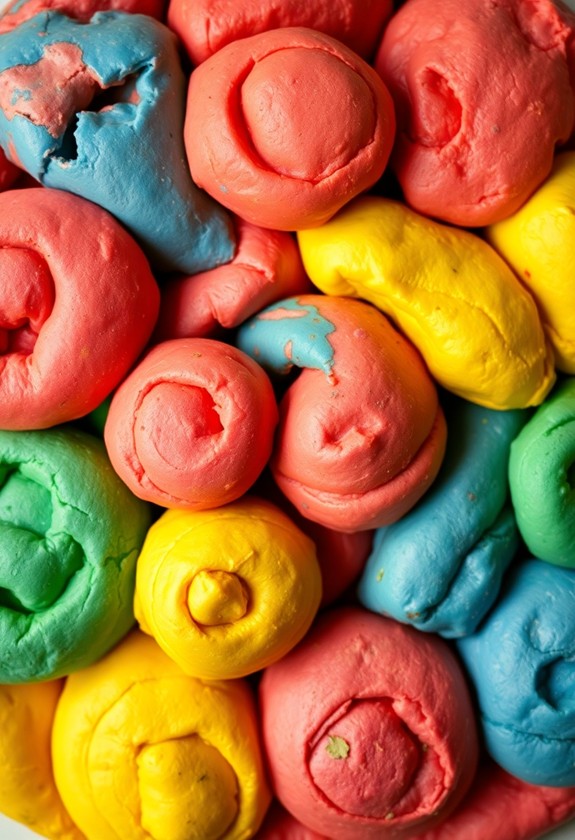
Textured Salt Dough Creations
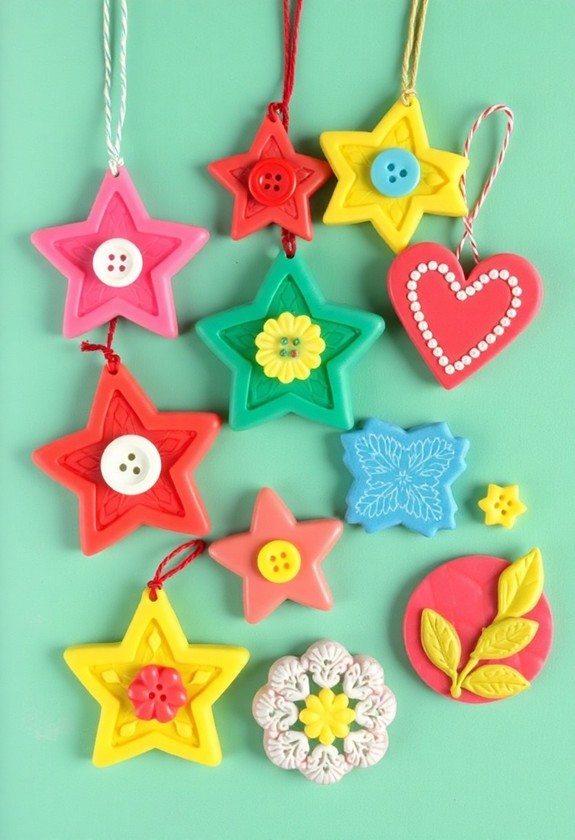
Diving into the world of tactile art, salt dough creations offer toddlers a fantastic opportunity to explore textures and shapes. It's time to get your hands dirty and have some fun!
Here's what you'll need:
- 2 cups flour
- 1 cup salt
- 1 cup water
- Various textured objects (leaves, buttons, pasta, etc.)
Mix the ingredients to form a dough. Let your little one knead it – they'll love the squishy sensation! Roll it out and let the texture adventure begin. Press leaves for a nature-inspired design, or use pasta shapes for a "im-pasta-bly" cute creation!
Once you've made your masterpieces, bake them at 250°F for 2 hours. Voilà! You've got long-lasting, tactile treasures that'll make you say, "Dough-n't they look amazing!"
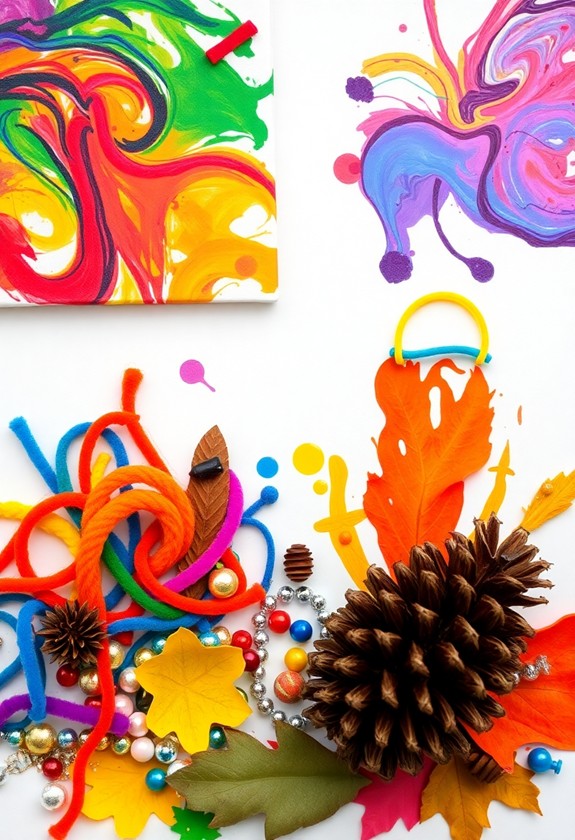
Foil Sculpture Play
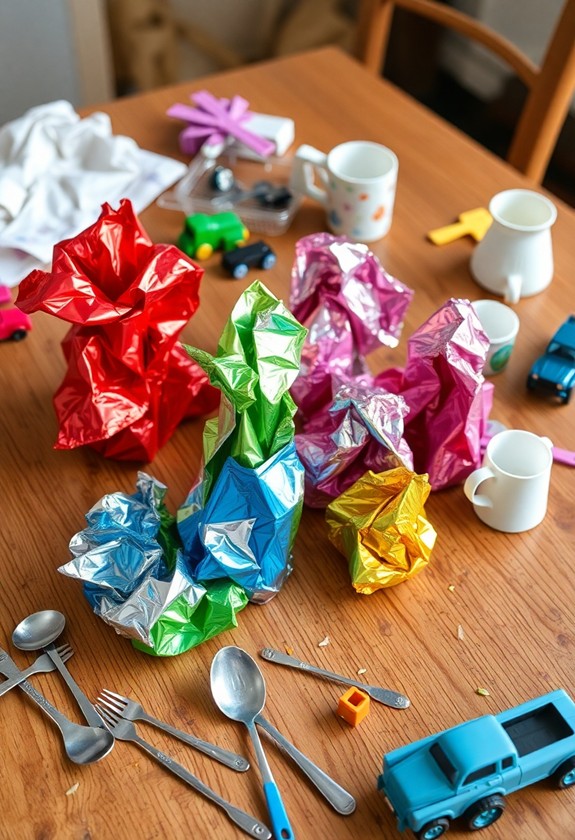
Foil's versatility makes it an ideal medium for toddler-friendly sculpture play. It's shiny, malleable, and safe for little hands! Get ready for some crinkly fun as you investigate the world of foil art with your little one. Here's what you'll need:
- Aluminum foil
- Scissors (for adult use)
- Colorful markers
- Small objects for imprinting
Start by tearing off sheets of foil for your toddler. Let them scrunch, twist, and mold the foil into fantastic shapes! They can create animals, trees, or even a silver spaceship. Encourage them to experiment with different textures by pressing objects into the foil. Buttons, leaves, or textured toys work great! Once they've sculpted their masterpiece, they can add pops of color with markers. It's time to get foiled by creativity!
Curious Little Questions
How Can I Make Homemade Finger Paint for Toddlers?
You can whip up some fantastic finger paint for your little ones in no time! Here's a quick and easy recipe:
- Mix 1 cup cornstarch with 1 cup cold water
- Add 4 cups boiling water and stir until smooth
- Let it cool, then divide into containers
- Add food coloring for bright hues
Voilà! You've got safe, washable finger paint that'll have your toddlers creating masterpieces in minutes. It's a messy masterpiece in the making, but that's half the fun! Get ready for colorful hands and happy smiles!
What Are Age-Appropriate Art Tools for 18-Month-Old Children?
Did you know that 90% of a child's brain development happens before age 5? That's why it's essential to start early with art! For your 18-month-old, you'll want to focus on large, easy-to-grip tools. Try these fun options:
- Chunky crayons
- Finger paints
- Oversized paintbrushes
- Dot markers
- Play dough and plastic tools
These tools are perfect for tiny hands and developing motor skills. Plus, they're safe and washable – a win-win for creative toddlers and worried parents! Let the artistic adventure begin!
How Do I Protect Furniture and Floors During Messy Art Projects?
Protect your home from art chaos! Here's how:
- Lay down old newspapers or a plastic tablecloth
- Use washable paints and markers
- Dress your little artist in a smock or old clothes
- Cover furniture with drop cloths or sheets
- Create a designated "art zone" away from carpets
- Keep wet wipes handy for quick cleanups
And don't forget, welcome the mess! It's all part of the fun. Remember, you're not just protecting your floors – you're preserving memories and encouraging creativity. So go ahead, let the artistic adventure begin!
Are There Any Art Activities That Promote Fine Motor Skill Development?
Imagine your child's hands as tiny artists, ready to create masterpieces! There are so many fun art activities that'll help develop those fine motor skills. Try these exciting ideas:
- Finger painting – squish, swirl, and smear!
- Play-doh sculpting – squeeze, roll, and mold!
- Beading necklaces – thread those tiny beads!
- Cutting and pasting collages – snip, snip, stick!
- Tracing shapes – follow the lines!
These activities aren't just fun, they're like a gym for little fingers! You'll be amazed at how quickly their skills improve. Let's get creative and watch those motor skills soar!
What Are Some Eco-Friendly Alternatives to Traditional Art Supplies?
You'll love these eco-friendly art supplies! Try:
- Natural pigments: Crush berries, spices, or plants for vivid colors!
- Homemade clay: Mix flour, salt, and water for moldable fun!
- Recycled paper: Turn old newspapers into new canvases!
- Plant-based glue: Cook up a sticky mixture with flour and water!
- Beeswax crayons: Melt beeswax and add natural pigments for colorful drawing tools!
These alternatives are planet-friendly and super creative! You'll be an eco-artist in no time, making masterpieces as you help Mother Earth!