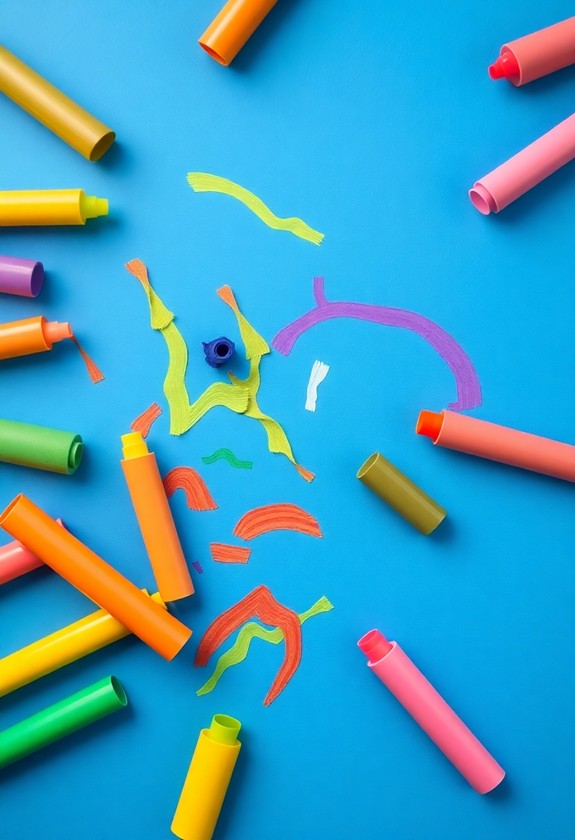
Get ready for some colorful fun with these 7 amazing toddler art projects using food coloring! You'll love making lively rice sensory bins, swirly marbled shaving cream paper, and a mesmerizing rainbow milk science experiment. Create your own finger paint for endless creativity, or try safe and squishy edible water beads. Transform windows into stunning stained glass art, and craft beautiful tie-dye coffee filter flowers. These projects aren't just exciting – they're likewise great for developing fine motor skills and encouraging sensory exploration. From simple science to dazzling decor, there's something here for every little artist. Stick around to find out how these fantastic activities can brighten up your day!
Creative Highlights
- Colorful Rice Sensory Bins provide vibrant tactile play while developing fine motor skills.
- Marbled Shaving Cream Paper creates swirled designs and introduces color mixing concepts.
- Homemade Finger Paint promotes cognitive development and creative expression through sensory exploration.
- Stained Glass Window Art turns homes into colorful galleries while enhancing artistic skills.
- Tie-Dye Coffee Filter Flowers combine color blending and simple assembly for decorative crafts.
Colorful Rice Sensory Bins
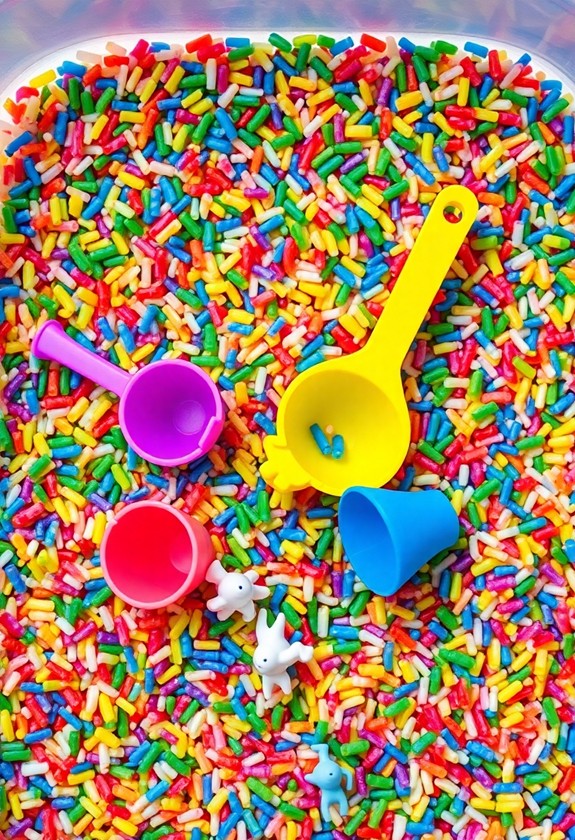
Sensory play takes on a lively twist with colorful rice bins. You'll love how easy and fun this project is! Here's what you'll need:
- White rice
- Food coloring
- Ziplock bags
- Baking sheet
Let's get started! First, pour some rice into a bag. Add a few drops of food coloring and shake, shake, shake! It's like a rice rainbow celebration in there! Spread the dyed rice on a baking sheet to dry. Repeat with different colors. This activity promotes fine motor skills and sensory investigation, much like the Horizon Group USA Bluey Aqua Art set.
Once dry, pour the colorful rice into bins or trays. Now the real fun begins! Your little one can scoop, pour, and delve into textures. Hide small toys in the rice for a thrilling treasure hunt. Or, create bright "sand" art with layers of different hues. The possibilities are endless, and clean-up is a breeze!
Marbled Shaving Cream Paper

Get ready for a messy masterpiece with marbled shaving cream paper! This fun project combines the silky texture of shaving cream with vivid food coloring to create stunning, swirled designs. Here's how to do it:
- Spray shaving cream on a tray
- Add drops of food coloring
- Swirl colors with a toothpick
- Press paper onto the cream
- Scrape off excess cream
The result? A unique, colorful creation your little one will love! But wait, there's more! You can use this technique on various surfaces – try marbling plastic eggs, wooden blocks, or even rocks. It's a sensory sensation that'll have your toddler giggling with glee. Plus, it's a great way to introduce color mixing. Watch as red and yellow blend into orange right before your eyes! This activity is perfect for enhancing fine motor skills and encouraging self-expression through art. Who knew shaving cream could be so much fun?
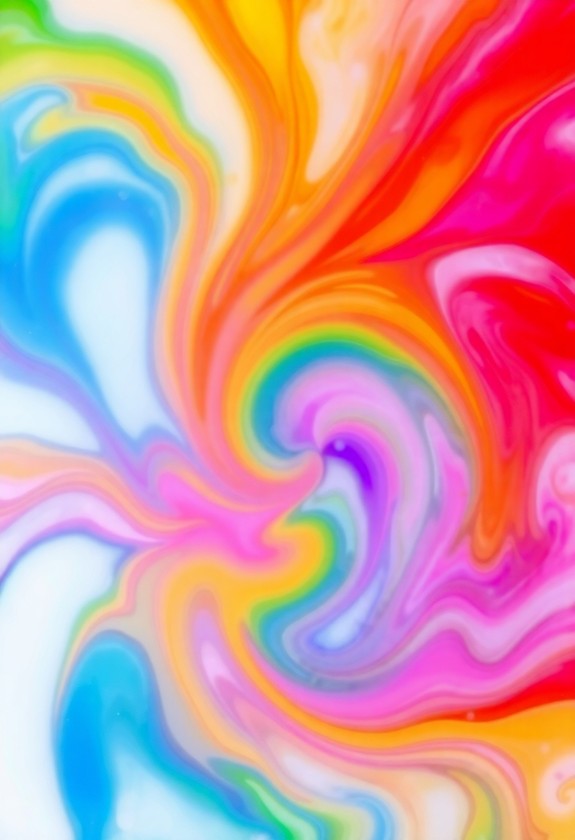
Rainbow Milk Science Experiment
Three simple ingredients combine to create a stunning visual display in this Rainbow Milk Science Experiment. You'll be amazed at the explosion of colors! Here's what you need:
- Whole milk
- Food coloring (various colors)
- Dish soap
Pour milk into a shallow dish. Add drops of different food colors around the surface. Now for the magic! Dip a cotton swab in dish soap and gently touch the milk's surface. Watch as the colors swirl and move! The soap breaks the milk's surface tension, causing the food coloring to scatter. This engaging activity promotes sensory play and boosts cognitive skills through hands-on experimentation.
Kids will love this mesmerizing, hands-on science activity. It's a fantastic way to introduce them to basic scientific concepts during the creation of beautiful, swirling patterns. Plus, it's a "dairy" fun way to learn! Get ready for some colorful, milky mayhem!
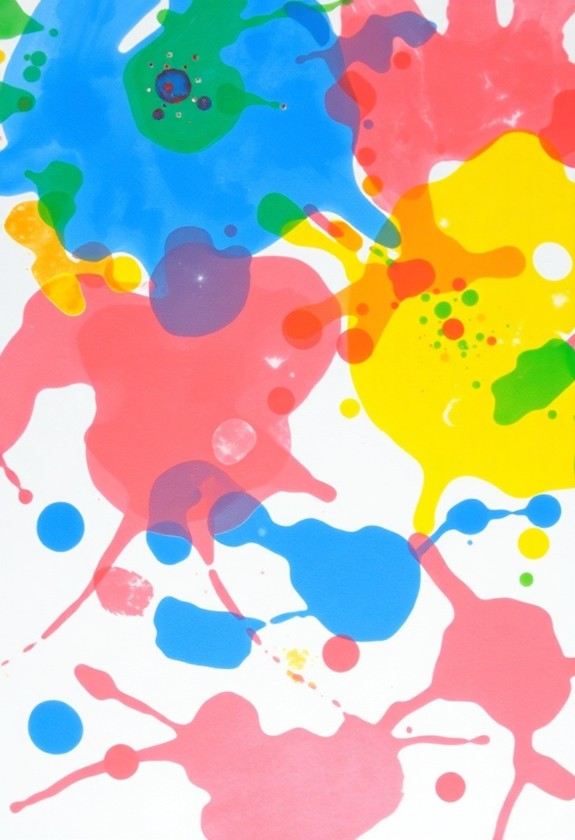
Homemade Finger Paint
Moving from milk to paint, let's examine another colorful activity for toddlers. Homemade finger paint is a blast! You'll need:
- 1 cup cornstarch
- 1 cup cold water
- 3 cups boiling water
- Food coloring
Mix cornstarch and cold water in a bowl. Add boiling water, stirring until smooth. Let it cool, then divide into containers. Add food coloring to each – go wild with hues! It's time to get messy!
Spread paper on the floor and let your little Picasso loose. Watch their eyes light up as they smear and swirl lively colors. This sensory exploration promotes cognitive development and improves creative thinking in toddlers. But wait, there's more! Try these fun twists:
- Add scents like vanilla or peppermint
- Use cookie cutters for stamping
- Mix in glitter for extra sparkle
Clean-up's a breeze – it's all washable! This paint-astic activity will have your toddler begging for more.
Edible Water Bead Alternative
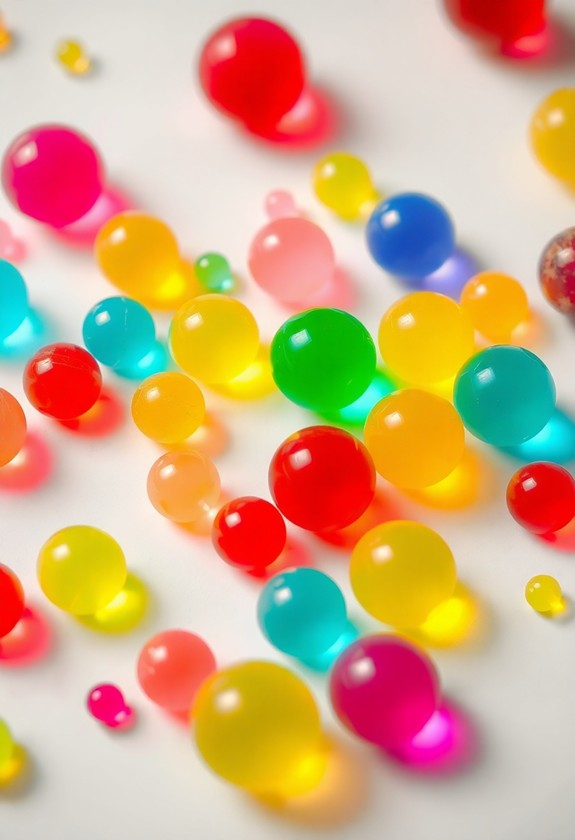
Safety-conscious parents often seek alternatives to traditional water beads, which can pose choking hazards for toddlers. But don't worry! We've got a fun, edible solution that's just as squishy and colorful! This activity not only provides a safe alternative but also promotes sensory investigation and fine motor skill development, much like other innovative art tools for preschoolers.
Here's how to make your own edible water beads:
- Soak tapioca pearls in water for 4 hours.
- Drain and rinse the pearls.
- Separate them into bowls.
- Add food coloring to each bowl – go wild with colors!
- Mix well until they're evenly coated.
Voilâ! You've got safe, squishy, and totally edible "water beads"! These little gems are perfect for sensory play. Let your toddler squish, sort, and investigate to their heart's content. And if they pop one in their mouth? No problem! It's all safe and yummy. Who knew art could be so deliciously fun?
Stained Glass Window Art
After investigating edible sensory play, let's brighten up your toddler's artistic adventures with a colorful window display. Stained glass window art is a dazzling way to let your little one's creativity shine!
Here's how to create this illuminating masterpiece:
- Mix food coloring with clear glue
- Pour the colorful concoctions into a plastic bag
- Snip off a tiny corner of each bag
- Draw outlines on wax paper using black puffy paint
- Let your toddler squeeze the "paint" into the spaces
Watch as your child's eyes light up when you hang their lively creation on a sunny window! The translucent colors will cast a rainbow glow, turning your home into a magical art gallery. It's a pane-tastic project that'll stick with them for years to come!
Tie-Dye Coffee Filter Flowers
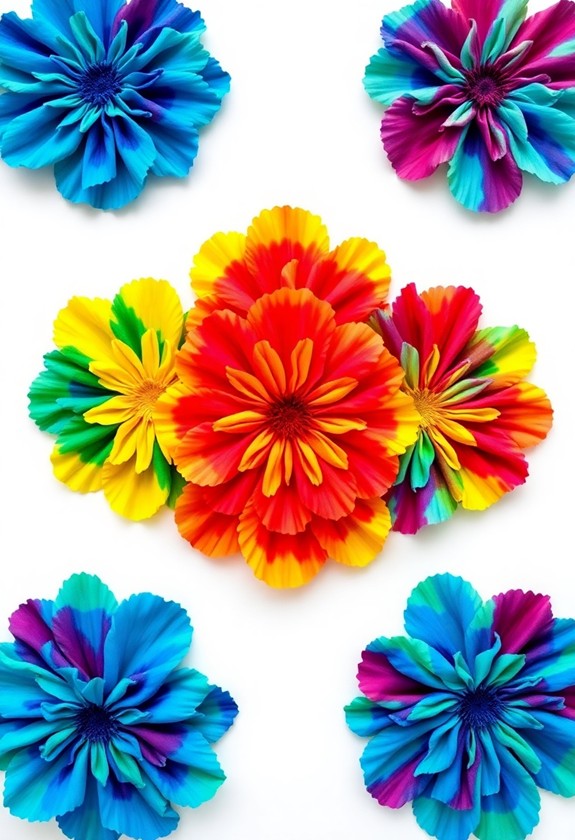
Spring into action with this colorful flower-making activity that's perfect for little hands! You'll love how easy and fun it is to create these lively blooms. Here's what you need:
- Coffee filters
- Food coloring
- Eye droppers or small spoons
- Water
- Pipe cleaners
Get ready to "petal" to the metal! Start by flattening out your coffee filters. Mix a few drops of food coloring with water in small containers. Now, let your little one go wild! They can drip, splash, and swirl the colors onto the filters. It's like magic as the colors blend and spread!
Once dry, gather the center of each filter and twist. Wrap a pipe cleaner around the base, and voila! You've got a bouquet of beautiful, tie-dye flowers. Display them proudly – they're bound to brighten any room!
Curious Little Questions
Are Food Coloring Stains Permanent on Skin or Clothing?
Envision this: lively colors on your hands, a splotch on your shirt. Don't panic! Food coloring stains aren't usually permanent. On skin, they'll fade in a day or two with regular washing. For clothing, act fast! Rinse with cold water, then try these tricks:
- Soak in vinegar or lemon juice
- Dab with rubbing alcohol
- Use stain remover before washing
Most stains will come out with persistence. But remember, some fabrics are trickier than others. So, get creative and have fun, but maybe wear an apron next time!
Can Food Coloring Be Used Safely for Infant Art Projects?
Food coloring can be a fun and safe option for infant art projects, but there are a few things to keep in mind. First, always supervise your little artist closely. Use edible, non-toxic food coloring and dilute it with water. Stick to finger painting or stamping activities, avoiding any methods where the baby might ingest large amounts. Remember, it's washable but can stain clothes, so dress your tiny Picasso in old outfits. Get creative and have a colorful blast with your budding artist!
How Long Does Food Coloring Last Once Opened?
You might think food coloring lasts forever, but it doesn't! Once opened, it's best to use it within 3-4 years. But don't worry, that's still a long time! Here's the scoop:
- Liquid food coloring: 3-4 years
- Gel food coloring: 2-3 years
- Powder food coloring: 3-5 years
Keep it cool and dry, and it'll stay lively! Just give it a sniff and look before using. If it smells off or looks weird, it's time to say bye-bye to that dye!
Are There Natural Alternatives to Artificial Food Coloring for Art Projects?
You've got loads of natural options for colorful art projects. Try these exciting alternatives:
- Beet juice for vivid red
- Turmeric for sunny yellow
- Spinach for leafy green
- Blueberries for deep blue
- Paprika for warm orange
Mix these with water or a bit of cornstarch for paint-like consistency. You'll be amazed at the rainbow you can create! Plus, they're safe if your little artist decides to taste-test. It's a win-win: natural, non-toxic fun that'll make your kiddo's masterpieces pop!
Can Food Coloring Be Used in Homemade Playdough or Slime Recipes?
You can use food coloring in homemade playdough and slime recipes, and it's super fun! Here's why it's awesome:
- Striking colors: Make your creations pop with bright hues!
- Easy to mix: Just a few drops, and you're good to go!
- Safe for kids: It's non-toxic, so no worries if they get a little messy.
Plus, you can create custom colors by mixing different shades. It's like being a color scientist! So go ahead, get creative, and let your imagination run wild with food coloring in your DIY playdough and slime!