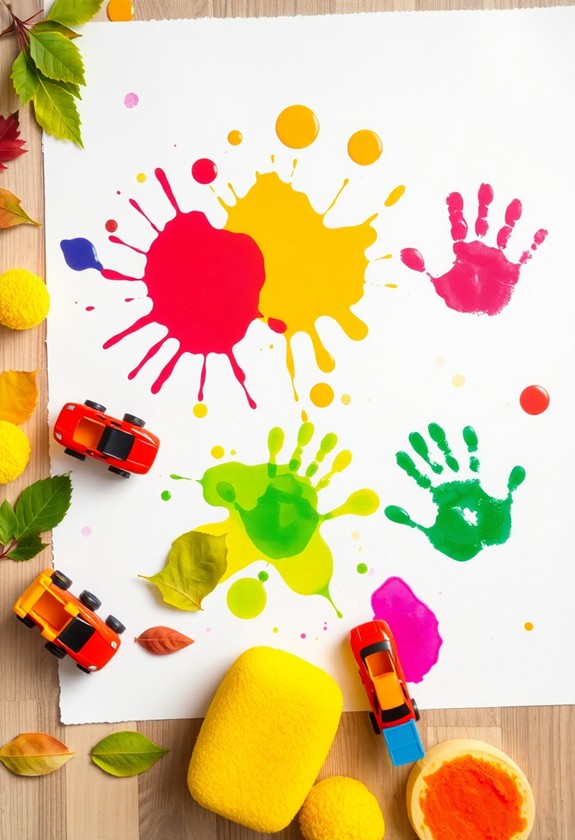
Get ready for a sensory explosion with these texture-rich art projects for your curious toddler! From squishy spaghetti painting to sandy collages, your little one's fingers will be in for a treat. Create puffy masterpieces, stamp with bubble wrap, and swirl colors in shaving cream. Let those tiny hands investigate nature through rubbings, sculpt with fuzzy sticks, and shake up some colorful rice art. Don't forget the classic finger painting – now with added textures! These projects aren't just fun; they're learning adventures that'll boost creativity and fine motor skills. Prepare for a wild ride through the world of tactile art – there's so much more to uncover!
Creative Highlights
- Spaghetti painting engages touch and creativity while improving fine motor skills through squishing and spreading colored pasta.
- Puffy paint creations introduce dimension with homemade paints, allowing squeezing and swirling for magical, puffed-up art.
- Bubble wrap stamping teaches textures and printing concepts, enhancing fine motor skills and hand-eye coordination.
- Textured play dough sculptures encourage 3D exploration, promoting creativity through pressing, stacking, and molding various materials.
- Nature texture rubbings combine outdoor exploration with artistic expression, developing fine motor skills and pattern recognition.
Spaghetti Painting

Spaghetti painting offers toddlers a delightfully messy and tactile art experience. It's a pasta-tively perfect way to engage their senses and creativity! To get started, cook up a batch of spaghetti and let it cool. Then, divide the noodles into separate containers and add different colored paints to each. This activity promotes sensory play and improves fine motor skills, making it an excellent choice for toddlers aged 3 and up. Now, it's time for the real fun to begin!
Let your little artist loose with this stringy, colorful medium. They can use their hands to squish, squash, and spread the painted noodles across paper or cardboard. Watch as they create swirly, twirly masterpieces! The textured strands will leave interesting patterns and shapes on the surface.
For added excitement, try these variations:
- Use different pasta shapes
- Add glitter or sequins to the paint
- Experiment with various surfaces (foil, fabric, or even outdoors on concrete)
Clean-up tip: Have a warm, soapy bath ready for your messy maestro afterward. It's the perfect way to wind down after their spaghetti spectacular!
Sand Art Collages
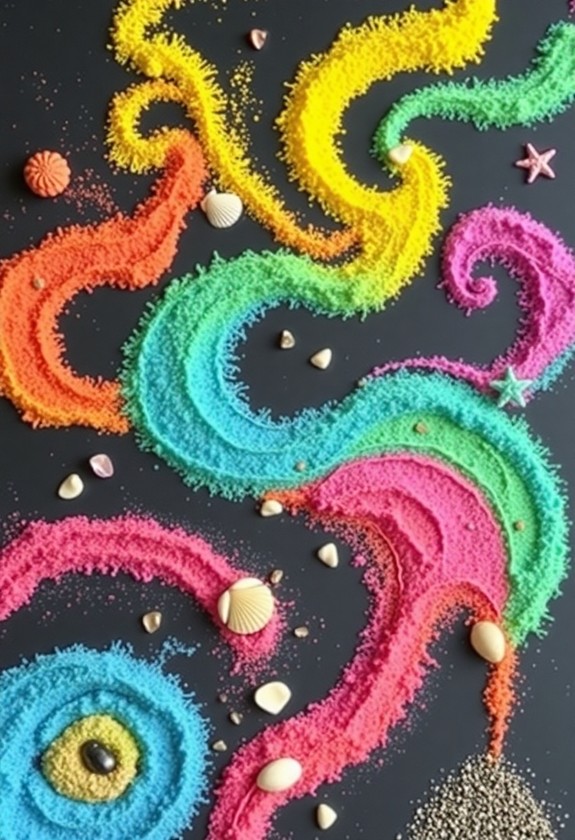
On the shores of creativity, sand art collages offer toddlers a grainy adventure in texture and color. It's time to dig into this fantastic project that'll have your little ones beaching with joy! This activity not only sparks imagination but likewise develops fine motor skills essential for your toddler's growth.
What you'll need:
- Colored sand
- White glue
- Sturdy paper or cardboard
- Small containers
- Plastic spoons
Let's get sandy!
First, draw a simple design on the paper with glue. Now, here comes the fun part! Let your toddler sprinkle different colors of sand onto the glue. Watch their eyes light up as they create a rainbow of gritty goodness! Shake off the excess and – voila! – a sandy masterpiece emerges.
But wait, there's more! Encourage your little Picasso to experiment. They can use spoons to make precise sand placements or go wild with handfuls of grainy goodness. And don't forget about layers! Once the first layer dries, add more glue and sand for a 3D effect that's simply sand-sational!
This activity isn't just fun – it's a sensory bonanza! Your toddler will love the feel of sand between their fingers, and you'll love watching their creativity bloom. So grab some sand and let the good times grain!
Puffy Paint Creations
Ready to add some dimension to your toddler's art adventures? Puffy paint creations are the perfect way to do just that! This fun, tactile activity will have your little one squealing with delight as they watch their artwork come to life. Non-toxic ingredients guarantee safety for toddlers during play, making this an ideal project for sensory discovery and creativity.
To get started, you'll need:
- Shaving cream
- White glue
- Food coloring
- Ziplock bags
- Scissors
- Paper
Mix equal parts shaving cream and glue in separate bowls for each color. Add a few drops of food coloring and stir until you've got a rainbow of puffy paints! Now, here's the fun part: spoon each color into a ziplock bag, squeeze out the air, and seal it tight. Snip a tiny corner off each bag, and voila! You've got homemade puffy paint squeeze bottles.
Let your toddler go wild! They can squeeze, swirl, and smoosh the paint onto paper, creating 3D masterpieces. The best part? As it dries, the paint puffs up even more! It's like magic right before their eyes. And don't worry about the mess – this paint is easy to clean up and washable. So go ahead, let your little Picasso discover their artistic side with these cloud-like creations!
Bubble Wrap Stamping
Another exciting texture-rich project for toddlers is bubble wrap stamping. It's a fantastic way to introduce your little one to the world of textures and printing! This activity not only sparks creativity but likewise enhances fine motor skills and promotes sensory exploration. Ready to get started? Here's what you'll need:
- Bubble wrap (the bigger the bubbles, the better!)
- Washable paint
- Paper
- Scissors
- A flat surface
First, cut the bubble wrap into manageable pieces. Spread some paint on a plate, then let your toddler dip the bubble side into the paint. Now for the fun part – press the painted bubble wrap onto the paper! Watch as your child's eyes light up when they see the bubbly pattern appear!
Want to mix it up? Try different colors or create patterns. You can even wrap bubble wrap around a rolling pin for a rolling good time! This activity isn't just fun – it's likewise great for developing fine motor skills and hand-eye coordination.
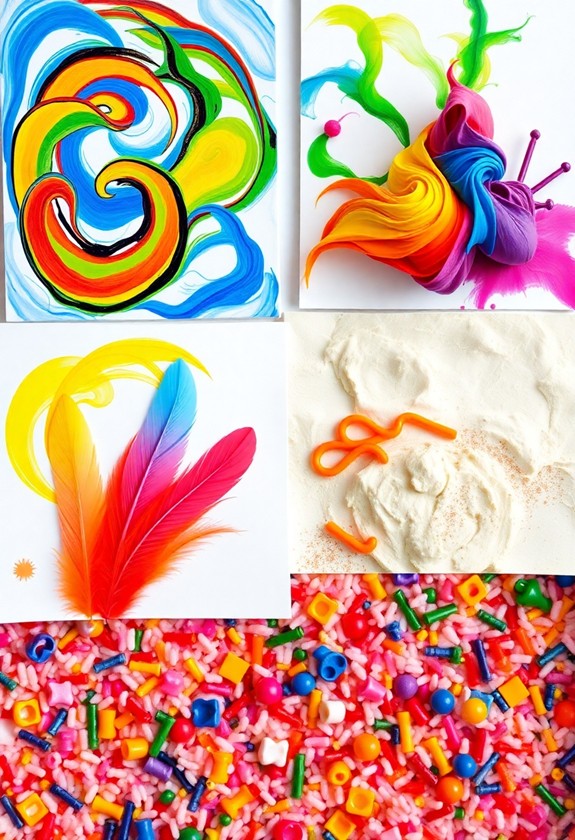
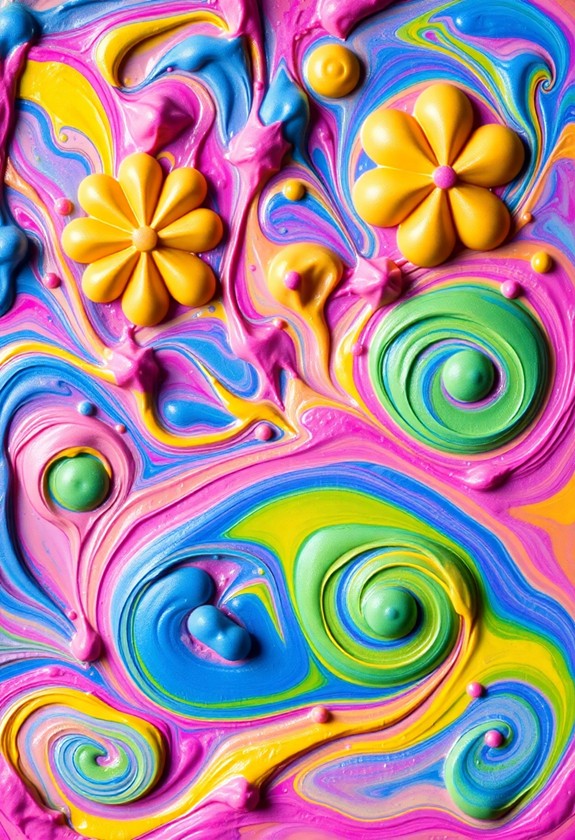
Shaving Cream Marbling
Swirls of color and fluffy foam combine in the mesmerizing activity of shaving cream marbling. Get ready for a sensory explosion that'll have your toddler squealing with delight! This fun, hands-on project is perfect for little artists who love to investigate textures and colors. Cognitive development is improved through this engaging process, as children learn about cause and effect as they create their unique designs.
Here's what you'll need:
- Shaving cream (unscented)
- Food coloring or liquid watercolors
- A shallow tray or baking sheet
- Cardstock or thick paper
- A popsicle stick or craft stick
Start by squirting a layer of shaving cream onto your tray. It's time to get colorful! Drop different food coloring or watercolors onto the cream. Now, let your toddler use the stick to swirl the colors gently. Don't overmix – you want those beautiful marbled patterns!
Next, press a piece of cardstock onto the swirled cream. Lift it off and – voila! – you've got a stunning marbled masterpiece. Use a ruler to scrape off excess foam, revealing the lively design underneath. It's like magic!
This activity isn't just fun – it's a sensory bonanza! Your little one will love the cool, squishy texture and the way colors blend together. Plus, it's a great way to introduce basic color mixing concepts. Get ready for some foamy, fantastic fun!
Textured Play Dough Sculptures
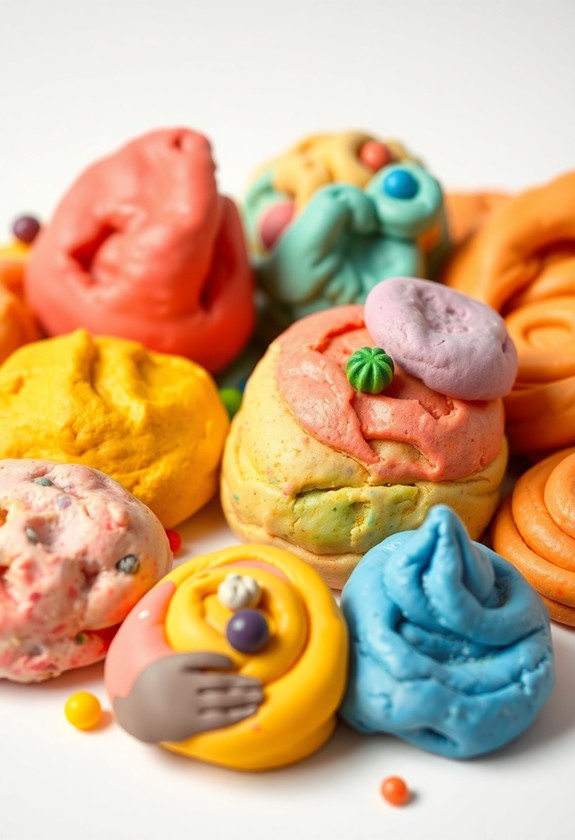
Toddlers' imaginations soar with textured play dough sculptures. This fun, hands-on activity lets little ones investigate different textures during creating their masterpieces. Get ready for a sensory adventure!
What you'll need:
- Homemade or store-bought play dough
- Various textured items (pasta shapes, beads, buttons, etc.)
- Rolling pin
- Cookie cutters (optional)
Let's get started!
- Roll out the play dough nice and flat.
- Press textured items into the dough to create patterns.
- Encourage your toddler to mix and match textures.
- Use cookie cutters to make shapes, if desired.
- Let your little artist build 3D sculptures by stacking and molding.
Watch as your child's eyes light up with each new revelation! They'll love feeling the bumps, ridges, and grooves. And you'll love seeing their creativity bloom!
Pro tip: Make scented play dough for an extra sensory boost. Add vanilla extract for a sweet smell, or cinnamon for a spicy twist. The possibilities are endless!
Sensory Finger Painting
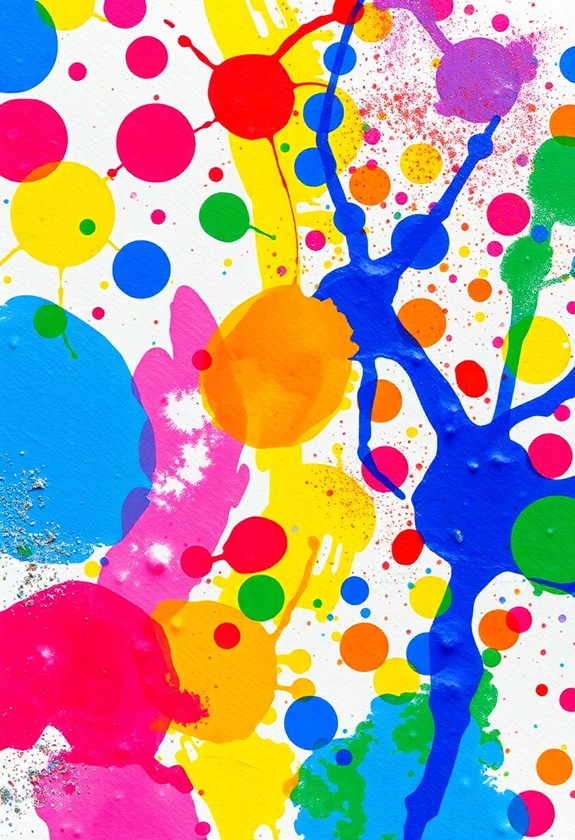
Bursting with color and sensation, sensory finger painting takes toddler art to a whole new level. It's not just about creating pretty pictures; it's an immersive experience that'll engage your little one's senses and spark their creativity!
To get started, gather these fun ingredients:
- Shaving cream for a fluffy base
- Food coloring or washable paint for lively hues
- Glitter for sparkly magic
- Scented oils for aromatic fun
- Small toys or objects for texture stamping
Let the messy fun begin! Squirt shaving cream onto a tray or table, add drops of color, and let your toddler plunge into it! Encourage them to swirl, smear, and investigate. Watch their eyes light up as they uncover new textures and colors mixing together. It's a hands-on learning experience they'll love!
Don't forget to join in the fun! Your enthusiasm will be contagious. As you play, talk about the colors, textures, and sensations. "Ooh, that's smooth!" or "Wow, look at that swirly purple!" This chatter helps develop language skills as you're both having a blast.
Nature Texture Rubbings
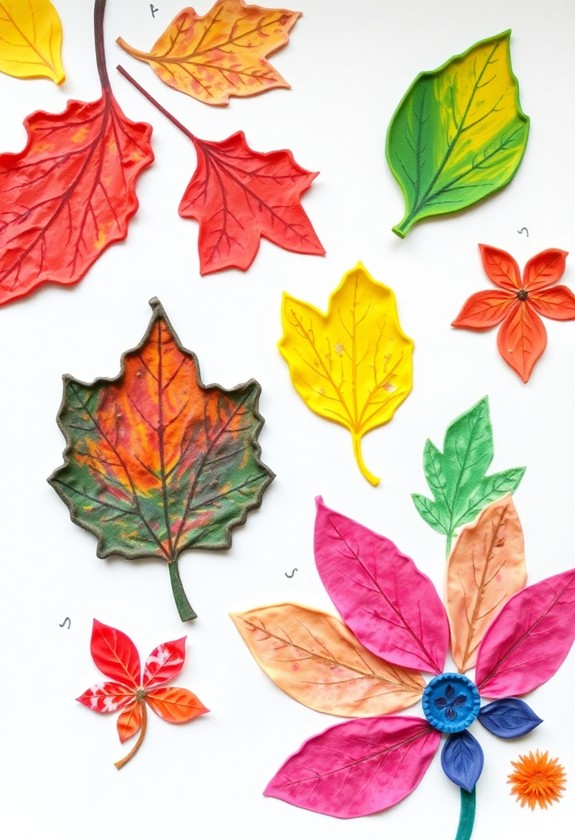
Take your toddler's art adventures outdoors with nature texture rubbings. This exciting activity combines exploration and creativity, allowing your little one to uncover the world around them through touch and sight!
Start by gathering supplies: crayons (with paper peeled off), thin paper, and a clipboard or hard surface. Then, head outside for a texture treasure hunt! Look for interesting surfaces like tree bark, leaves, rocks, or even sidewalks. When you find a great texture, place the paper over it and show your toddler how to rub the crayon's side across the paper. Watch their eyes light up as the texture magically appears!
Encourage your child to try different colors and pressures. They'll love seeing how each rubbing turns out distinctly! Want to branch out? Try rubbings on fence posts, brick walls, or even car tires (with permission, of course). Back inside, turn your nature rubbings into a collage or story. Cut out shapes and arrange them to create imaginative scenes. This leafy little activity will have your toddler barking up the right tree of artistic expression!
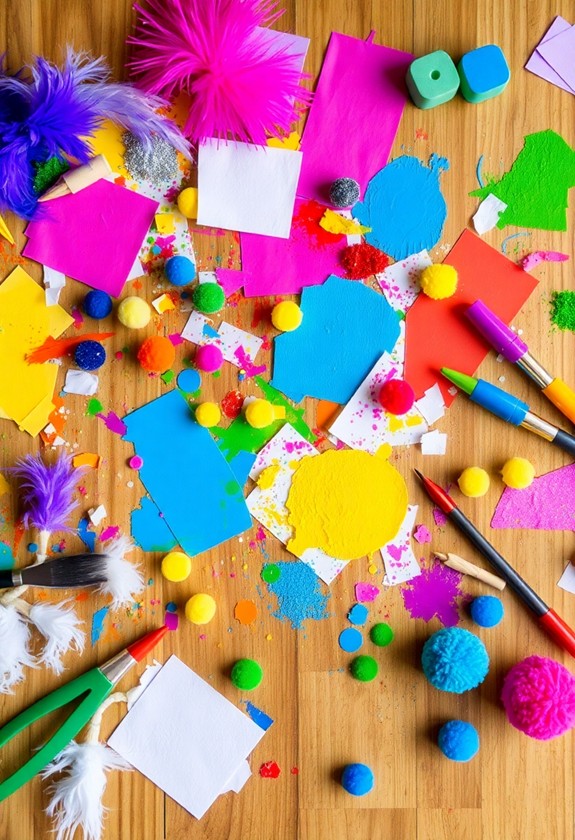
Fuzzy Stick Sculptures
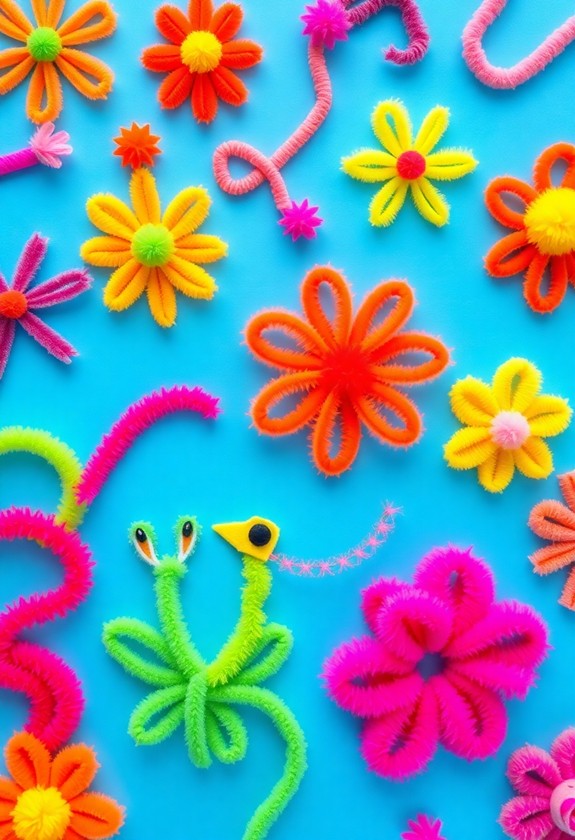
Soft, colorful, and endlessly bendable, fuzzy sticks (also known as pipe cleaners) are perfect for toddler-friendly sculptures. These versatile materials will have your little one's imagination running wild! Let's plunge into the world of fuzzy stick art and investigate the endless possibilities.
Getting Started:
Gather a variety of fuzzy sticks in different colors and lengths. You'll be amazed at how quickly your toddler picks up the art of twisting and shaping these fluffy wonders! Encourage them to create anything their heart desires – from simple shapes to intricate creatures.
Here are some fun ideas to spark your toddler's creativity:
- Make a lively, wearable bracelet
- Craft a wiggly caterpillar or butterfly
- Build a miniature house or tree
- Design a funky, abstract sculpture
- Create colorful letters or numbers
As your child manipulates the fuzzy sticks, they'll develop fine motor skills and spatial awareness. Plus, the soft texture is a sensory delight! Don't be surprised if you find yourself joining in on the fun – these fuzzy creations are seriously addictive. Remember, there's no right or wrong way to make fuzzy stick art. Let your toddler's imagination run wild and watch their confidence soar!
Rice Shaker Art
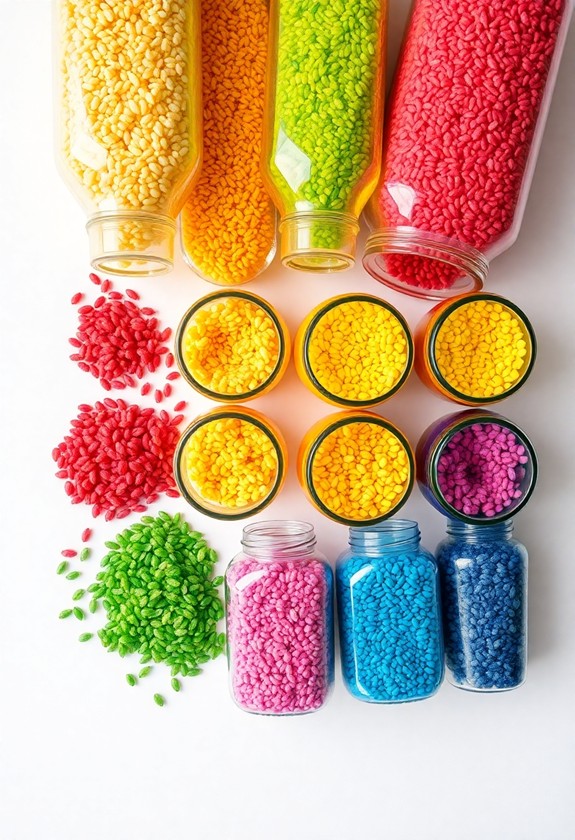
Shaking things up in the art world, rice shaker art is a delightful sensory experience for toddlers. It's time to get noisy and creative! You'll need clear plastic bottles, uncooked rice, and various colorful materials like glitter, sequins, or small beads.
Here's how to make your rice shakers:
- Fill each bottle about 1/3 full with rice.
- Add a splash of color with your chosen materials.
- Secure the lid tightly – double-check this step!
Now, let the fun begin! Encourage your little one to shake, rattle, and roll their bottle. Watch as the rice and colorful bits sway inside, creating ever-changing patterns. It's like a mini disco in a bottle!
But wait, there's more! Once they've had their fill of shaking, it's time to get artsy. Squirt some paint onto paper and let your toddler use the bottle as a rolling pin. As they roll, the bumpy texture of the rice will create unique patterns. Talk about rice-n-shine art!
This activity isn't just fun – it's a feast for the senses. Your toddler will love the sounds, sights, and tactile sensations. Plus, it's great for developing fine motor skills and hand-eye coordination. So, let's get shakin'!
Curious Little Questions
How Can I Make Art Projects Safe for Toddlers With Allergies?
Safety first, creative parents! To make art projects allergy-friendly for your little Picassos, you'll need to be a super-sleuth! Start by identifying your toddler's specific allergies. Then, swap out risky materials for safe alternatives. Go for hypoallergenic paints, glues, and clay. Avoid common allergens like wheat (in paste) or nuts (in some natural dyes). Always read labels carefully, and when in doubt, leave it out! With these precautions, you'll create a worry-free artistic playground for your tiny talents!
What's the Best Way to Store and Preserve Texture-Rich Art Creations?
You've got texture-tastic treasures to preserve? No problem! Here's how to keep those masterpieces in tip-top shape:
First, let 'em dry completely. Then, snap a photo for safekeeping. Next, find a cool, dry spot to store your creations. Use acid-free paper or boxes to protect them from damage. For extra pizzazz, frame your favorites or create a special "art gallery" wall! And don't forget to label each piece with the date and artist's name. Your little Picasso will love looking back on their tactile triumphs!
Are There Eco-Friendly Alternatives for Texture-Rich Art Materials?
You'll love these eco-friendly options for texture-rich art! Try using natural materials like leaves, twigs, and pebbles. They're free and fun to collect! Recycled items are fantastic too – think egg cartons, cardboard, or old fabric scraps. Homemade playdough is a green choice, and it's a blast to make! For paint, mix up some veggie-based colors. It's like magic in a bowl! These earth-friendly alternatives are not only great for the planet but likewise super exciting for little artists!
How Can I Incorporate Learning Objectives Into Texture-Rich Art Projects?
Plunge into a world of sensory learning! You can weave educational magic into texture-rich art projects. Start by naming colors and shapes as you create. Count objects, sort materials, and discuss patterns. Encourage problem-solving by asking, "What if we try this?" Boost language skills by describing textures: "Is it bumpy or smooth?" Introduce basic science concepts like mixing colors. And don't forget to investigate emotions: "How does this texture make you feel?" With these tricks, you're not just making art—you're crafting little geniuses!
What Are Age-Appropriate Tools for Toddlers to Use in Texture-Rich Art?
Let's talk about awesome tools for toddlers' texture-rich art! You'll love these options:
- Chubby paintbrushes: Easy to grip and perfect for big strokes!
- Jumbo crayons: Sturdy and great for scribbling!
- Finger paints: Messy fun that's safe for little hands!
- Play dough: Squishy and moldable for endless creativity!
- Sponges: Cut into fun shapes for stamping!
- Large stickers: Sticky fun without frustration!
These tools are safe, easy to use, and oh-so-fun for your little artist's adventures in texture!