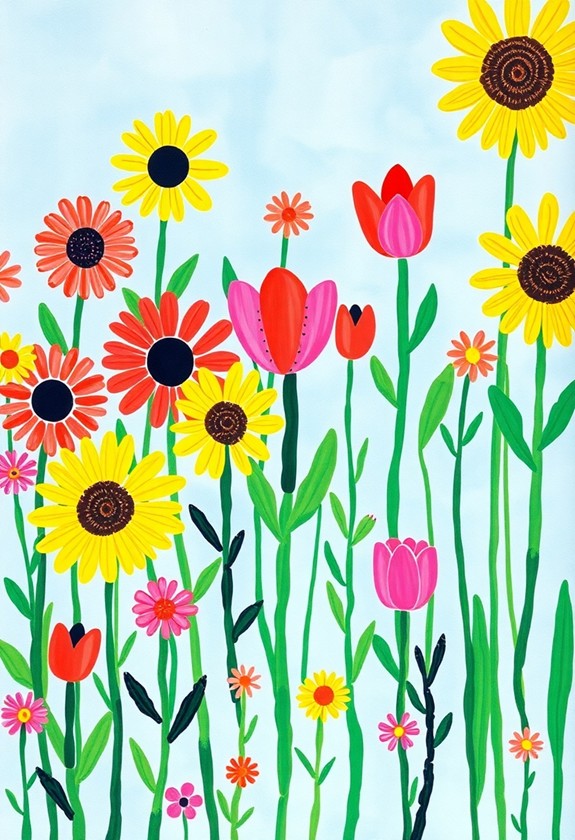
Get ready to bloom with creativity! Spring's lively colors are calling, and we've got seven fantastic flower crafts perfect for little hands. From painted handprints to coffee filter bouquets, these projects will have your kiddos buzzing with excitement. They'll love squishing paint, crumpling tissue paper, and investigating textures as they create beautiful blossoms. Each craft offers a unique way to celebrate the season and develop fine motor skills. Plus, you'll end up with adorable decorations to brighten your home. Whether it's sunflowers, daffodils, or tulips, there's a petal-perfect project for everyone. Immerse yourself and watch your little artists blossom!
Creative Highlights
- Painted Handprint Flower Garden uses paint-dipped hands to create colorful blossoms, enhancing motor skills and creativity.
- Paper Plate Sunflower Craft transforms simple materials into vibrant sunflowers, ideal for room decoration.
- Tissue Paper Blossom Collage encourages fine motor skills through crumpling and gluing colorful tissue squares.
- Cupcake Liner Daffodil Art utilizes common baking supplies to craft cheerful spring flowers with minimal complexity.
- Fingerprint Flower Field Painting allows children to create diverse floral scenes using their fingertips and washable paints.
Painted Handprint Flower Garden
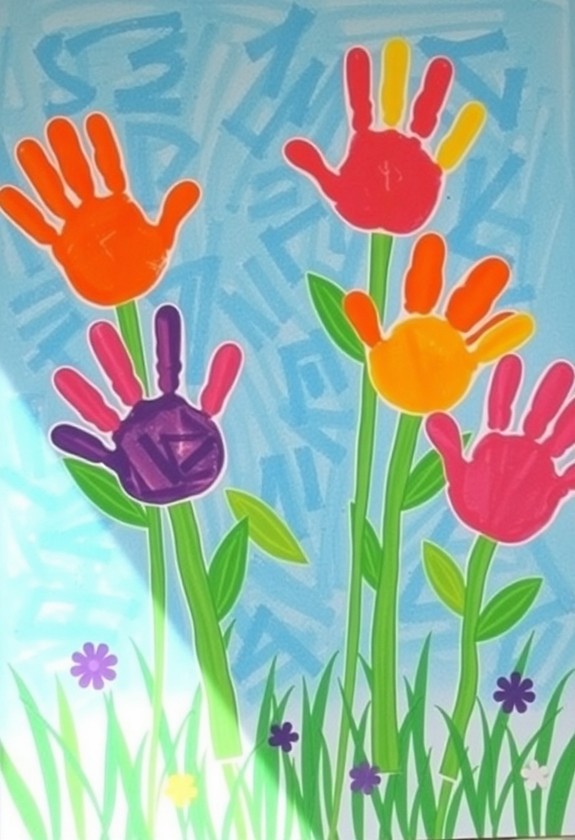
Five colorful handprints are all you need to create a lively flower garden on paper. It's so easy and fun! Here's how:
- Gather your supplies: paper, washable paint, and a willing helper
- Dip your child's hand in paint (pick spring colors!)
- Press their hand onto the paper, fingers spread
- Repeat with different colors for each flower
This multi-sensory experience aids in memory retention and information processing, essential for early childhood development. Regular crafting stimulates brain regions associated with problem-solving, creativity, and motor skills.
But wait, there's more! Turn those handprints into blooming beauties:
- Add stems and leaves with green paint
- Use thumbprints to create a buzzing bee or ladybug
- Sprinkle in some grass or clouds for a full scene
This craft is a blast and makes for adorable keepsakes. Plus, it's a great way to measure how your little gardener's hands grow over time. Get ready for a handy, dandy time!
Paper Plate Sunflower Craft
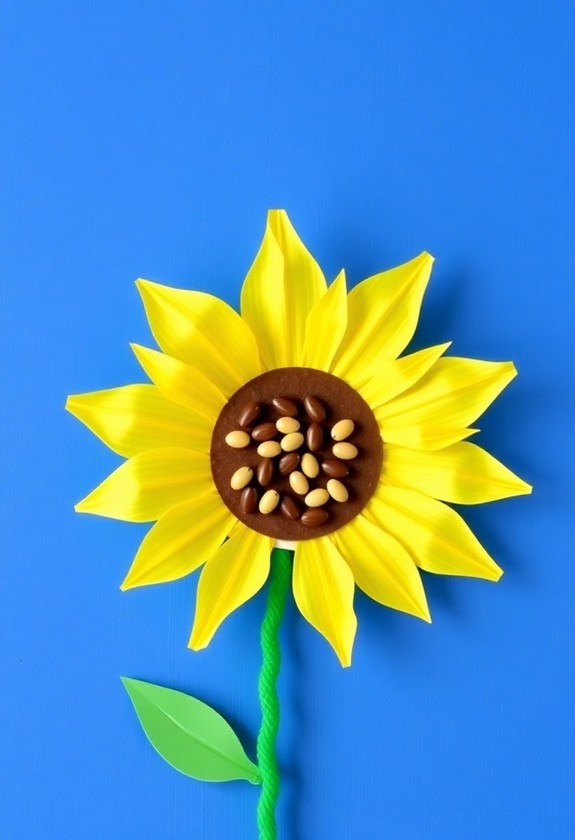
With just a paper plate and a few simple supplies, you can create a cheerful sunflower craft that's perfect for brightening up any room. Let's get started on this sunny adventure! This mess-free art activity is ideal for toddlers and promotes fine motor skills development as well as encouraging creativity.
You'll need:
- Paper plate
- Yellow paint
- Brown paper
- Scissors
- Glue
First, paint the plate yellow – don't be shy, slather it on! As it dries, cut petal shapes from the edge of another plate. Now for the fun part: glue those petals around your sunny circle. Voila! You've got a flower blooming before your eyes!
For the finishing touch, cut a brown circle for the center. Glue it on, and your sunflower is complete! But wait, there's more! Why not make a whole garden? You'll be the talk of the town with your paper plate flower power!
Tissue Paper Blossom Collage
Now let's examine another colorful spring craft that's guaranteed to delight kids of all ages. Get ready for a burst of color with a Tissue Paper Blossom Collage! This fun activity is a blooming good time! Although perfect for spring, this craft can easily be adapted for summer art activities by using bright, sunny colors.
Here's what you'll need:
- Colorful tissue paper
- White paper
- Glue stick
- Scissors
Let's get crafting:
- Cut tissue paper into small squares.
- Draw a simple flower outline on white paper.
- Crumple each tissue square and glue it within the flower shape.
- Keep adding until your blossom is full and fabulous!
Watch as your paper garden grows! Mix and match colors for a rainbow of flowers, or stick to one hue for a monochromatic masterpiece. This petal-tastic project is guaranteed to put a spring in your step and a smile on your face!
Cupcake Liner Daffodil Art
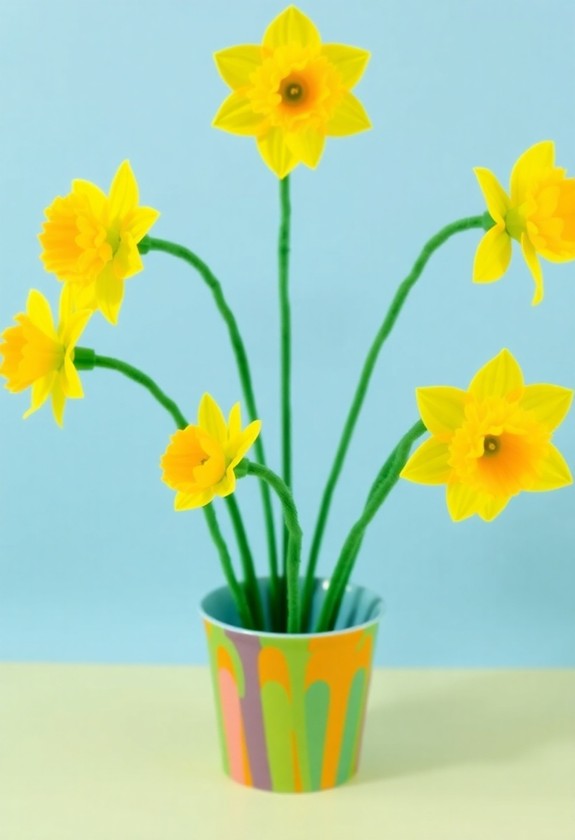
Spring-themed crafts reach new heights with the charming Cupcake Liner Daffodil Art project. Get ready to transform ordinary cupcake liners into beautiful blooms! Here's what you'll need:
- Yellow and white cupcake liners
- Green construction paper
- Glue stick
- Scissors
- Markers or crayons
Let's get crafting! Start by flattening your yellow liners – these will be your daffodil's petals. For the center, crinkle a white liner and glue it in the middle. Snip and shape the yellow liner's edges for a petal-perfect look!
Now, it's stem time! Cut long, narrow strips of green paper and curl them slightly. Glue these "stems" to your flower. Want to add some leaf-appeal? Cut leaf shapes and attach them to your stems. This creative fall art idea can easily be adapted for spring by using bright, cheerful colors. Encourage your toddler to experiment with different color combinations to create a whole garden of unique flowers!
Voila! You've created a daffodil that's certain to bring spring cheer. Display your blooming masterpiece proudly!
Fingerprint Flower Field Painting
Let's move from individual flowers to a whole field of blooms with our next craft: Fingerprint Flower Field Painting. This fun activity is perfect for little artists who love to get messy! Non-toxic, washable formulas are ideal for this project, ensuring safe and easy cleanup. These paints likewise promote sensory exploration through various textures and colors.
Here's what you'll need:
- Large white paper
- Colorful washable paints
- Green paint for stems
- Paintbrushes
- Wet wipes (for clean-up)
Ready to create? Follow these easy steps:
- Paint a blue sky and green grass background.
- Dip your fingertips in various colors.
- Press your painted fingers onto the paper to make flower petals.
- Add green stems with a paintbrush.
Voila! You've just created a "field-good" masterpiece! This craft is blooming with possibilities – try different color combinations or add bees and butterflies. It's a great way to celebrate spring and let your creativity blossom!
Coffee Filter Flower Bouquet
Another delightful craft to add to your spring repertoire is the Coffee Filter Flower Bouquet. This colorful creation is a breeze to make and oh-so-pretty! Here's what you'll need:
- Coffee filters
- Washable markers
- Water spray bottle
- Pipe cleaners
- Scissors
Let's get crafting! First, flatten out your coffee filters and go wild with those markers! Create swirls, dots, or whatever patterns your heart desires. Now for the magic part – spritz the filters with water and watch the colors blend beautifully! Once dry, pinch the center and twist to form a flower shape. Wrap a pipe cleaner around the twisted part for the stem. Voila! You've got yourself a fantastic flower. Make a bunch and bundle them together for a stunning bouquet that'll last all spring long!
Egg Carton Tulip Garden
Even though coffee filter flowers are charming, egg carton tulips offer a unique 3D twist to your spring crafting. Get ready for a blooming good time! Here's what you'll need:
- Egg cartons
- Scissors
- Paint and brushes
- Green pipe cleaners
- Glue
First, cut out individual egg cups and trim them into petal shapes. Next, paint your tulips in vivid spring colors. Let your creativity blossom! Once dry, poke a small hole in the bottom of each flower. Thread a pipe cleaner through for the stem, and secure with glue.
Now, it's time to plant your garden! Arrange your tulips in a colorful bouquet or stick them in a decorated shoebox "flower bed." Don't forget to add some tissue paper grass for extra flair. Your egg-cellent tulip garden will be the talk of the town!
Curious Little Questions
What Age Group Are These Spring Flower Crafts Suitable For?
You're in for a treat! These spring flower crafts are perfect for kids aged 3 to 10. They're especially great for little hands, but older kids will have a blast too! Here's the scoop:
- Preschoolers (3-5): Simple, fun projects with lots of adult help
- Elementary kids (6-10): More independence and creativity
Don't worry, though – there's something for everyone! These crafts are so fun, you might even catch adults joining in. Get ready to bloom with creativity!
How Long Does Each Craft Typically Take to Complete?
Time flies when you're having fun crafting! These spring flower projects typically take 15-30 minutes to complete. But don't worry, it's not set in stone! Some kids might zip through in a flash, whereas others take their sweet time. It all depends on the craft's complexity and your little one's pace. Remember, it's about enjoying the process, not racing to the finish line. So, grab those supplies and let creativity bloom!
Are There Any Alternatives for Children With Sensory Sensitivities?
If your child has sensory sensitivities, don't worry – there are plenty of alternatives! You can try:
- Using soft, textured paper instead of regular craft paper
- Swapping glue for tape or velcro
- Opting for crayons or colored pencils instead of paint
- Creating digital art on a tablet or computer
Can These Crafts Be Adapted for Classroom or Group Settings?
You can turn these crafts into a blooming success in group settings! Like a garden bursting with color, your classroom can come alive with creativity. Here's how:
- Set up stations for different crafts
- Use team-building exercises to create larger flower displays
- Have a "flower show" to showcase everyone's work
And don't forget, you can adapt materials for different ages and abilities. With a little planning, you'll create a fun, flowery experience that'll have everyone buzzing with excitement!
What Cleaning Products Work Best for Removing Craft Materials From Clothes?
You've got paint on your shirt? No worries! Here's how to tackle those bothersome craft stains:
- For water-based paints: Rinse with cold water and use dish soap!
- Glue be gone: Try rubbing alcohol or vinegar
- Marker mayhem: Dab with hairspray or hand sanitizer
- Crayon craziness: Dish soap and a toothbrush to the rescue!