Get ready for a year-round art adventure with your little ones! Spring into action with colorful finger-painted flowers. Soak up the sun with sponge-stamped summer scenes. Fall for adorable leaf collages as autumn arrives. As winter wonderland beckons, craft fluffy cotton ball snowflakes! Want a project that grows with your child? Try a handprint tree that changes with the seasons. For sensory exploration, set up nature-inspired art bins filled with seasonal treasures. These simple projects are perfect for tiny artists to express their creativity during learning about the world around them. But wait, there's more seasonal fun to uncover!
Creative Highlights
- Spring flower finger painting uses colorful paints and hand movements to create vibrant floral art.
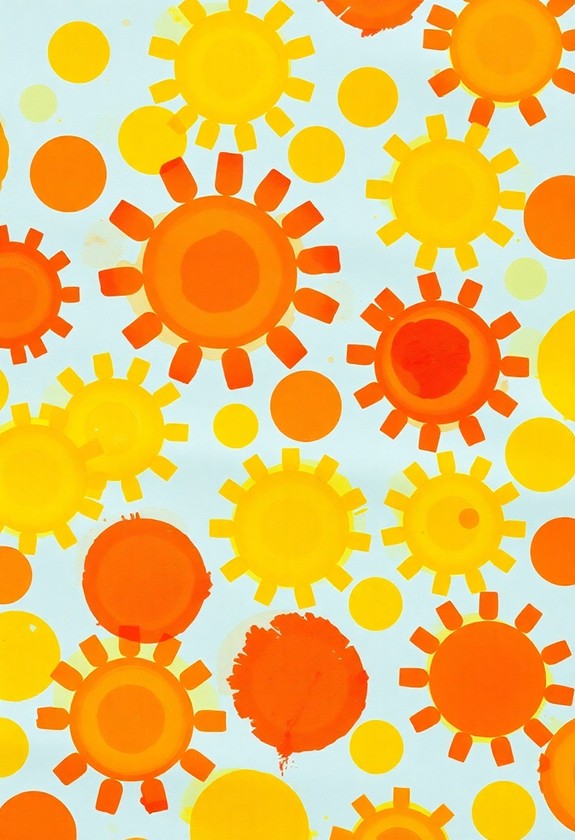
- Summer sun sponge stamping creates cheerful sun designs with yellow and orange paint on white paper.
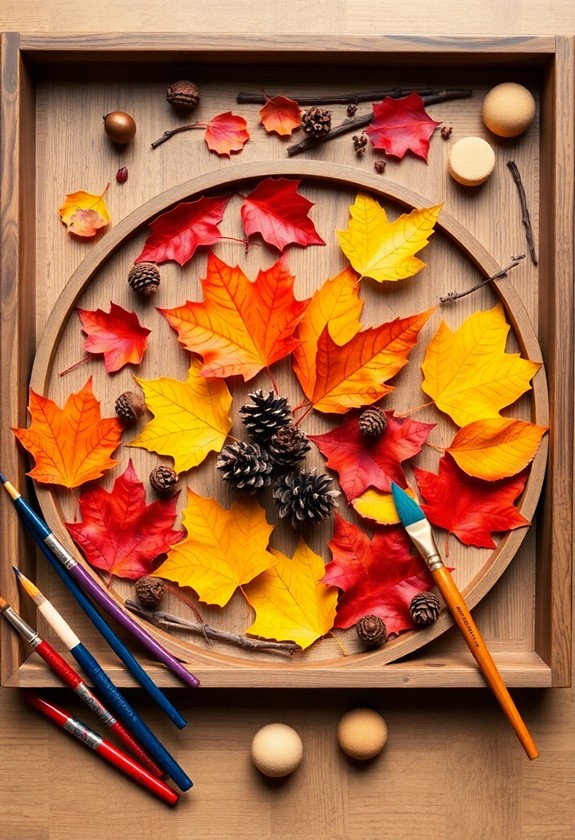
- Fall leaf collage art combines collected autumn leaves to make imaginative scenes or creatures.
- Winter snowflake cotton ball craft uses fluffy cotton and glue to craft sparkly snowflakes on blue paper.
- Seasonal handprint tree project tracks growth year-round by adding painted handprints as leaves to a trunk.
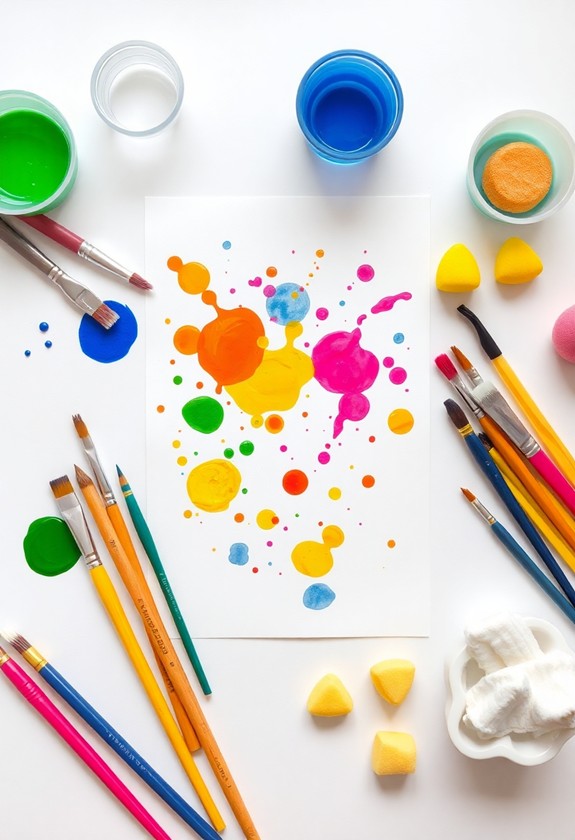
Spring Flower Finger Painting
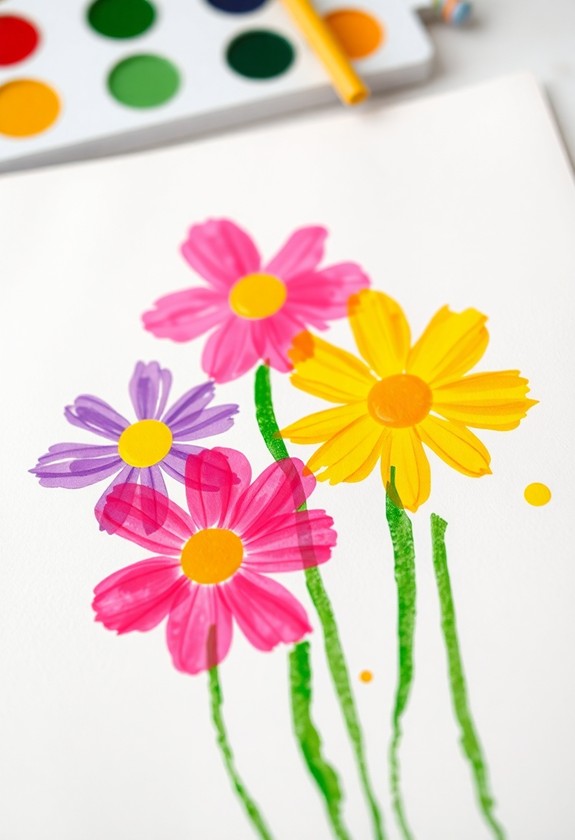
Blossoms burst forth as spring arrives, making it the perfect time for little artists to create lively finger-painted flowers. Get ready for a blooming good time with this fun and messy activity! This project not only encourages creativity but additionally helps develop fine motor skills through hands-on painting. For added safety and easier cleanup, consider using water-based, non-toxic paints.
Materials needed:
- Finger paint in spring colors
- Large white paper
- Smocks or old t-shirts
- Wet wipes for cleanup
Let's get painting!
- Dress your little Picassos in smocks to protect their clothes.
- Spread out the paper on a flat surface.
- Squirt different colors of paint onto paper plates.
- Show your kids how to dip their fingers in paint and press them onto the paper to make petals.
- Encourage them to mix colors and create different flower shapes!
As they paint, chat about spring flowers they've seen. What colors are their favorites? Can they make a whole garden scene?
Don't forget stems and leaves! Use thumbprints or handprints for added flair. And remember, there's no wrong way to finger paint – it's all about having fun and discovering creativity!
When they're done, hang up their masterpieces to dry. Voila! You've got a budding art gallery that'll brighten any room!
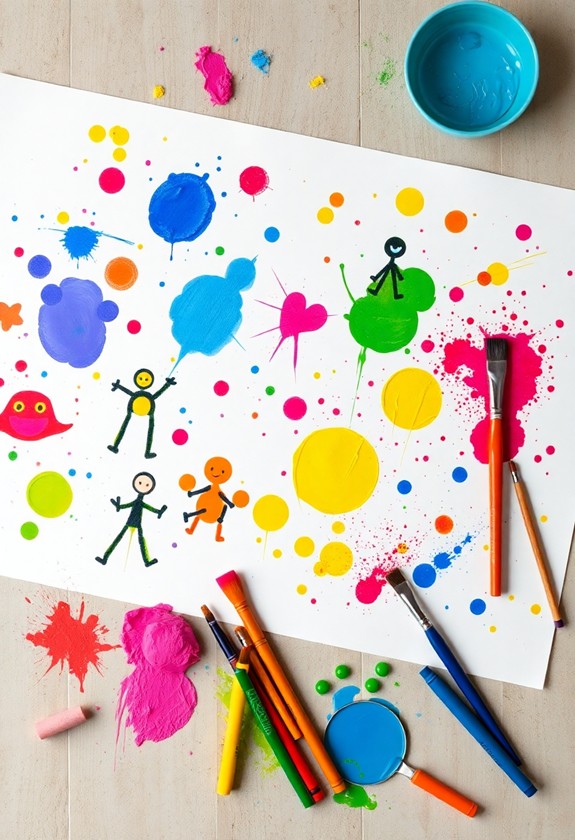
Summer Sun Sponge Stamping
As spring flowers fade, it's time to turn our artistic eyes to the lively sun of summer. Get ready for a bright and cheerful project that'll have your little ones beaming with pride! This creative summer activity is perfect for toddlers and will keep them engaged during discovering their artistic side.
Materials needed:
- Yellow and orange paint
- Round sponges
- Paper plates
- White construction paper
Let's jump in! First, pour some yellow and orange paint onto separate paper plates. Now, grab those round sponges – they're your sun-making tools! Dip a sponge into the yellow paint and press it onto the white paper. Voila! You've just created the sun's center.
But wait, there's more! Use smaller sponges or the edges of your big sponge to stamp sun rays all around. Mix it up with both yellow and orange to make your sun really shine!
Want to take it up a notch? Try adding a blue background with a larger sponge before stamping your sun. Or, get creative and make a whole solar system of sponge-stamped planets!
This sponge-tacular activity is guaranteed to brighten up any summer day. So, grab those sponges and let the sun-stamping begin!
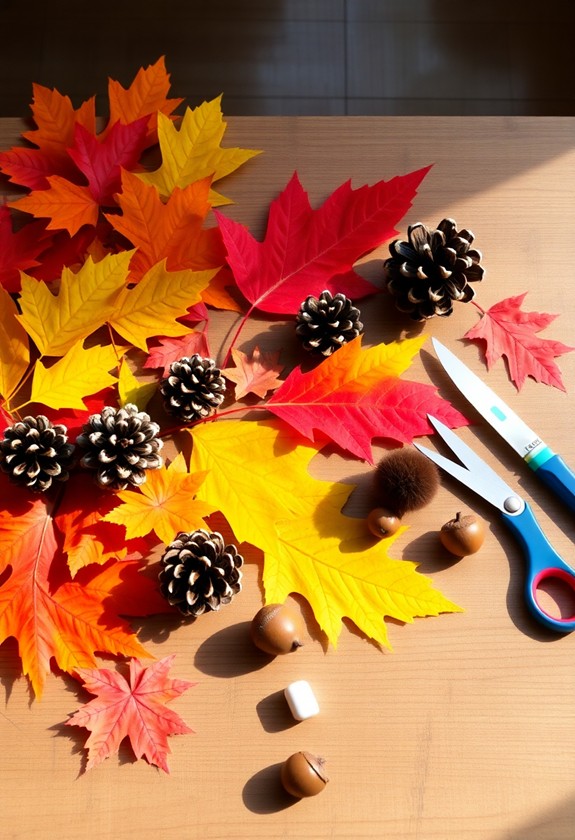
Fall Leaf Collage Art

The crisp air and lively colors of autumn make it the perfect season for creative exploration. Let's explore a fun, hands-on project that'll have your little ones falling in love with art: Fall Leaf Collage Art!
First, grab your shoes and head outside for a leaf-hunting adventure! Collect a variety of colorful leaves in different shapes and sizes. But wait, there's more! Look for acorns, twigs, and other autumn treasures too. This nature-inspired activity not only improves fine motor skills but also encourages problem-solving as children decide which items to collect and use in their artwork.
Back inside, it's time to get crafty! Lay out your findings and gather some supplies:
- Sturdy paper or cardboard
- Glue
- Scissors (optional)
- Markers or crayons
Now, let your imagination run wild! Arrange the leaves and nature bits on your paper to create a stunning autumn scene. How about a leafy owl? Or a tree bursting with fall colors? The possibilities are endless!
Once you're happy with your design, glue everything in place. Add some final touches with markers or crayons if you'd like. And voila! You've created a leaf-tastic masterpiece that'll brighten up any room. It's the perfect way to bring the beauty of fall indoors!
Winter Snowflake Cotton Ball Craft
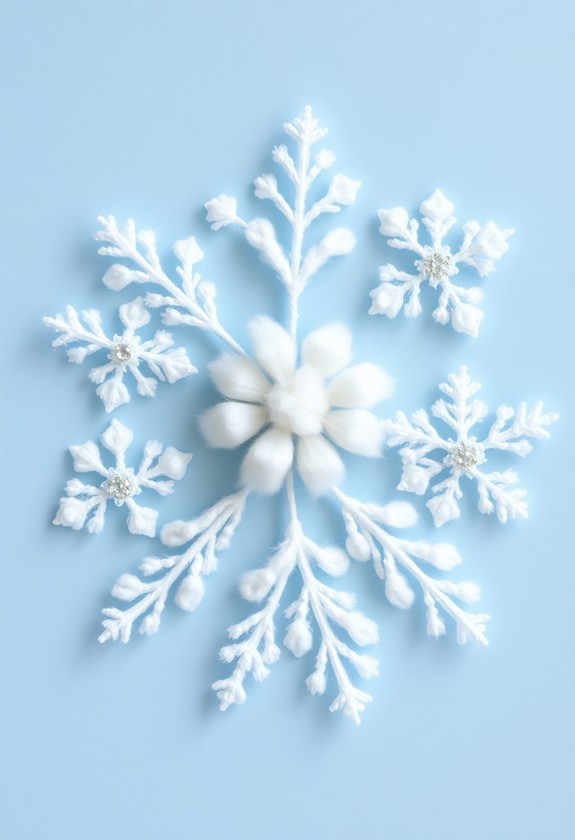
Winter's frosty charm comes to life with this delightful snowflake cotton ball craft. Get ready to transform fluffy cotton balls into a winter wonderland! This easy project is perfect for little hands and big imaginations. As this craft focuses on winter, you can easily adapt it for other seasons, like creating Valentine's Day crafts with heart-shaped designs instead of snowflakes.
What you'll need:
- Cotton balls
- Blue construction paper
- White glue
- Scissors
- Silver glitter (optional)
Start by cutting a large snowflake shape from your blue paper. Don't worry, it doesn't have to be perfect – every snowflake is unique! Now, let's get sticky! Spread glue all over your snowflake, then it's time for the fun part. Stick those cotton balls onto the glue, covering the entire shape. Watch as your snowflake gets fluffier and fluffier!
Want to add some sparkle? Sprinkle silver glitter over the cotton balls for a magical, icy effect. It'll look snow amazing! Once you're done, hang your creation on the fridge or in a window. Voila! You've just crafted a winter masterpiece that's certain to melt hearts. This cool craft is a great way to bring the beauty of winter indoors, no matter the weather outside!
Seasonal Handprint Tree Project
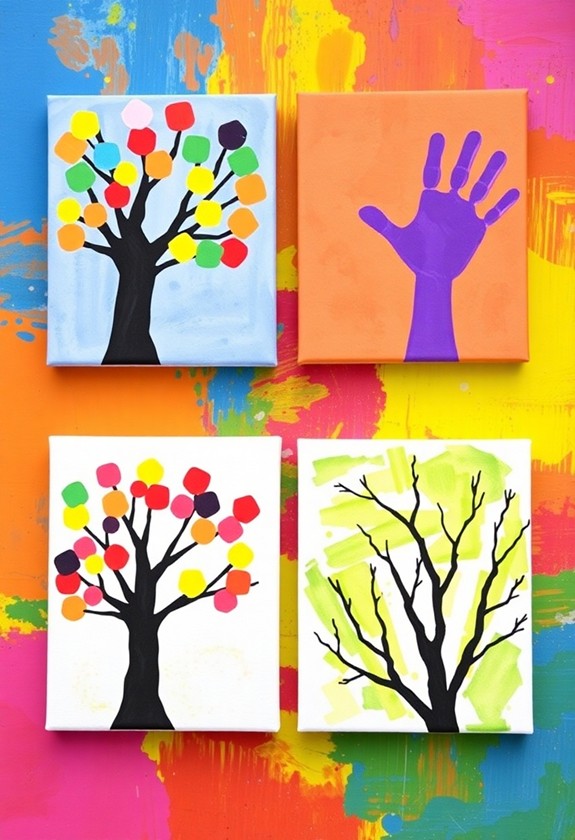
Creativity blossoms with this year-round seasonal handprint tree project. It's a fantastic way to track your child's growth as you celebrate nature's changes! This craft not only improves fine motor skills but also stimulates brain regions associated with problem-solving and creativity. Regular engagement in such activities can encourage neural connections crucial for language and spatial awareness.
Here's what you'll need:
- Large paper or canvas
- Washable paint
- Paintbrush
- Wet wipes for clean-up
Start by painting a simple tree trunk and branches on your canvas. Now, here comes the fun part! For each season, you'll add colorful handprints as leaves. In spring, use pastel colors like pink and light green. Summer calls for lively greens and yellows. Fall? Go wild with oranges, reds, and browns! And for winter, white handprints can become snowy branches.
As you create, talk about the seasons and their unique characteristics. What makes fall special? Why do leaves change color? It's a hands-on learning experience!
Don't forget to date each set of handprints. You'll love seeing how your little one's hands grow over time. This project isn't just art – it's a keepsake you'll treasure for years to come. So, get ready to make a splash with this tree-mendous craft!
Nature-Inspired Sensory Art Bins
From handprint trees to tactile investigation, let's examine another engaging art activity for little ones. Nature-inspired sensory art bins are a fantastic way to combine creativity and exploration! These bins are easy to set up and provide hours of fun for your little artists. Craft benefits include enhancing fine motor skills and boosting creativity in children, making them an excellent choice for toddlers.
To create your own sensory art bin, start with a large, shallow container. Fill it with natural materials like:
- Colorful autumn leaves
- Smooth pebbles or seashells
- Fragrant pine needles
- Soft flower petals
- Textured bark pieces
Add some art supplies like crayons, markers, or paint, and watch your child's imagination soar! They'll love touching, sorting, and creating with these natural treasures.
Benefits of sensory art bins:
Sensory bins aren't just fun – they're educational too! Your child will develop fine motor skills, learn about textures and colors, and gain an appreciation for nature. Plus, it's a great way to bring the outdoors inside on rainy days.
Curious Little Questions
How Can I Adapt These Projects for Children With Sensory Sensitivities?
You've got this! For kids with sensory sensitivities, try these awesome adaptations:
- Use soft, textured materials like felt or foam
- Offer noise-cancelling headphones for quiet crafting
- Provide fidget tools for breaks
- Use scent-free materials
- Create a calm, low-light workspace
- Break projects into smaller steps
- Allow extra time and breaks
What Are Some Eco-Friendly Alternatives to Traditional Craft Materials?
Hey there, eco-warrior! Let's get crafty with Mother Nature's goodies! You'll love these green alternatives:
- Use leaves, twigs, and flowers instead of paper
- Try natural dyes from berries and veggies
- Make your own play dough with flour and salt
- Repurpose cardboard boxes and toilet paper rolls
- Create with beeswax instead of crayons
- Paint with mud or crushed chalk
Get ready to "stick" it to traditional crafts and "leaf" a smaller footprint! Your planet-friendly masterpieces will be tree-mendous!
Are There Any Safety Precautions to Consider for Very Young Children?
Did you know that 81% of parents worry about their kids' safety during crafts? You're not alone! In regards to little artists, safety first! Always supervise your tiny Picassos, and keep sharp tools out of reach. Opt for non-toxic, washable materials – no icky chemicals here! Watch out for choking hazards, like small beads or buttons. And don't forget to cover your crafting area – newspaper works wonders! With these precautions, you'll be ready for a mess-tacular, worry-free art adventure!
How Can I Incorporate Learning Objectives Into These Art Projects?
You can totally turn art projects into learning adventures! Incorporate numbers by counting shapes or colors. Boost language skills by discussing the artwork's theme. Sneak in science by investigating color mixing or texture. Improve fine motor skills through cutting and pasting. And don't forget history – tie projects to cultural traditions or holidays! The possibilities are endless. Remember, learning through art is fun and engaging. So get creative, and watch those little minds grow as tiny hands get messy!
What Are Some Ways to Display and Preserve Children's Seasonal Artwork?
Time to let your little Picassos shine! You've got a collection of seasonal masterpieces, so why not show them off? Create a "gallery wall" in your home, using colorful washi tape to frame each piece. Or, make a scrapbook to preserve their artistic adventure. Don't forget digital displays! Snap photos and create a slideshow screensaver. For 3D art, dedicate a special shelf or shadowbox. And remember, refrigerator galleries are always in style! Your home will be bursting with creativity in no time!