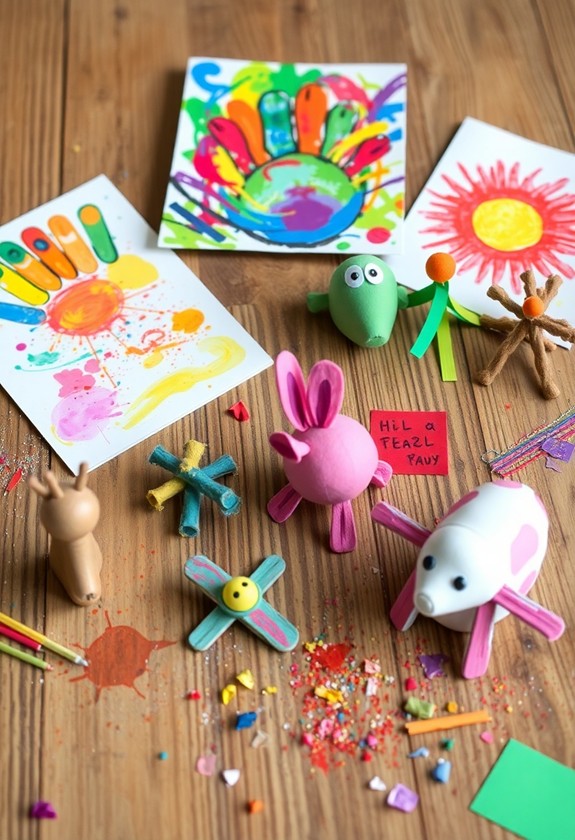
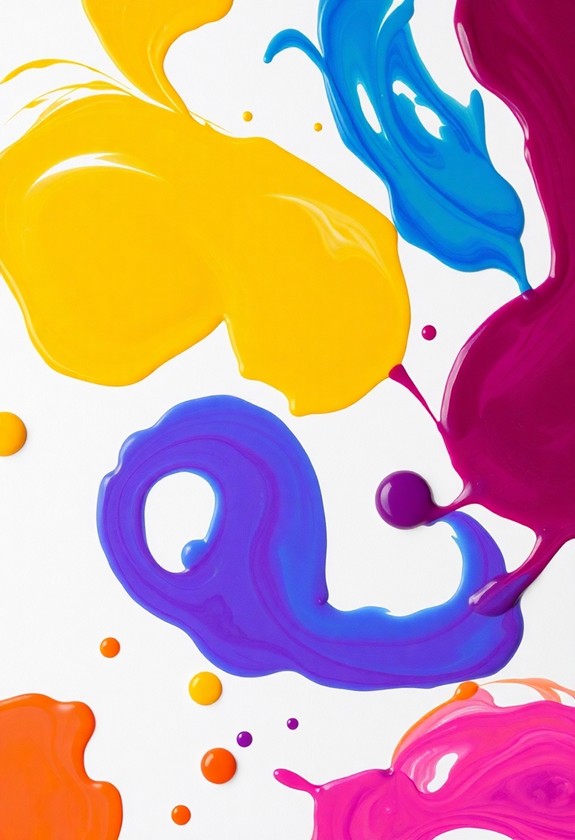
Get ready for some messy fun with these 7 thrifty finger painting ideas for your toddler! You'll love making edible paints from cornstarch and water, or using household items like pudding and yogurt as colorful canvases. Turn recycled containers into paint trays, and investigate nature-inspired painting with leaves and mud. Spice things up with textured paints using sand or rice, or try mess-free painting in sealed bags. Don't forget to delight the senses with homemade scented paints! These budget-friendly activities will keep your little one entertained and spark their creativity. But wait, there's more to unveil about each exciting idea!
Creative Highlights
- Create DIY edible finger paints using cornstarch, water, and food coloring for a safe, cost-effective art experience.
- Repurpose household items like egg cartons, muffin tins, and yogurt containers as paint trays for budget-friendly painting sessions.
- Use natural materials like leaves, twigs, and homemade paints from mud or berries for outdoor nature-inspired finger painting.
- Make textured paints by adding sand, rice, or cornmeal to regular paints for a sensory-rich art activity.
- Utilize zip-lock bags filled with paint for mess-free finger painting, reducing cleanup time and costs.
DIY Edible Finger Paints
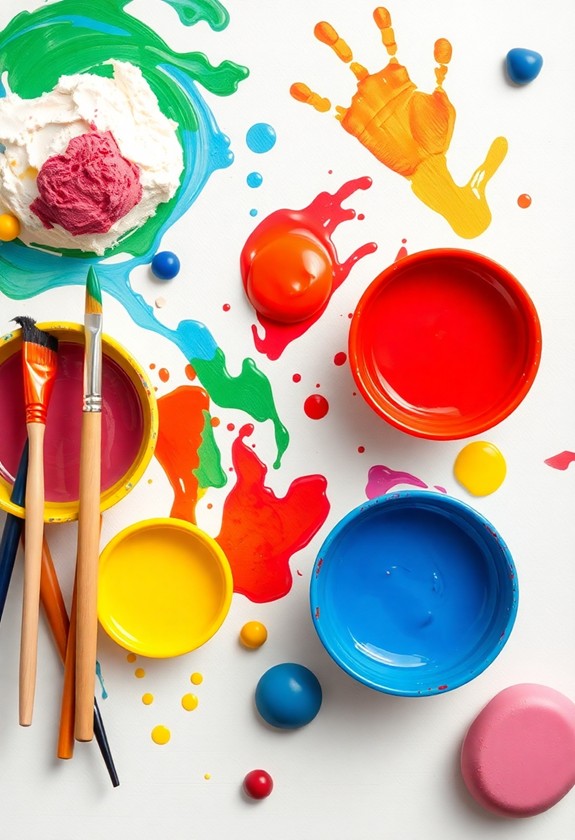
With DIY edible finger paints, you'll give your toddler a safe and fun sensory experience. It's super easy to whip up these tasty creations right in your kitchen! Here's what you'll need:
- 1 cup cornstarch
- 1 cup cold water
- 3 cups boiling water
- Food coloring
Mix the cornstarch and cold water in a pot. Slowly add boiling water, stirring constantly. Cook over medium heat until it thickens – voila, you've got paint base! Divide it into containers and add food coloring for lively hues. This non-toxic formula is perfect for toddlers aged 1-3 years, promoting creativity and enhancing fine motor skills.
Your little artist can now express their creativity without worry. These paints are safe if tasted (though not meant for snacking). Plus, they're a breeze to clean up! Watch as your toddler finger-paints their way to colorful masterpieces. It's a win-win situation: they'll have a blast, and you'll have peace of mind!
Recycled Container Paint Trays
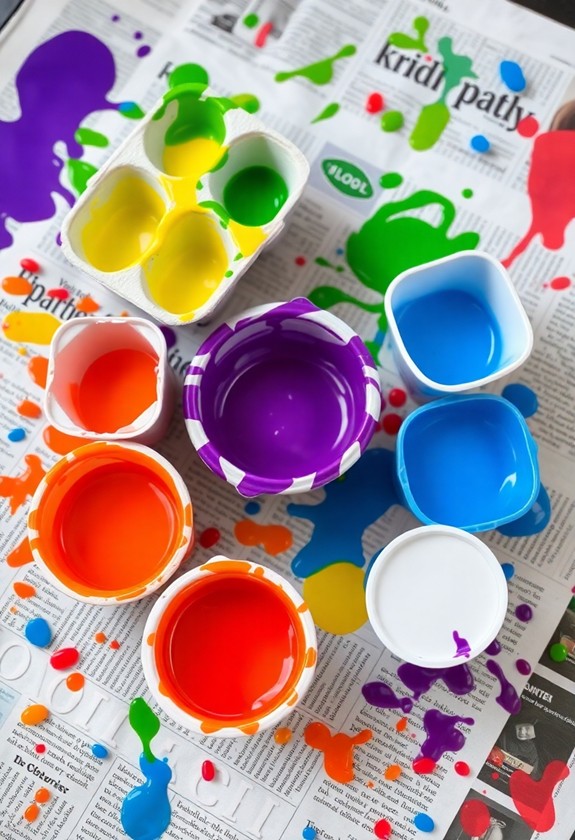
Though store-bought paint trays can be expensive, you don't need to splurge on fancy equipment for your toddler's finger painting adventures. Get creative with recycled containers! Here are some fun ideas:
- Egg cartons: Perfect for sorting colors!
- Muffin tins: Each cup holds a different hue
- Plastic takeout containers: Smooth and easy to clean
- Ice cube trays: Ideal for tiny hands
Using washable finger paints can make cleanup a breeze and allow for worry-free creativity. These paints are specially formulated for easy removal from skin and surfaces, perfect for messy toddler art sessions.
Don't toss that yogurt container! It's a paint tray in disguise. Even old plates work wonders. For a mess-free option, try zip-lock bags filled with paint – seal 'em up and let your little Picasso squish away!
Outdoor Nature-Inspired Finger Painting
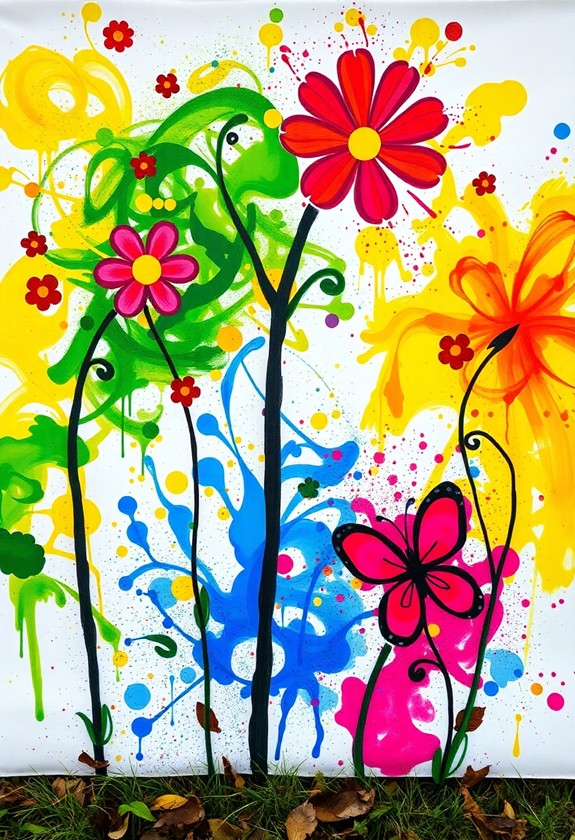
Taking your toddler's finger painting outdoors can inspire creativity and connect them with nature. It's a win-win! Here's how to make the most of this exciting adventure:
- Gather natural "paintbrushes":
- Leaves
- Flowers
- Twigs
- Grass blades
- Mix mud with water for earthy tones
- Crush berries for lively hues
- Use turmeric for sunny yellow
- Lay out large sheets of paper on the ground
- Place paints in recyclable containers
- Sand paint: Mix sand into washable paint for a gritty feel!
- Puffy paint: Combine shaving cream and glue for a fluffy texture
- Rice paint: Add uncooked rice to paint for a bumpy effect
This outdoor activity not only fosters creativity but additionally improves fine motor skills and hand-eye coordination. It's a perfect way to combine sensory play with artistic expression.
Let your little Picasso go wild! They'll love squishing mud between their fingers and stamping with leaves. Don't forget to capture these muddy masterpieces on camera – they're frame-worthy! And remember, it's all washable, so don't stress about the mess. Nature's art studio is open for business!
Textured Finger Paint Creations
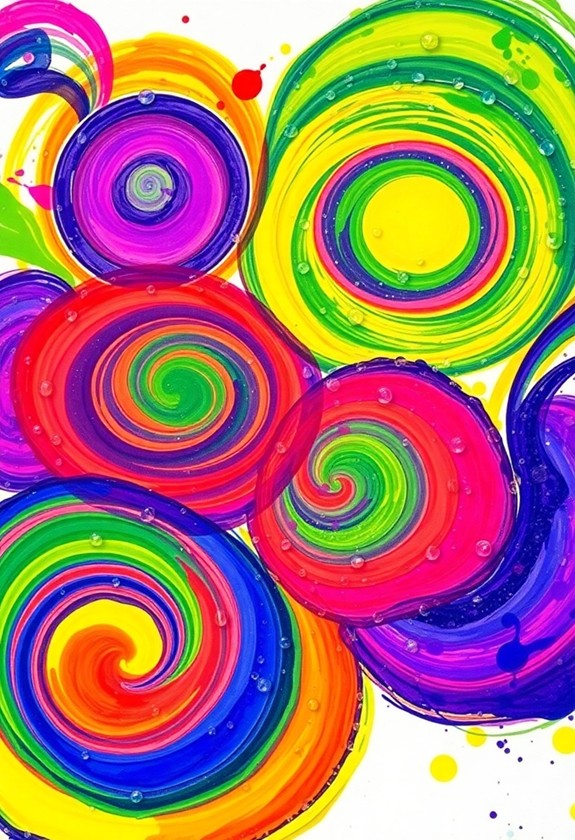
Texture adds a whole new dimension to your toddler's finger painting adventures. It's time to get hands-on with some thrilling, tactile creations! You'll love watching your little one investigate these sensory masterpieces. These activities are perfect for enhancing cognitive skills and promoting fine motor development in a fun, creative way.
Try these exciting textured paint ideas:
Don't stop there! Experiment with:
- Cornmeal for a grainy texture
- Oatmeal for a hearty, natural feel
- Coffee grounds for a unique, earthy touch
Let your toddler squish, squash, and smear these textured paints on paper or canvas. They'll be tickled pink with the results! Remember, it's all about the process, not perfection. So, get ready for some messy, marvelous fun!
Mess-Free Finger Painting Bags
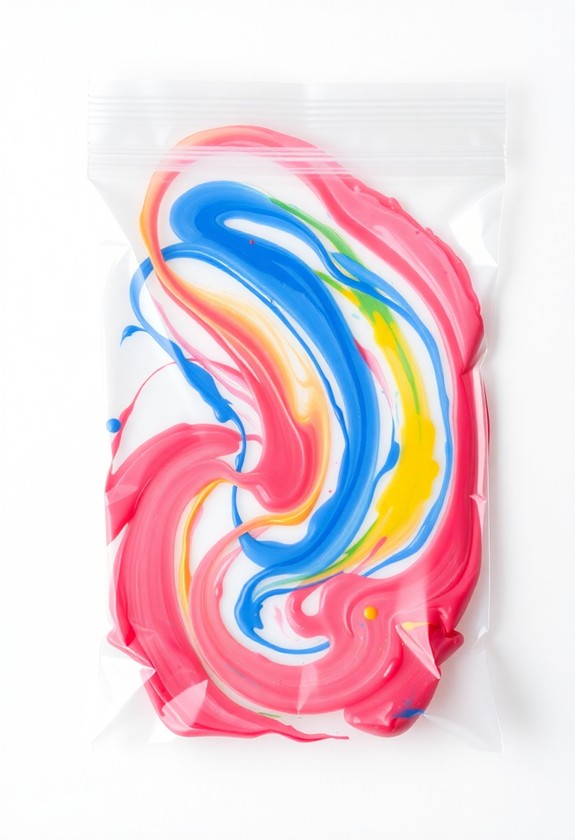
Parents, rejoice! You've found the ultimate solution for mess-free finger painting fun. Grab a sealable plastic bag, squirt in some paint, and seal it tight. Now, your little artist can squish, swirl, and create without getting paint everywhere! This activity promotes creative exploration and cognitive development during keeping cleanup stress to a minimum.
Here's how to make these magical mess-free bags:
- Use a gallon-sized zip-top bag
- Squirt in 2-3 colors of paint
- Seal the bag, removing excess air
- Tape it to a flat surface
Let your toddler go wild! They can use their fingers, palms, or even toys to make amazing designs. It's like a colorful, squishy canvas that's contained in a bag. When they're done, simply wipe the bag clean or toss it out. No muss, no fuss, just pure painting bliss! Who knew finger painting could be this clean and easy?
Homemade Scented Finger Paints

Creativity takes on a new dimension with homemade scented finger paints. You'll love this aromatic twist on classic finger painting! It's easy, fun, and budget-friendly. Here's how to make your own scented paints:
- Mix 1 cup flour, 1 cup water, and food coloring
- Add a splash of vanilla, peppermint, or lemon extract
- Stir until smooth and voila!
Your little artists will be tickled pink (and blue, and green) by these sweet-smelling masterpieces! The scents add an extra sensory element to their artwork. Plus, it's a great way to introduce new vocabulary. "Is that lavender I smell?" "Mmm, cinnamon!"
Pro tip: Use different extracts for each color to create a rainbow of scents. It's a nose-tastic adventure in art! Remember, supervision is key – these paints are tempting to taste!
Fingerpaint With Household Items
Whereas scented paints offer a delightful sensory experience, you don't always need special ingredients to create fun finger paintings. Look around your kitchen for everyday items that can double as paint! Here are some exciting options:
- Pudding: Chocolate, vanilla, or butterscotch – yum!
- Yogurt: Add food coloring for a rainbow of choices
- Ketchup and mustard: Perfect for red and yellow creations
- Mashed potatoes: Great for textured masterpieces
Simply spread these edible "paints" on a plate or tray, and let your little artist go wild! Not only is this method budget-friendly, but it's likewise safe if your toddler decides to taste-test their artwork. Plus, clean-up is a breeze – just rinse off in the tub! Get ready for some messy, delicious fun!
Curious Little Questions
How Do I Remove Finger Paint Stains From Clothing?
Has your little Picasso turned your clothes into a canvas? Don't worry, you've got this! Here's how to tackle those annoying paint stains:
- Act fast! Rinse the stain with cold water ASAP.
- Dab, don't rub! Use a sponge with dish soap and water.
- For stubborn stains, try a pre-wash stain remover.
- Wash in the hottest water safe for the fabric.
- Check before drying – if the stain persists, repeat!
At What Age Can Children Safely Start Finger Painting?
You can start finger painting with your little one as early as 12 months old! But don't worry if they're not ready yet – every child develops differently. Watch for signs that they're interested in discovering textures and colors. Start with edible paints for safety, and always supervise. By 18 months, most toddlers love squishing paint between their fingers! Remember, it's all about fun and sensory discovery, not creating masterpieces. So get messy and enjoy this colorful adventure together!
Can Finger Painting Help Develop Fine Motor Skills in Toddlers?
Imagine your toddler's hands as tiny artists, ready to paint their way to dexterity! You bet finger painting can help develop fine motor skills! It's like a magical playground for their little digits. As they squish, spread, and swirl the paint, they're strengthening those important hand muscles. Plus, it's so much fun! They'll be improving their grip, coordination, and control without even realizing it. So grab some paint and watch those tiny Picassos bloom right before your eyes!
How Long Does Homemade Finger Paint Typically Last Before Spoiling?
You'll be thrilled to know that homemade finger paint can last quite some time! Typically, it stays fresh for 1-2 weeks when stored properly. But wait, there's more! Here's how to make it last:
- Keep it cool in the fridge
- Use airtight containers
- Add a pinch of salt as a preservative
Watch out for any funky smells or mold – that's your cue to toss it. Remember, fresher is better for your little Picasso's masterpieces! So get ready to paint the town red… or blue, or green!
Are There Any Allergies or Sensitivities to Consider When Finger Painting?
When finger painting, it's super important to think about allergies and sensitivities. Some kiddos might react to:
- Food-based paints (like those made with flour)
- Certain dyes or colorants
- Preservatives in store-bought paints
But don't worry! You can easily avoid these issues by:
- Using hypoallergenic paints
- Making your own paints with safe ingredients
- Doing a patch test before diving in
Always check with parents about any known allergies. Safety first, fun second!