Ready for some fuss-free finger painting fun? It's easier than you think! Start by choosing non-toxic, washable paints in lively colors. Set up a mess-proof area with plastic tablecloths and smocks. Get creative with swirls, dots, and handprints – the possibilities are endless! Clean up's a breeze with baby wipes and warm, soapy water. Mix colors to teach little ones about primary and secondary shades. Turn artwork into cards or wrapping paper for a personal touch. Best of all, finger painting boosts cognitive skills and confidence as it lets imaginations run wild! Curious about more exciting techniques and projects? There's a whole world of colorful adventures waiting!
Creative Highlights
- Choose non-toxic, washable paints specifically designed for easy cleanup from skin and surfaces.
- Set up a protected painting area using plastic tablecloths or newspapers to contain messes.
- Use mess-free products like Color Wonder ink to reduce cleanup burdens while maintaining creative fun.
- Keep cleaning supplies like baby wipes and soapy water nearby for quick and easy cleanups.
- Opt for age-appropriate projects that balance creative expression with manageable mess levels.
Benefits of Mess-Free Finger Painting
Parents' concerns about messy art projects can be put to rest with mess-free finger painting. This creative activity offers a world of benefits for your little ones, without the usual cleanup headaches!
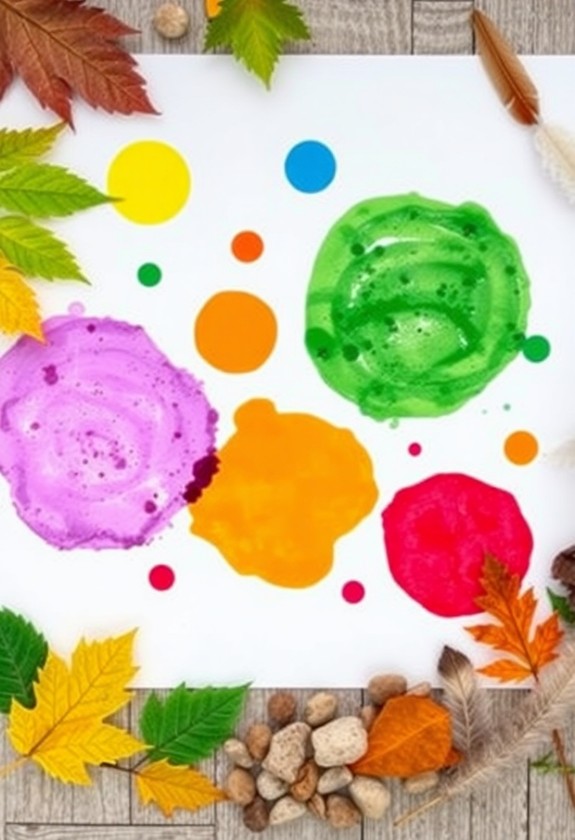
First off, it's a sensory sensation! Your child gets to investigate textures and colors in a hands-on way, stimulating their senses and boosting cognitive development. And the best part? No more paint-stained carpets or walls! Products like the Color Wonder Mess Free ink set guarantee that the colorful fun stays on the special paper, preventing unwanted marks on other surfaces.
Mess-free finger painting is a confidence booster too. Kids can freely express themselves without worrying about making mistakes or messes. It's a win-win situation that'll have them beaming with pride!
But wait, there's more! This activity improves fine motor skills as children manipulate the paint with their fingers. It's like a workout for their little digits! Plus, it's a great way to introduce color mixing and basic art concepts.
Imagination runs wild with mess-free finger painting. Your budding Picasso can create masterpieces anytime, anywhere! It's portable fun that'll keep them entertained on road trips or rainy days.
Choosing the Right Paint
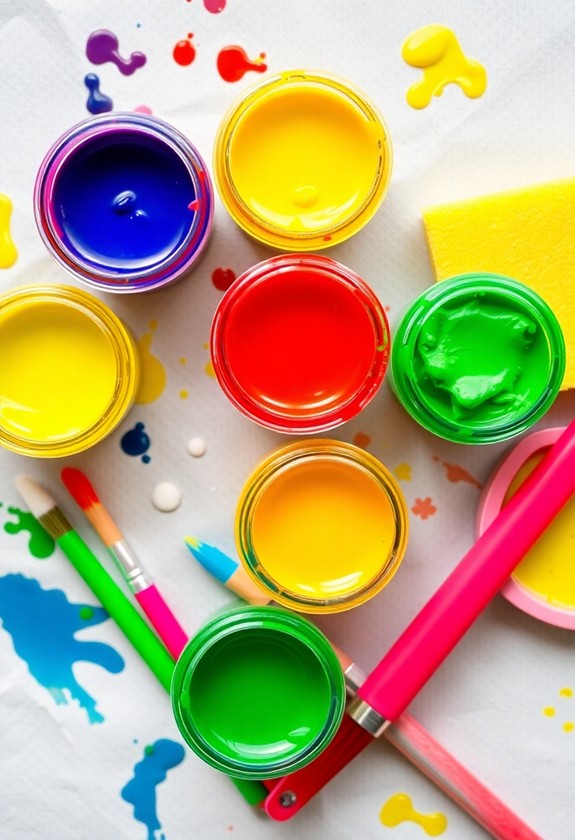
In relation to mess-free finger painting, selecting the right paint is key to ensuring a fun and safe experience for your little ones. You'll want to look for paints uniquely designed for children, with non-toxic ingredients and easy washability. But don't worry, there are plenty of options to choose from! Non-toxic certifications and safety features must be prioritized while selecting art materials for children. Water-based paints are less likely to cause allergic reactions, ensuring safe creative experiences.
When shopping for finger paints, keep an eye out for these fantastic features:
- Washable formulas that easily come off skin and clothes
- Bright colors that pop on paper
- Non-toxic ingredients safe for curious taste-testers
- Mess-free packaging for easy application and storage
Ready to get painting? Opt for watercolor-based paints or tempera paints in squeeze bottles for easy dispensing. These options are perfect for tiny hands and big imaginations! And here's a pro tip: look for paints that come in no-spill containers. They're a real lifesaver in avoiding messes!
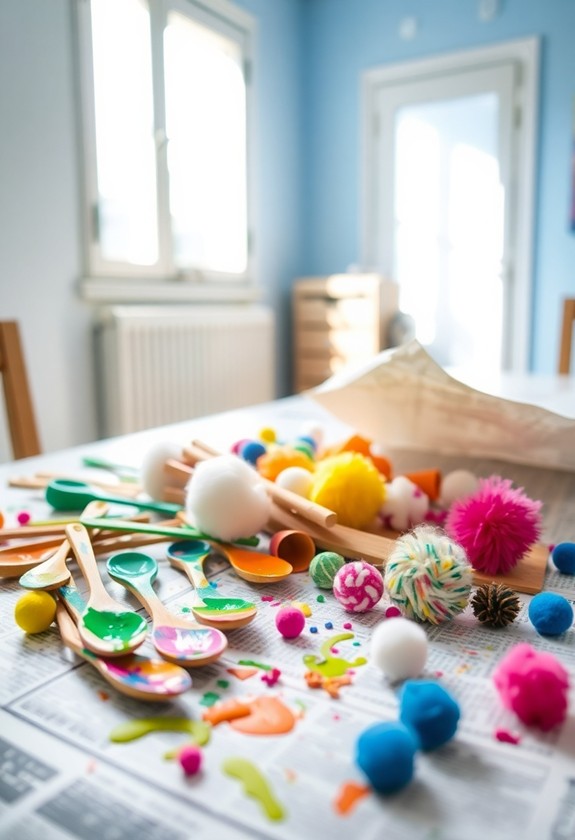
Setting Up the Painting Area
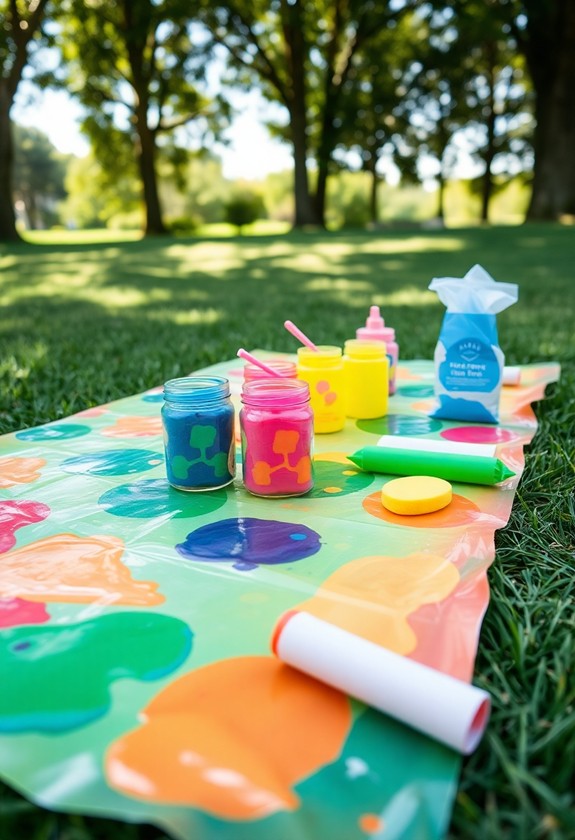
Once you've chosen the perfect paints, it's time to set up an ideal space for your little artist to create. Start by picking a spot that's easy to clean – tile or hardwood floors are great options. But don't worry if you only have carpet; just lay down a plastic tablecloth or some old newspapers! For added protection, consider using creative art smocks designed particularly for toddlers' messy adventures.
Next, grab some supplies:
- A small table or flat surface
- Painting smocks or old t-shirts
- Plenty of paper towels
- A few cups of water for rinsing
- Large sheets of paper or cardboard
Now, let's get messy! Dress your little Picasso in their painting outfit and roll up those sleeves. Spread out the paper or cardboard, and place small dollops of paint nearby. Pro tip: use a muffin tin or paper plates to hold the colors – it's a palette-pleasing idea!
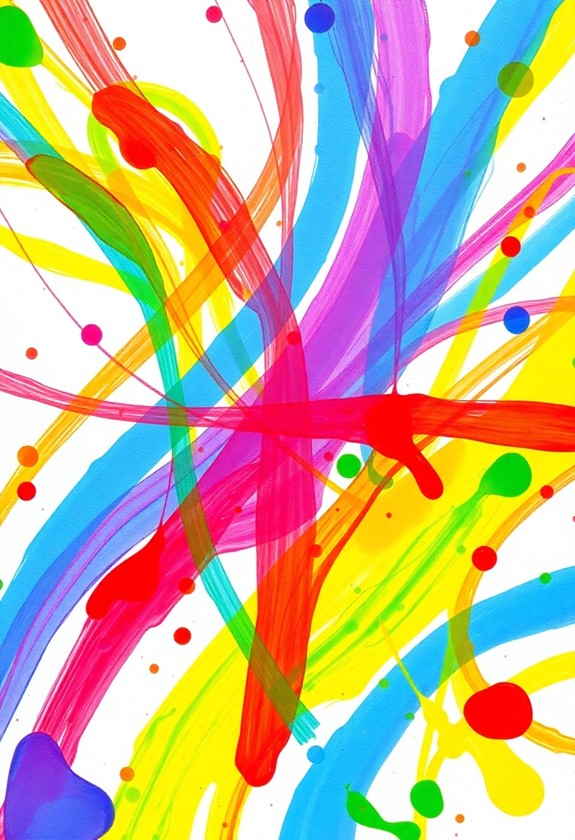
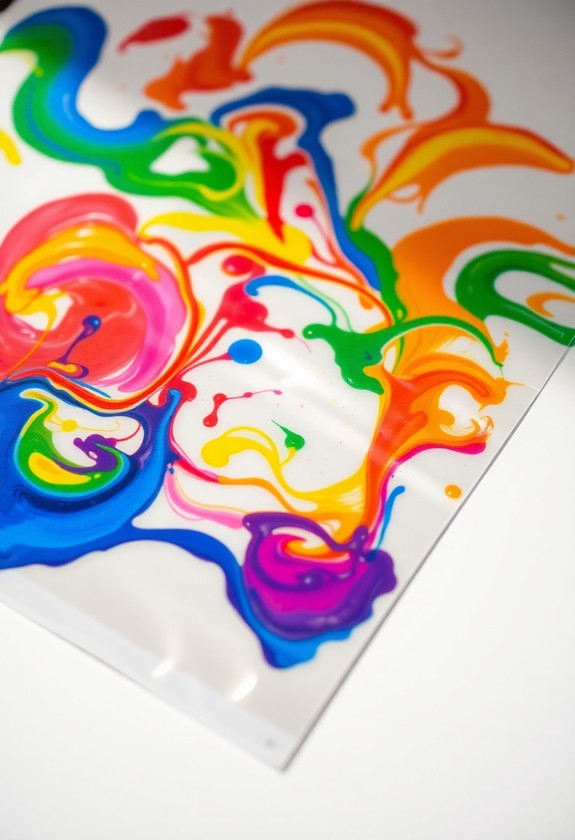
Fun Finger Painting Techniques
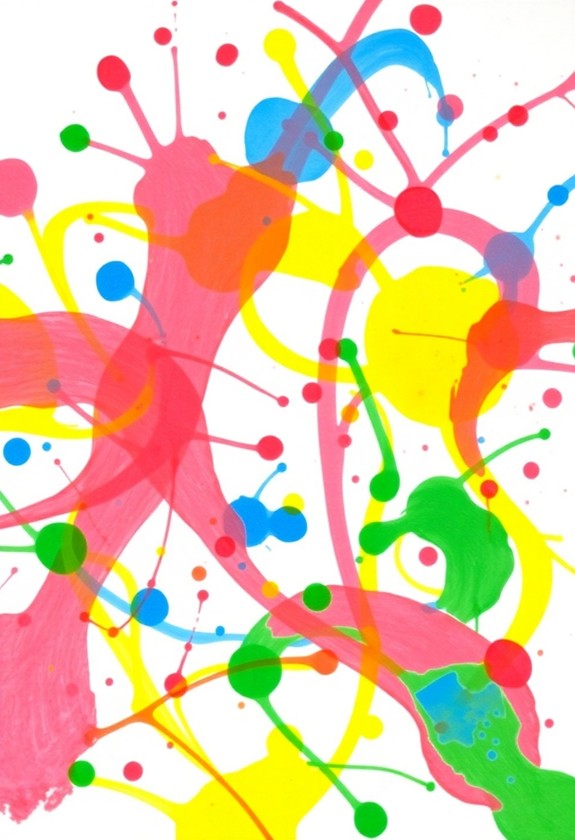
Creativity blossoms when little fingers meet paint! Let's delve into some exciting finger painting techniques that'll have your little ones giggling with glee. These methods are super simple and oh-so-fun!
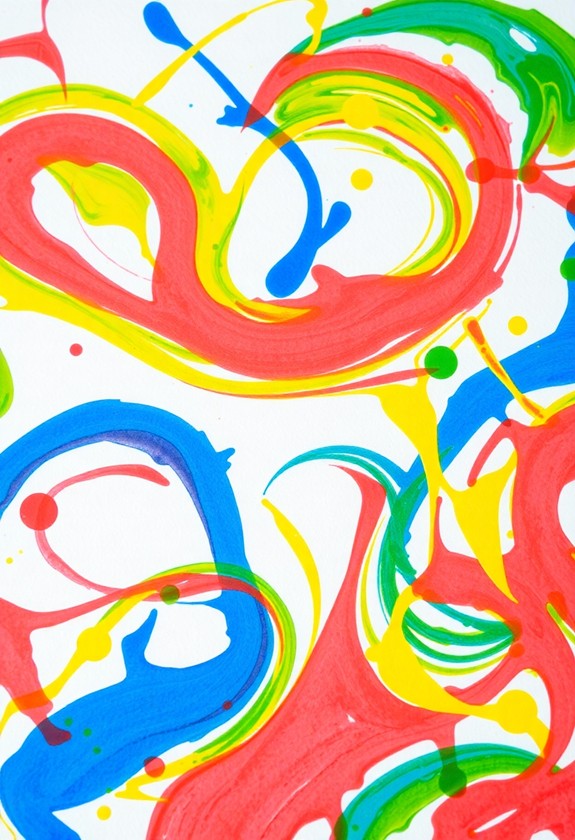
Swirl and Twirl: Encourage your child to use their whole hand to create mesmerizing swirls and patterns. It's like magic on paper!
Dot-tastic Art: Tiny fingertips make perfect polka dots! Have your kiddo press their fingertips onto the paper to create colorful constellations.
Using washable finger paints provides easy cleanup and allows children to investigate freely without worry. These paints are specially formulated for sensory exploration and promote fine motor skill development.
Ready for more finger-painting fun? Try these awesome ideas:
- Palm printing: Press entire hands onto paper for tree-rific handprint art!
- Finger drawing: Use index fingers as pencils to sketch shapes and scenes
- Texture play: Mix in sand or glitter for a sensory explosion
- Finger blending: Smoosh colors together to create new shades
But wait, there's more! Why not try finger painting with shaving cream for a foamy twist? Or use pudding for a tasty (and edible) art session! The possibilities are endless, and the mess is manageable. Just remember, it's all about the process, not perfection. So let those little fingers go wild and watch the masterpieces unfold!
Easy Cleanup Tips and Tricks
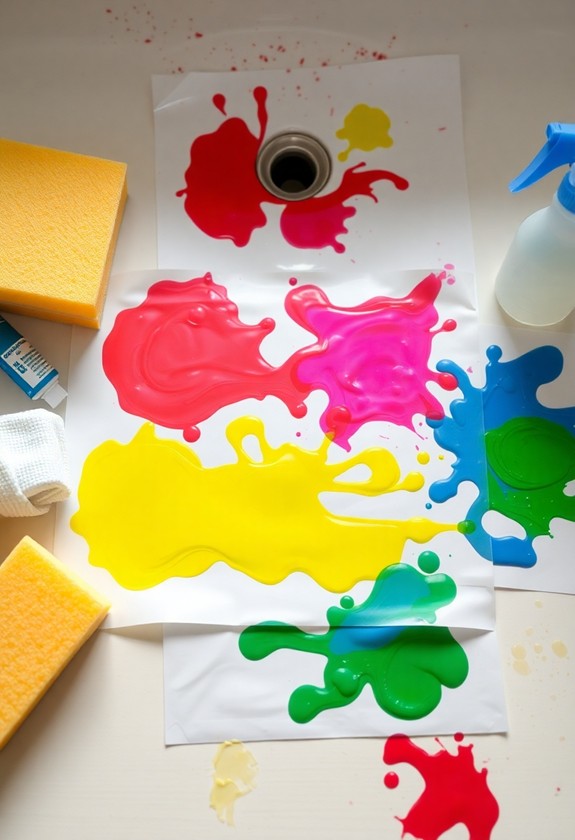
Let's tackle the messy aftermath of finger painting with some smart cleanup strategies. You'll be amazed at how easy it can be to tidy up after your little Picassos!
First, prepare for success! Before you start, cover your work area with a plastic tablecloth or old newspapers. This will make cleanup a breeze – just roll it up and toss it out when you're done. Genius, right? For even more mess-free options, consider using washable dot markers that are designed for easy cleanup and promote hand-eye coordination in toddlers.
Now, for those colorful hands: Keep a bowl of warm, soapy water nearby. When it's time to clean up, have your kids dip their hands in and watch the paint melt away! For stubborn spots, try a soft brush or washcloth. And don't forget to have plenty of paper towels on hand!
Quick tip: Baby wipes are your secret weapon! They're great for wiping down surfaces and cleaning little fingers in a jiffy.
For clothing stains, act fast! Rinse the stain with cold water as soon as possible. Then, pre-treat with a stain remover before washing. Voila! Stain-free clothes!
Age-Appropriate Finger Painting Projects
Now that we've got cleanup under control, it's time to examine exciting finger painting projects tailored to different age groups. Let's immerse ourselves in the colorful world of age-appropriate finger painting fun!
For toddlers (1-3 years), keep it simple and sensory-focused. Try these fantastic ideas:
- Finger paint on a mirror or window for easy clean-up and a new perspective!
- Create a "touch and feel" board with different textures mixed into the paint
- Make handprint animals or monsters on paper plates
- investigate color mixing with primary colors on a large canvas
Preschoolers (3-5 years) can handle more complex projects. They'll love creating finger paint scenery, underwater scenes, or even their own fingerprint family portraits! Don't forget to introduce different tools like sponges or cotton swabs to add variety.
For school-age children (6+), challenge their creativity with finger paint resist art, galaxy paintings, or even 3D sculptures using homemade puffy paint. The sky's the limit!
Extending the Learning Experience
Finger painting opens up a world of educational opportunities beyond just artistic expression. It's a perfect springboard for learning about colors, shapes, and textures! Use this messy fun to teach your little ones about primary and secondary colors. Ask them, "What happens when you mix blue and yellow?" Voila! Green appears like magic!
But wait, there's more! Turn those colorful handprints into animals or objects. A yellow handprint becomes a lion's mane, as well as a green one transforms into a tree. It's a zoo and a forest all in one! And don't forget about numbers and letters. Have your kiddos trace numbers or spell their names with paint-covered fingers. Talk about hands-on learning!
Want to take it up a notch? Introduce science concepts like absorption and texture. Try finger painting on different surfaces – paper, cardboard, or even foil. Ask your little Einstein, "Which surface holds the paint best?" You're raising a mini scientist! Remember, learning should be fun, and with finger painting, it's a colorful blast!
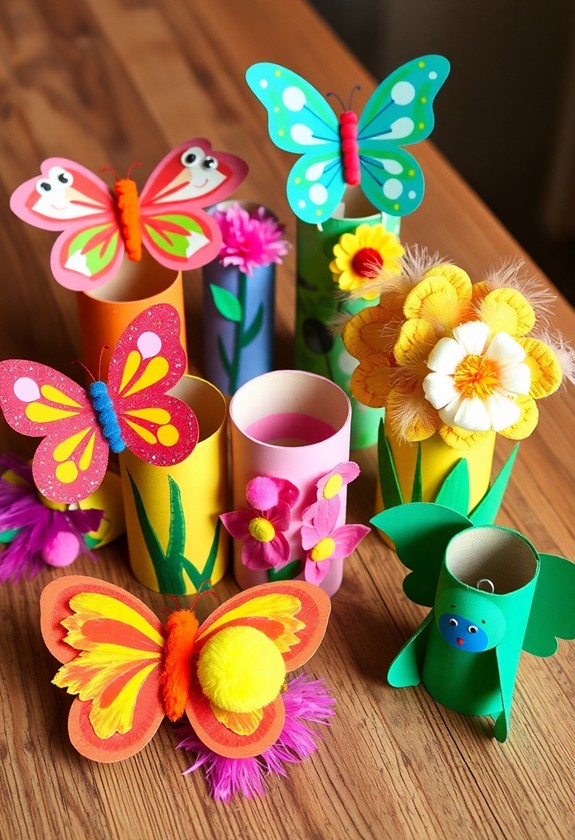
Displaying Your Child's Creations
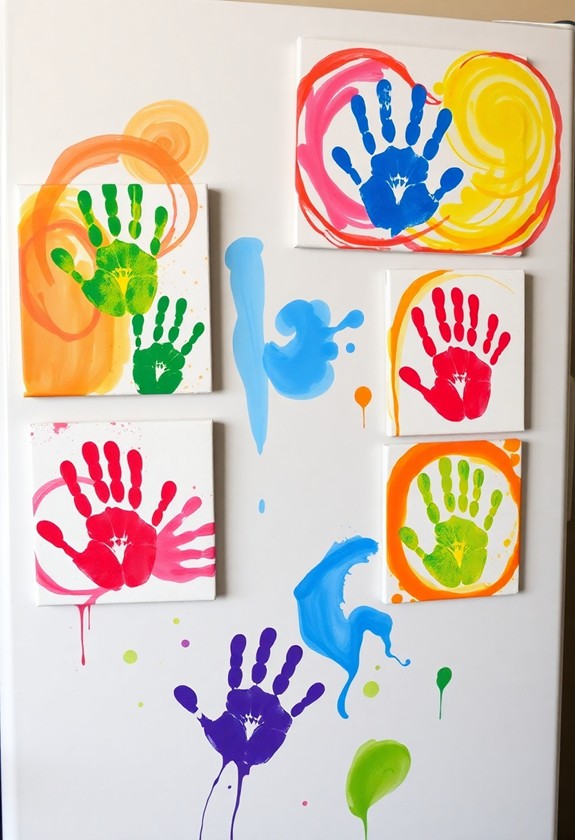
Once your little artist has created their masterpiece, it's time to showcase their work. Displaying your child's finger paintings isn't just about decoration – it's a fantastic way to boost their confidence and creativity! Get ready to transform your home into a mini art gallery with these fun ideas:
- Create a "Wall of Fame" in the playroom or hallway
- Use clothespins and string to make a colorful art garland
- Turn paintings into unique greeting cards for family
- Frame special pieces for a professional touch
But don't stop there! Why not snap a photo of your budding Picasso with their artwork? It's a great way to preserve memories and track their artistic progress. And here's a fun twist: use their paintings as wrapping paper for gifts. Grandma will love it!
Curious Little Questions
How Long Does Finger Paint Typically Last Before Drying Out?
Like a chameleon changing colors, finger paint can transform from lively to dried-out! Typically, your finger paint will last 1-2 years if stored properly. But don't worry, you've got time to create masterpieces! Keep those lids tight and store in a cool, dry place. Pro tip: add a few drops of water if it starts to thicken. Remember, even though it dries out, you can often revive it with a little water and mixing. Happy painting, little Picassos!
Can Finger Paints Stain Clothing or Furniture?
Yes, finger paints can stain clothing and furniture! But don't worry, you've got options! First, dress your little artists in old clothes or smocks. For furniture, cover it with plastic or old sheets. And here's a pro tip: look for washable finger paints! They're easier to clean up. If a stain happens, don't panic! Act fast and use cold water, then treat with stain remover. Remember, messy fun is the best fun, so welcome the creative chaos!
Are There Eco-Friendly or Natural Alternatives to Store-Bought Finger Paints?
Yes, you've got eco-friendly options galore! Try whipping up some homemade finger paints using natural ingredients. Mix cornstarch, water, and food coloring for a simple, safe alternative. Or, get creative with veggie-based paints! Blend beets for red, spinach for green, and turmeric for yellow. These natural paints are easy on the environment and gentle on little hands. Plus, they're a blast to make! You'll be painting up a storm with these earth-friendly alternatives in no time!
What's the Best Way to Store Unfinished Finger Painting Projects?
Got unfinished finger painting masterpieces? No worries! Here's how to keep them fresh and fabulous:
First, let your artwork dry completely. Then, store it flat in a cool, dry place. A large plastic container or a sturdy cardboard box works great! For extra protection, place wax paper between each painting. And don't forget to label them with the artist's name and date – it's like creating a mini art gallery!
Can Finger Paints Be Used on Surfaces Other Than Paper?
Get ready to paint the town red! You can absolutely use finger paints on more than just paper. Try them on:
- Cardboard
- Fabric
- Rocks
- Windows (washable paint)
- Sidewalks (washable chalk paint)
But watch out! Not all surfaces are created equal. Test a small spot first, and always use washable paints for easy cleanup. And don't forget to protect surfaces you don't want painted. Now go wild and let your creativity shine on new canvases!