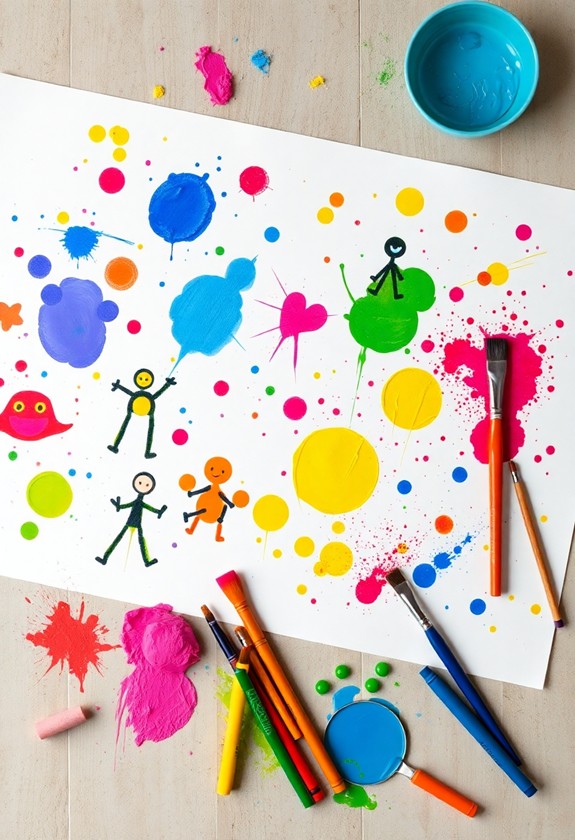
Get ready to release your toddler's inner artist with these amazing household items! You'll love transforming everyday objects into exciting painting tools. Grab kitchen sponges for textured masterpieces, cotton swabs for precise dots, and plastic forks for fun patterns. Don't forget toilet paper rolls for stamping, bubble wrap for unique textures, and toy cars for colorful tracks. Feathers, leaves, and flowers add a natural touch, as you investigate old toothbrushes that create splatter art magic! These simple items will spark creativity and develop fine motor skills. But wait, there's more! Keep searching to reveal even more fantastic painting ideas for your little Picasso.
Creative Highlights
- Kitchen sponges create fun textures and are easy to clean, making them ideal for toddler painting projects.
- Plastic forks can produce various textures like grass or feathers, enhancing creativity and fine motor skills.
- Bubble wrap offers a unique, mess-free painting option that promotes sensory discovery and fine motor development.
- Cotton swabs are versatile, safe tools for toddlers to use in dotting, line drawing, and color mixing techniques.
- Toy cars provide an engaging way to create colorful tire tracks, encouraging experimentation with patterns and designs.
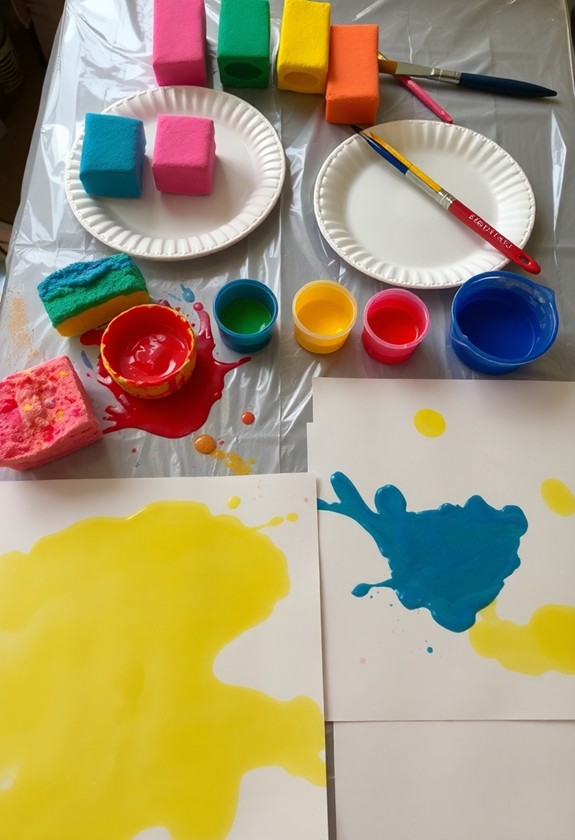
Kitchen Sponges
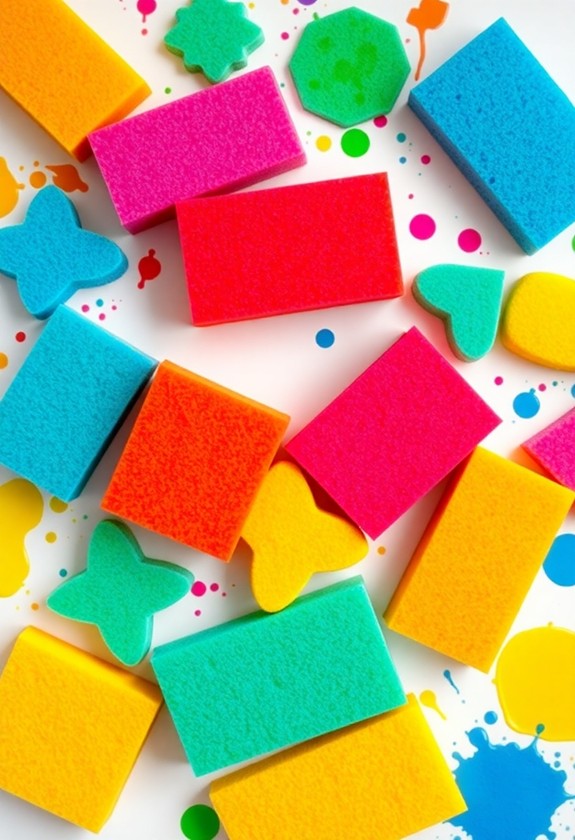
Kitchen sponges are an excellent tool for toddler-friendly painting projects. They're perfect for little hands and can create all sorts of fun textures! Cut them into different shapes for more variety. Here's how to use them:
- Dip the sponge in paint
- Press it onto paper
- Watch the magic happen!
You can make trees, flowers, or even animals with sponge prints. And the best part? It's super easy to clean up! Just rinse the sponges, and you're good to go. For added safety, consider using washable finger paints that are non-toxic and easily cleanable from skin and surfaces.
Try these sponge-tastic ideas:
- Sponge-painted butterflies
- Underwater scenes with fish-shaped sponges
- Colorful abstract art
Your little Picasso will love discovering new ways to paint. So grab those kitchen sponges and let the creativity flow! Who knew cleaning supplies could be so much fun?
Cotton Swabs
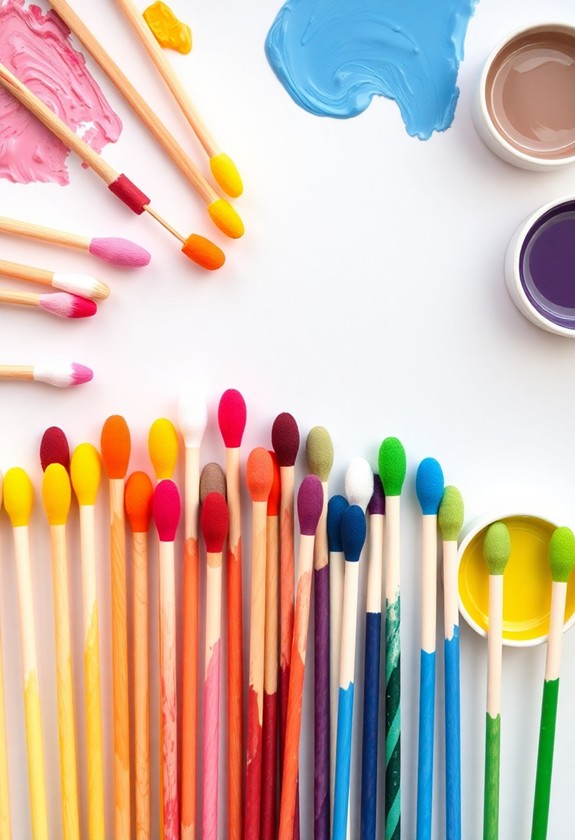
Another household item that's great for toddler painting is cotton swabs. These tiny tools are perfect for little hands and offer so many creative possibilities! You can use them for:
- Dotting: Create colorful polka dots or pointillism-style art
- Line drawing: Make thin, precise lines for details
- Mixing colors: Blend paints together in small amounts
- Texture: Dab, swirl, or drag for unique effects
Cotton swabs are cheap, readily available, and easy to clean up. Plus, they're safe for toddlers to use! Washable paints are ideal for these projects, ensuring easy cleanup and stain-free surfaces. To get started, simply:
- Dip the swab in paint
- Tap off excess
- Let your little artist go wild!
Try using different colored swabs for extra fun. And don't forget to experiment with various surfaces – paper, cardboard, or even rocks! The cotton swab painting world is your oyster!
Plastic Forks
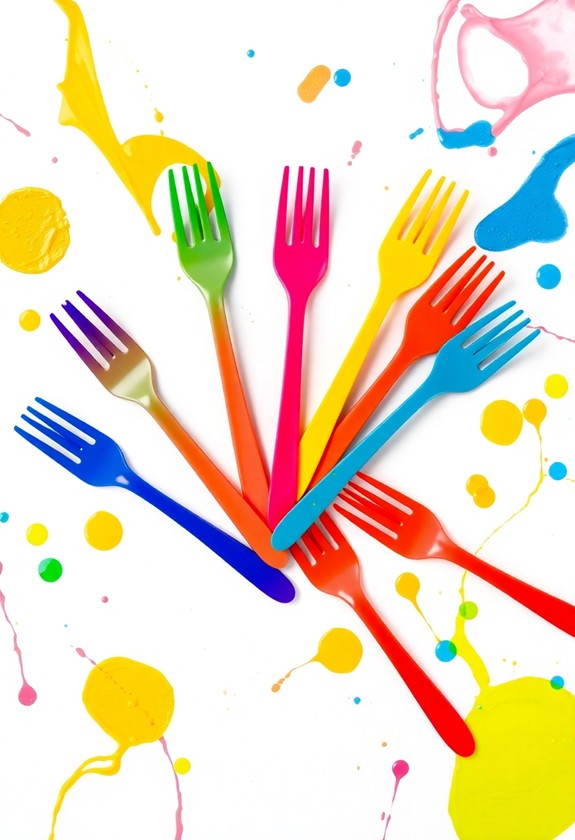
Versatility shines through when you use plastic forks for toddler painting projects. These everyday utensils can create amazing textures and patterns! Try these fun ideas:
- Grass or fur: Dip the fork in green paint and drag it upwards on paper.
- Feathers: Use different colors to make bird wings or peacock tails.
- Waves: Swirl blue paint in curves for ocean scenes.
- Trees: Make brown trunks, then add green "leaves" with fork strokes.
You'll love how easy it is to clean up, too! Just toss the forks when you're done. This method is perfect for mess-free painting and encourages creativity during improving fine motor skills. But wait, there's more! Use the fork's handle end to make dots or circles. Your little one will have a fork-tastic time investigating these new painting techniques. It's a great way to develop fine motor skills and creativity. So grab those forks and let the fun begin!
Toilet Paper Rolls
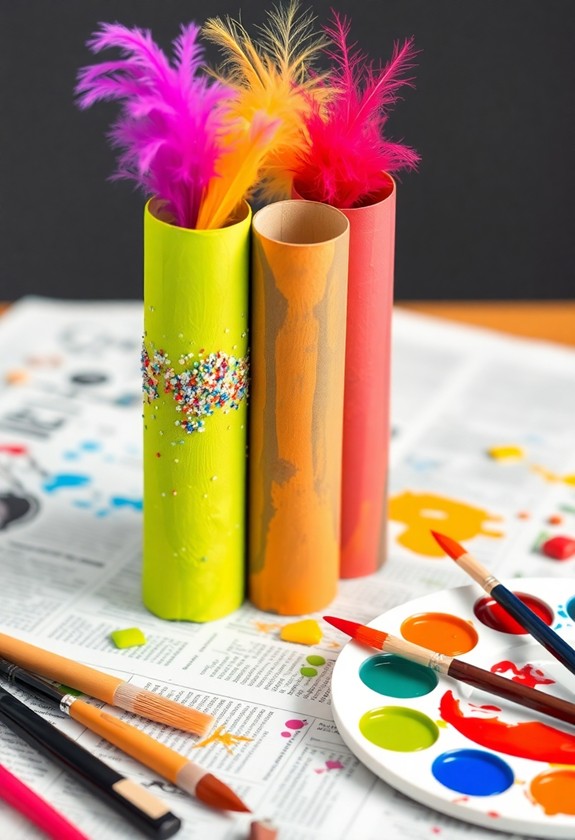
Don't toss those empty toilet paper rolls! These cardboard tubes are perfect for tons of toddler-friendly painting projects. Let's explore some fun ideas:
- Stamping: Dip the end of a roll in paint and press it onto paper for circular designs.
- Rolling: Cover a roll in paint and roll it across a surface for unique patterns.
- Butterflies: Pinch the middle of a painted roll to create butterfly shapes.
- Flowers: Cut slits in one end of the roll, fan them out, and dip in paint for petal-like prints.
These projects are not only fun but additionally help develop fine motor skills and encourage creative expression. Remember to use non-toxic paints and supervise your toddler during crafting sessions for safety.
You can even turn these rolls into mini paint brushes! Cut fringe on one end, dip in paint, and watch your little one create masterpieces. And here's a fun twist: use different-sized rolls (like paper towel tubes) for varied effects. Get ready for a roll-y good time with these toilet paper tube treasures!
Bubble Wrap
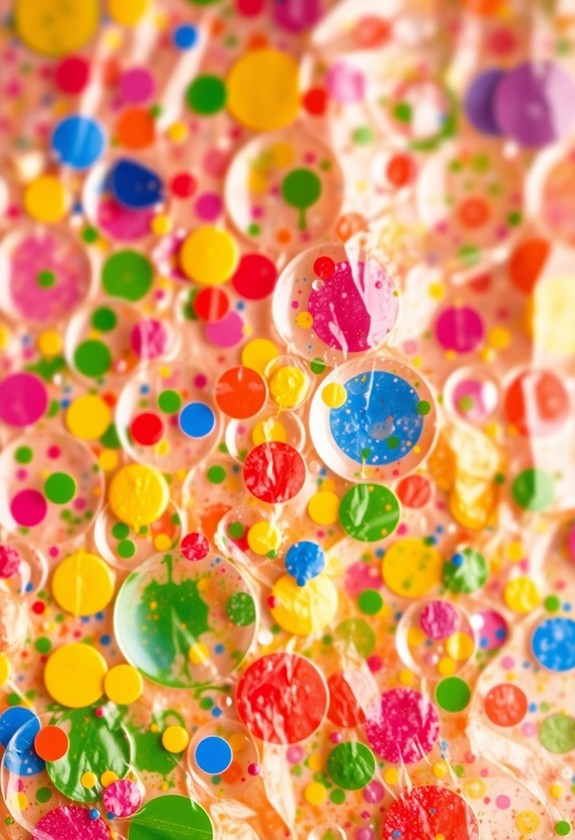
Bubble wrap isn't just for protecting packages; it's a fantastic tool for toddler-friendly painting projects. Your little one will love the unique textures and patterns it creates! This activity promotes fine motor skills and sensory discovery, key aspects of toddler development. It's additionally a mess-free option that's easy to clean up, perfect for busy parents.
Here's how to use bubble wrap for painting fun:
- Cut a sheet of bubble wrap to fit your child's hand
- Dip it in washable paint
- Press it onto paper for instant bubble-shaped prints!
But wait, there's more! Try these bubble-tastic ideas:
- Roll a paint-covered bubble wrap tube for long, bubbly lines
- Make bubble wrap stamps by gluing pieces to cardboard shapes
- Create a bubble wrap paintbrush by wrapping it around a stick
Get ready for poppin' good times! Your toddler will be bubbling with excitement as they discover this unique painting technique. It's a wrap – bubble wrap, that is!
Crumpled Paper
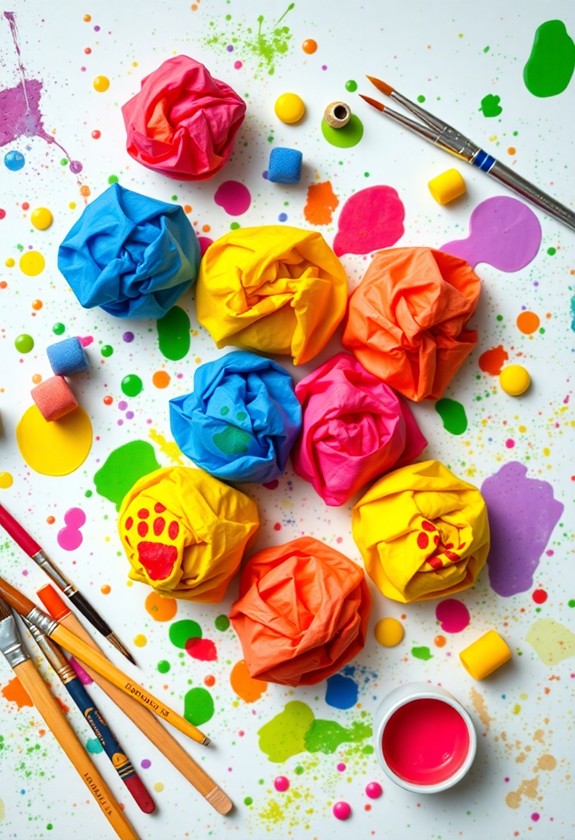
Moving from bubble prints to another textured technique, crumpled paper offers a world of artistic possibilities for your toddler. It's time to get crinkly and creative! Grab some plain paper and let your little one scrunch it up into a ball. Now, here's where the fun begins:
- Dip the crumpled paper in paint
- Press it onto a fresh sheet of paper
- Lift to reveal a unique, textured print
Watch as your toddler's eyes light up with each colorful impression! You can experiment with different paper types too – try newspaper, tissue paper, or even paper towels. The varying textures will create exciting patterns and designs. And don't forget to mix colors! Overlapping prints can lead to beautiful, unexpected results. It's a wrinkle in time that'll leave lasting memories and masterpieces!
Toy Cars
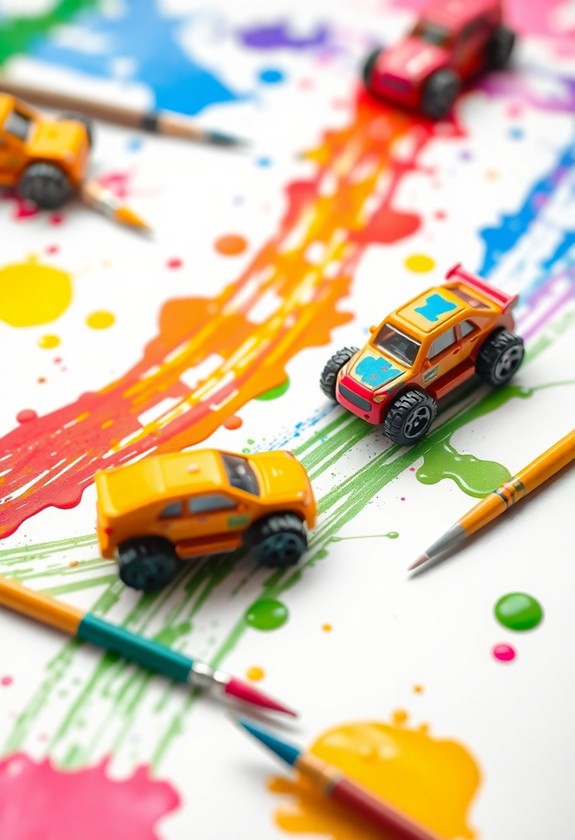
Zooming from crumpled paper to a different kind of texture, let's explore the artistic possibilities of toy cars. These little wheeled wonders can create amazing paint tracks! Here's how to turn your tot's favorite toys into mini masterpieces:
- Gather supplies:
- Toy cars with textured wheels
- Washable, non-toxic paint
- Large paper or canvas
- Shallow trays for paint
Watch as colorful tire tracks appear like magic! Encourage your little Picasso to experiment with different patterns. Zig-zags, loops, or straight lines – the possibilities are wheel-y endless! This activity isn't just fun; it's also great for developing fine motor skills and creativity. Ready, set, paint!
Feathers
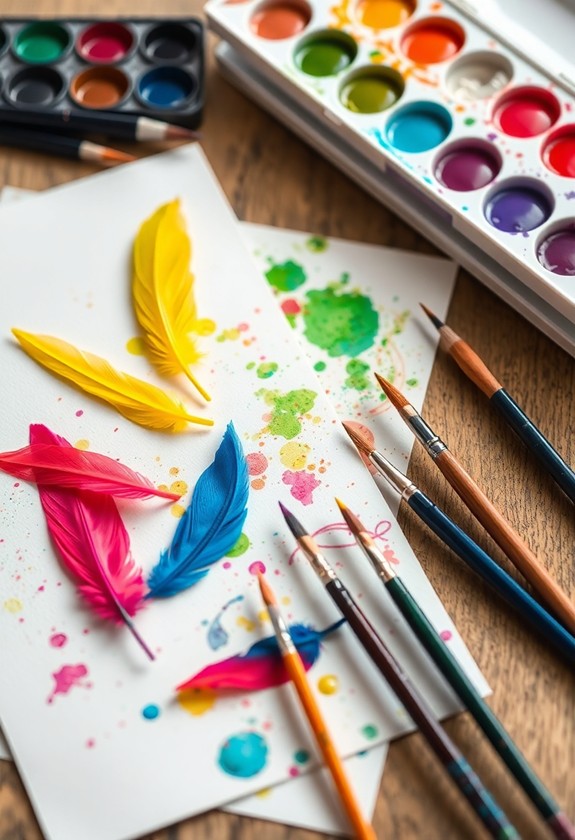
From wheels to wings, let's explore the artistic potential of feathers! These fluffy wonders are perfect for your toddler's next painting adventure. You'll love how feathers create unique textures and patterns on paper. Plus, they're so much fun to hold and swish around!
Here are three fantastic feather painting ideas:
- Dip and dab: Let your little one dip the feather in paint and dab it on paper for a speckled effect.
- Feather brushes: Use the feather as a brush, creating wispy strokes and swirls.
- Feather prints: Press a paint-covered feather onto paper for a beautiful impression.
Remember to use washable, non-toxic paints for safety. Feathers come in various sizes and colors, so mix it up! Your toddler will be tickled pink with these feathery masterpieces. Get ready for a flurry of creativity!
Leaves and Flowers
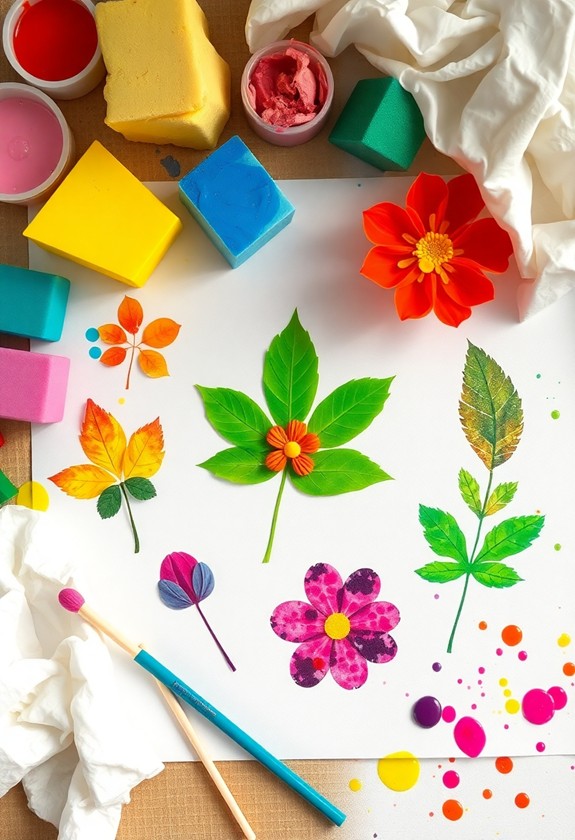
Nature's palette awaits your toddler's artistic touch with leaves and flowers. It's time to bring the outdoors inside for some colorful fun! Gather a variety of leaves and petals from your garden or local park. Here's how to create botanical masterpieces:
- Press flowers between heavy books for a few days.
- Dip leaves in paint and stamp them on paper.
- Use flower petals as tiny paintbrushes!
For a "leaf-tastic" twist, try these ideas:
- Create leaf rubbings with crayons
- Make flower crowns with painted petals
- Stick leaves on paper to form animals or faces
Don't forget to "leaf" room for creativity! Your little one will bloom with artistic confidence as they investigate nature's textures and colors. Plus, it's a great way to teach them about the world around them. Happy painting, budding artists!
Old Toothbrushes
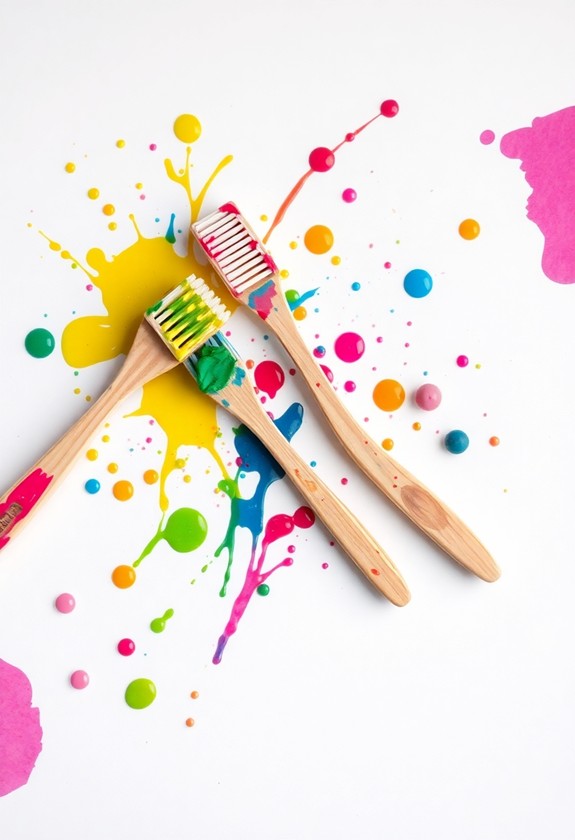
Out with the old and in with the new—but don't toss those used toothbrushes just yet! These bristly brushes are perfect for creating unique textures and splatters in your toddler's art projects. They're easy to grip and can make painting even more exciting!
Here are three fantastic ways to use old toothbrushes for painting:
- Splatter art: Dip the brush in paint and flick it onto paper for a cool, speckled effect!
- Texture stamping: Press the bristles onto paper to create interesting patterns and shapes.
- Grass or fur: Use the bristles to make fine lines for grassy fields or furry animals.
Get creative and experiment with different colors and techniques. Your little one will love discovering these new painting possibilities! Who knew dental hygiene could be so artsy?
Curious Little Questions
What Age Is Appropriate to Start Toddler Painting Projects?
Ready, set, paint! You can start toddler painting projects as early as 18 months old. But don't worry if your little one isn't quite there yet – every child develops differently. The key is to watch for signs of interest and readiness. Does your tot love scribbling with crayons? That's a great indicator! Start with finger painting and gradually introduce brushes. Remember, it's all about fun and exploration, not creating masterpieces. Let their creativity flow and watch the magic happen!
How Can I Protect My Floors and Furniture During Painting Activities?
Protect your home during painting fun, and you'll be worry-free! Here's how:
- Lay down old sheets or plastic tarps – they're your floor's best friends!
- Use painter's tape to cover baseboards and edges
- Move furniture out of the splash zone, or cover it up tight
- Dress your little artist in old clothes or a smock
- Set up in an easy-to-clean area, like the kitchen or garage
With these tips, you'll be ready for a messy masterpiece without the stress. Let the creativity flow!
Are There Non-Toxic Paint Options Suitable for Toddlers?
Imagine little Timmy, happily finger-painting with lively, safe colors! Yes, there are fantastic non-toxic paint options for toddlers! You'll love these worry-free choices:
- Washable tempera paints
- Homemade flour-based paints
- Natural food coloring mixed with yogurt
These options are safe if accidentally ingested and easily clean up. Plus, they're a blast to use! Your little Picasso can freely express their creativity without any health concerns. So, grab those brushes (or fingers!) and let the messy, colorful fun begin!
How Do I Encourage My Toddler to Participate in Painting Projects?
You've got this, painting parent! To get your little Picasso excited, try these fun tricks:
- Make it a game! Hide colorful shapes for them to paint over.
- Get messy! Let them finger paint or use sponges – it's all about exploration.
- Join in! Kids love when you're part of the art-ion (see what we did there?).
- Praise their efforts! Every squiggle is a masterpiece.
- Keep sessions short and sweet – 10-15 minutes is perfect for tiny attention spans.
What Are Some Creative Ways to Display Toddler Artwork at Home?
Let your little Picasso's masterpieces shine like stars in your home gallery! Here are some fun ways to display your toddler's artwork:
- Create a clothesline gallery with colorful clothespins
- Turn a blank wall into a magnetic canvas
- Frame their best pieces in mismatched frames for a quirky look
- Make a rotating art display using a clipboard wall
- Snap photos and create a digital slideshow
- Use washi tape to make instant, changeable frames
Get creative and let your child's art brighten up your home!