Get ready for mess-free creativity with your little one! These 10 clean DIY painting ideas for toddlers will spark their imagination without the chaos. Try bubble wrap stamping for unique patterns, or frozen paint popsicles for a cool sensory experience. No-spill water coloring and mess-free finger painting bags keep things tidy. Shaving cream marbling and sponge bottle painting offer exciting textures. Edible pudding paint is safe and fun, whereas tape-resist art creates hidden designs. Window painting provides a big canvas, and sidewalk paint brings the fun outdoors. Your toddler will love uncovering these hands-on activities – and you'll love the easy cleanup! Uncover how each technique can unlock your child's artistic potential.
Creative Highlights
- Mess-free finger painting bags offer creative expression without cleanup by using sealed plastic bags filled with paint.
- No-spill water coloring uses Ziplock bags and watercolor paper to prevent spills while encouraging artistic exploration.
- Bubble wrap stamp painting creates unique patterns with minimal mess using paint-covered bubble wrap pressed onto paper.
- Frozen paint popsicles provide a cool sensory experience and mess-free outdoor painting activity for toddlers.
- Washable window painting allows expansive creativity on glass surfaces with easy cleanup using a damp cloth.
Bubble Wrap Stamp Painting
Bubble wrap painting is a fun-filled activity that'll fascinate your toddler's imagination. It's easy to set up and creates amazing textures! Here's what you'll need:
- Bubble wrap
- Non-toxic paint
- Paper
- Scissors
Cut the bubble wrap into manageable pieces. Pour different colored paints onto plates. Let your little one dip the bubble wrap into the paint and press it onto the paper. Watch their eyes light up as they create unique patterns! For a mess-free experience, consider using washable paint sticks that are safe and non-toxic for young children. These options dry quickly, preventing smudges and making cleanup a breeze.
But wait, there's more! Try these bubble-tastic variations:
- Roll a paint-covered bubble wrap tube for long streaks
- Use bubble wrap as a paintbrush for swirly effects
- Pop paint-filled bubbles for a splatter masterpiece
This activity is certain to "pop" with excitement! Your toddler will have a blast discovering textures and colors as they create their bubbly masterpiece.
Frozen Paint Popsicles
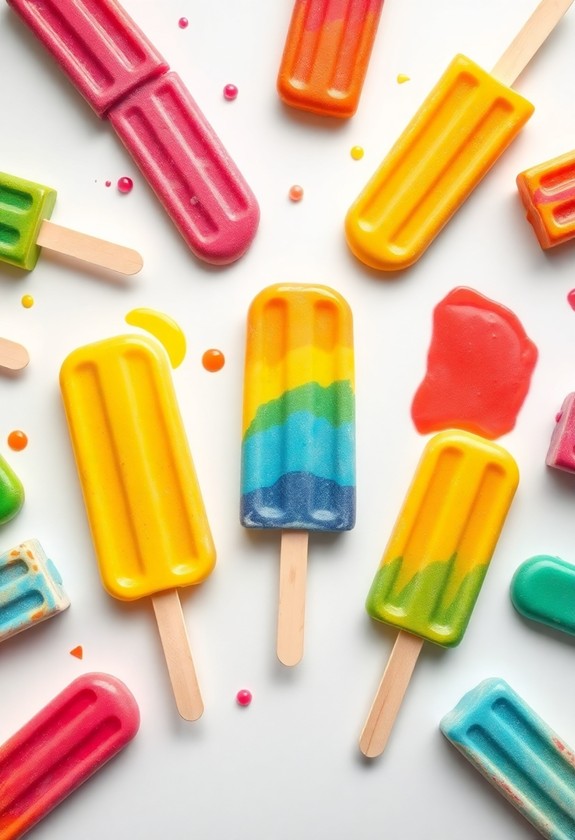
Cooling off your toddler's artistic experience, frozen paint popsicles offer a unique twist on traditional painting. It's easy and fun! Mix washable paint with water, pour into popsicle molds, and freeze overnight. Your little one will love the cool sensation as they create colorful masterpieces! For added safety, consider using non-toxic finger paints intentionally formulated for toddlers, ensuring a worry-free creative session. These paints are designed to be gentle on sensitive skin and easily washable.
Here's why frozen paint popsicles are a hit:
- They're mess-free and perfect for outdoor play
- The cold texture adds a sensory element to painting
- Kids can mix colors as the popsicles melt
Get ready for a chilly art adventure! As the popsicles thaw, your toddler can swirl and blend colors on paper. Watch their eyes light up as they find new shades. And don't worry about stains – the paint washes right off! So, grab those molds and let's freeze up some artistic fun!
Mess-Free Finger Painting Bags
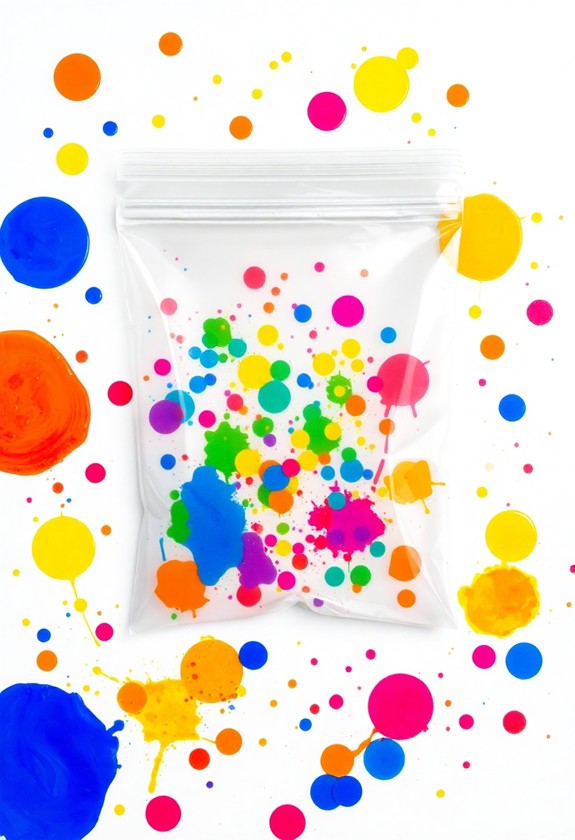
You've just uncovered the ultimate no-mess painting solution for your little Picasso. Mess-Free Finger Painting Bags are here to save your walls, floors, and sanity! These creative tools encourage imaginative play and help develop fine motor skills, making them perfect for toddlers and young children.
Here's how to create these magical art pouches:
- Grab a sturdy, sealable plastic bag
- Squirt in dollops of washable paint (go wild with colors!)
- Add a squirt of shaving cream for extra fluff
- Seal the bag tight, squeezing out excess air
- Secure edges with tape for extra protection
Now, let your toddler squeeze, smoosh, and swirl to their heart's content! They'll love creating colorful masterpieces without getting their hands dirty. And you'll love the easy clean-up – just toss the bag when they're done! It's a win-win situation that'll have everyone smiling. Who knew painting could be so neat?
Shaving Cream Marbling
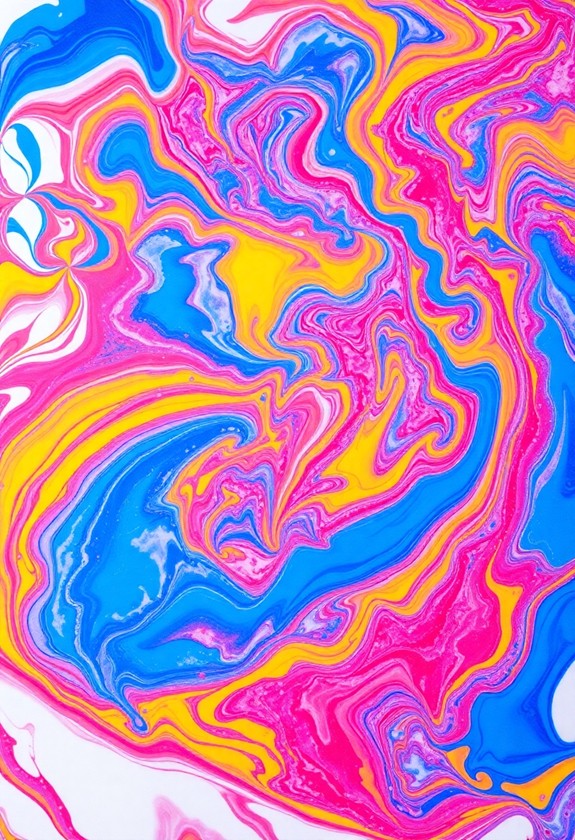
Ready for a magical art experience? Shaving cream marbling is a mesmerizing technique that'll leave your little one spellbound! It's simple, fun, and oh-so-colorful. Start by squirting shaving cream onto a tray and smoothing it out. Then, add drops of liquid watercolors or food coloring. Watch in awe as your toddler swirls the colors with a stick, creating beautiful patterns! This activity promotes sensory exploration and cognitive development, making it an excellent choice for toddlers aged 1-3.
Here's what you'll need:
- Shaving cream (unscented)
- Liquid watercolors or food coloring
- Sturdy paper
- Craft sticks for swirling
Once your kiddo's satisfied with their marbled masterpiece, gently press a sheet of paper onto the surface. Lift it off and scrape away the excess shaving cream. Voila! You've got a unique, marbled creation that's certain to make a splash. This foamy fun is perfect for sensory play and artistic expression. Get ready for some shaving cream shenanigans!
Sponge Bottle Painting
Bursting with creative potential, sponge bottle painting offers a unique twist on traditional brush techniques. You'll love this fun, mess-managed method that's perfect for tiny hands! Here's what you need:
- Empty plastic bottles
- Sponges
- Scissors
- Paint
- Paper
Cut sponges into small pieces and stuff them into the bottles. Pour in some paint, and voila! You've got a nifty painting tool. Let your little Picasso squeeze the bottle to stamp colorful patterns onto paper. It's like magic! This activity not only boosts creativity but also helps develop fine motor skills in toddlers, much like the triangle-shaped crayons and markers designed for improved grip.
Want to spice things up? Try these ideas:
- Mix colors for a rainbow effect
- Use different shaped sponges
- Paint on various surfaces (cardboard, fabric)
This bottle-ful of fun will have your toddler squealing with delight. And the best part? Clean-up's a breeze!
Washable Sidewalk Paint Recipe
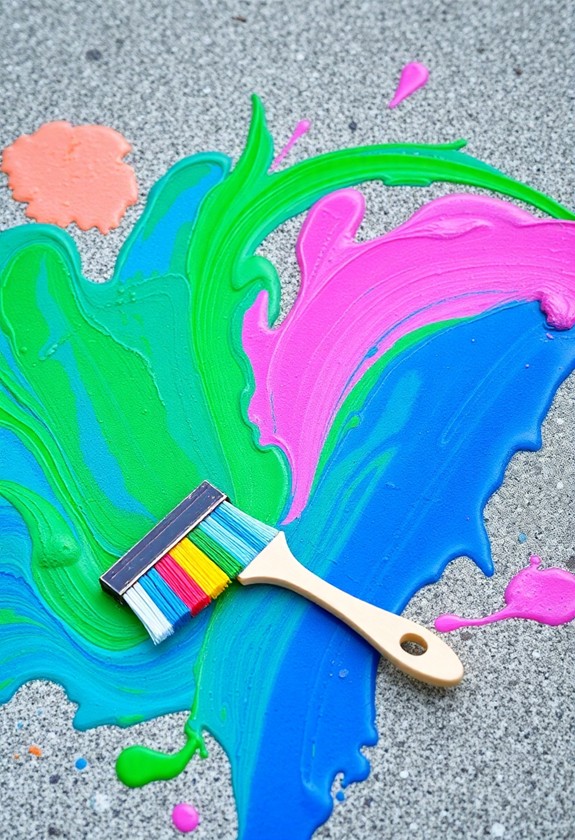
Considering sunny days, why not take your toddler's artistic endeavors outdoors? With this easy washable sidewalk paint recipe, you'll create hours of colorful fun! Mix equal parts cornstarch and water, then add a few drops of food coloring. Voila! You've got lively, washable paint that's perfect for sidewalk masterpieces.
Here's why this recipe is awesome:
- It's super cheap and uses ingredients you already have
- Clean-up is a breeze – just hose it away!
- It's safe if your little one decides to taste-test
Get creative with application methods! Use brushes, sponges, or even squirt bottles for extra excitement. And don't forget to join in the fun – it's a great way to bond with your budding artist. So grab your supplies and let's get painting! Your driveway will never look the same again.
Edible Pudding Paint
Even though outdoor painting is fun, sometimes you need an indoor option that's safe for the littlest artists. Enter edible pudding paint! This messy masterpiece maker is perfect for toddlers who love to taste-test their creations.
Here's how to whip up this delicious art supply:
- Mix instant pudding with milk (follow package instructions)
- Divide pudding into separate bowls
- Add food coloring to each bowl
- Stir until you've got lively, yummy hues!
Let your tiny Picasso loose with finger painting or use brushes for more control. The best part? If they decide to snack on their artwork, it's totally okay! Clean-up is a breeze too – just wipe down surfaces with a damp cloth.
Pro tip: Use vanilla pudding for the brightest colors, and chocolate for earth tones. Get ready for a sweet and colorful adventure!
No-Spill Water Coloring
Ever wanted a mess-free painting activity for your toddler? Seek no further than no-spill water coloring! This ingenious method lets your little one release their creativity without the worry of spills or stains. It's super simple to set up and provides hours of clean, colorful fun!
Here's what you'll need:
- Ziplock bags
- Watercolor paper
- Washable paint or food coloring
Just squirt some paint into a ziplock bag, add a bit of water, and seal it tight. Then, place a sheet of watercolor paper underneath. Your toddler can squish, press, and move the paint around to create amazing designs! The best part? No mess to clean up afterward! You can even tape the bags to a window for a stained-glass effect. It's a win-win situation – your child has a blast, and you keep your sanity!
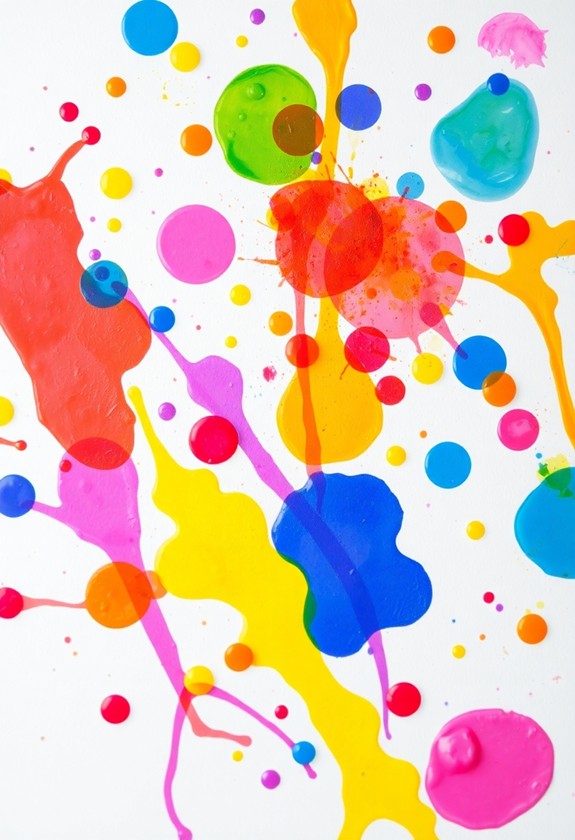
Tape-Resist Art Projects

As no-spill water coloring offers mess-free fun, tape-resist art projects provide a different kind of creative excitement for your toddler. Here's how to do it:
- Stick tape on paper in fun shapes
- Let your little one paint over everything
- Peel off the tape to reveal amazing designs!
It's like magic! Your child will be thrilled to see the hidden patterns appear. Try these ideas:
- Use masking tape for crisp lines
- Create geometric shapes or simple objects
- Experiment with different paint colors
This activity helps develop fine motor skills and spatial awareness. Plus, it's a blast! You can even join in the fun – it's not just for kids. And don't worry about mess; the tape keeps things under control. So grab some tape and paint, and let the artistic adventure begin!
Washable Window Painting
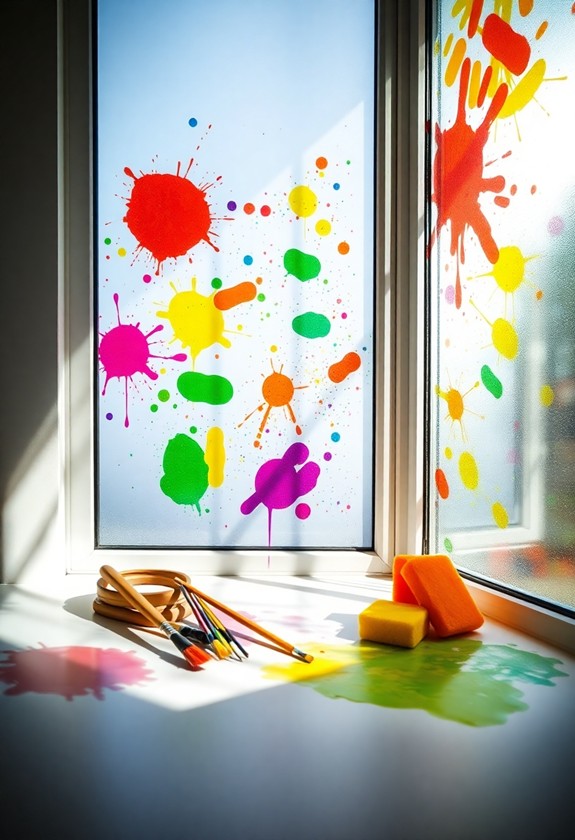
Washable window painting offers a unique canvas for your toddler's creativity. It's a fun, mess-free way to let their imagination run wild! You'll love watching their colorful creations come to life on glass surfaces. Best of all, cleanup is a breeze!
To get started, grab some washable window paints and brushes. Let your little one go to town on windows, sliding glass doors, or even mirrors. They'll be thrilled to see their artwork on such a grand scale!
Here are some exciting ideas to try:
- Create a seasonal scene with handprint flowers or falling leaves
- Paint a underwater world with fish and sea creatures
- Design a cityscape with colorful buildings and cars
When playtime's over, simply wipe away the masterpiece with a damp cloth. It's that easy! Your toddler will be begging to paint again and again.
Curious Little Questions
How Can I Remove Paint Stains From My Toddler's Clothes?
Is your little Picasso's masterpiece now adorning their clothes? Don't panic! You've got this paint predicament in the bag. Here's how to banish those stubborn stains:
- Act fast! Scrape off excess paint
- Rinse with cold water
- Pre-treat with stain remover
- Wash in hottest water safe for fabric
- For stubborn stains, try rubbing alcohol or hairspray
What Age Is Appropriate to Start Introducing Painting Activities to Toddlers?
You can start introducing painting activities to toddlers as early as 18 months old! It's an exciting milestone, and your little one will love it. At this age, they're ready to investigate colors and textures. But don't worry if your child isn't interested yet – every kid develops differently. Just keep offering opportunities, and they'll plunge into it when they're ready. Remember, it's all about fun and creativity, not perfection. So grab those brushes and let the messy masterpieces begin!
Are There Eco-Friendly Alternatives to Traditional Paints for Toddler Art Projects?
You'd think finding eco-friendly paints for toddlers would be like finding a needle in a haystack, but it's actually a breeze! There are tons of awesome alternatives:
- Homemade veggie paints: Blend beets, spinach, or carrots with water!
- Natural dyes: Try turmeric, coffee, or berry juice
- Flour paint: Mix flour, water, and natural food coloring
- Milk paint: Combine milk, vinegar, and natural pigments
These options are safe, fun, and planet-friendly. Your little Picasso will love creating masterpieces as you feel great about protecting the environment!
How Can I Encourage My Toddler to Explore Different Painting Techniques?
You've got this, paint-parent! Encourage your little Picasso to investigate new techniques with these fun ideas:
- Finger painting – let those tiny hands get messy!
- Sponge painting – bounce and dab for cool textures!
- Marble painting – roll marbles in paint for wild patterns!
- Blow painting – use straws to create unique designs!
- Nature painting – use leaves, flowers, or twigs as brushes!
Mix it up and watch your toddler's creativity bloom! Remember, it's all about the process, not the masterpiece. Let's get painting!
What Precautions Should I Take When Storing Paints and Art Supplies?
Safety first, art lovers! When storing paints and supplies, you'll want to be a storage superstar! Here's how:
- Keep everything out of reach: High shelves or locked cabinets are your BFFs!
- Use airtight containers: No dried-up paints allowed!
- Label clearly: Know what's what at a glance!
- Store in a cool, dry place: Heat and humidity are art's nemesis!
- Separate toxic materials: Keep 'em far from food and kiddos!