You'll love these seven safe homemade art materials for toddlers that'll spark creativity without breaking the bank! Edible finger paint and natural playdough offer mess-free fun, as cornstarch sidewalk chalk takes the excitement outdoors. Washable window crayons let kids decorate without worry, and a homemade glue stick is perfect for crafting. Scented modeling clay adds a sensory twist, and safe watercolor paints provide colorful exploration. These easy-to-make options are non-toxic, engaging, and promote skill development. They're a win-win for both kids and parents! Ready to release your little one's inner artist? There's so much more to uncover about these fantastic creations!
Creative Highlights
- Edible finger paint made from cornstarch, water, and food coloring is safe for toddlers to explore and easily washable.
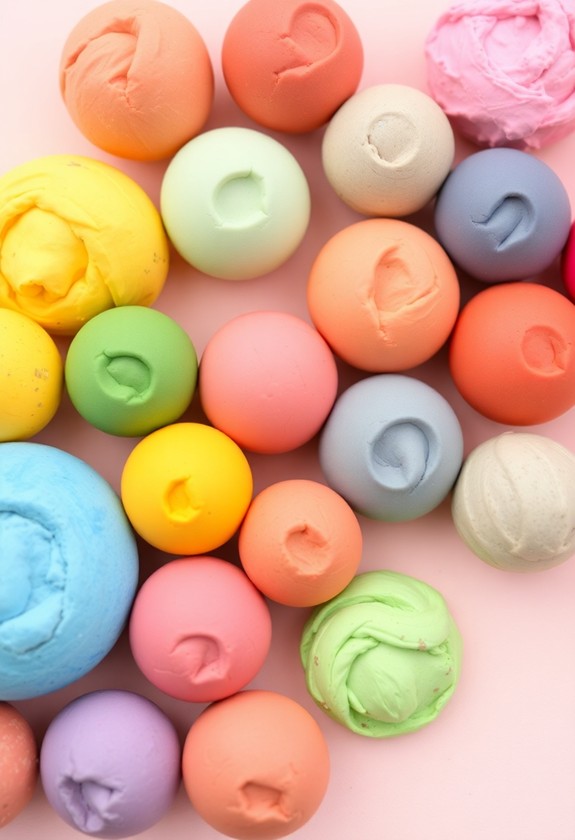
- Natural playdough using flour, salt, oil, and water promotes sensory play and fine motor skill development.
- Cornstarch sidewalk chalk offers a washable outdoor art option that fosters creativity and gross motor skills.
- Washable window crayons made from soap and water provide mess-free indoor fun and enhance color recognition.
- Scented modeling clay using flour, salt, oil, and essential oils encourages sensory exploration through smell and touch.
Edible Finger Paint
When it relates to little ones investigating art, you want to make certain everything's A-OK if it ends up in their mouths. That's where edible finger paint comes in handy! Non-toxic materials are essential for child safety during art activities, and homemade options can provide peace of mind.
Let's get messy with this fun recipe:
You'll need:
- 1 cup cornstarch
- 1 cup cold water
- 3 cups boiling water
- Food coloring
Mix the cornstarch and cold water in a pot. Slowly add boiling water, stirring constantly. Cook over medium heat until it thickens – it's like magic! Once it's cooled, divide it into containers and add different food colors. Voila! You've got rainbow-licious paint that's safe to taste!
But wait, there's more! This paint isn't just safe, it's super fun too. Watch your toddler's eyes light up as they squish and smear it around. And cleanup? A breeze! It washes right off with water.
Natural Playdough
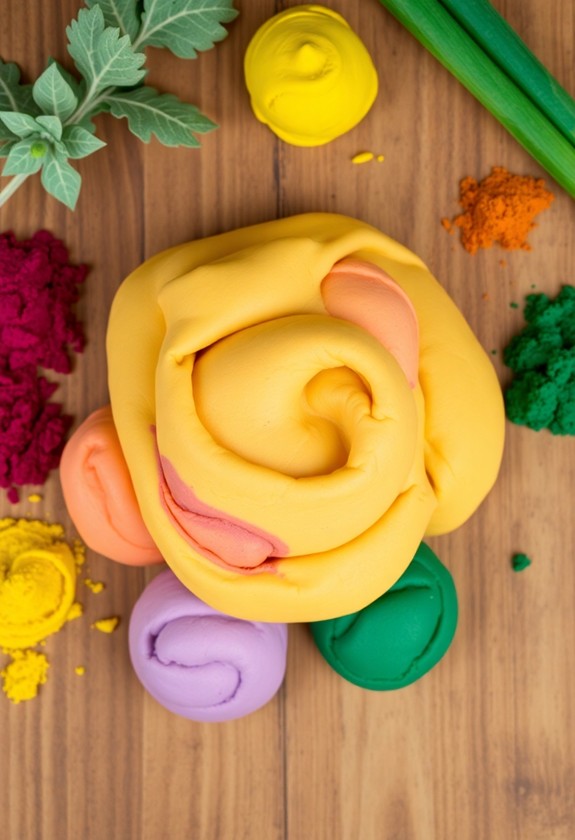
From squishy paint to moldable dough, let's explore another tactile delight for tiny hands. Natural playdough is a fantastic, eco-friendly alternative to store-bought options. It's easy to whip up and safe for curious tots who might sneak a taste! Similar to washable finger paints, this homemade playdough promotes sensory exploration and fine motor skill development in a safe, mess-free environment.
Ingredients you'll need:
- 2 cups flour
- 1 cup salt
- 2 tablespoons oil
- 1.5 cups boiling water
- Natural food coloring (optional)
Let's get rolling! Mix the flour and salt in a bowl. Add oil and boiling water, then stir until it forms a dough. Knead it well – it's a great arm workout! Once it's smooth, you're ready to play. Want some color? Divide the dough and add a few drops of natural food coloring to each portion. Voila! You've got a rainbow of doughy fun!
This playdough is perfect for little sculptors. They can squish, roll, and mold to their heart's content. And the best part? It's 100% natural! No need to worry if they decide to taste-test their creations. So, get ready for some hands-on, giggly, doughy adventures!
Cornstarch Sidewalk Chalk
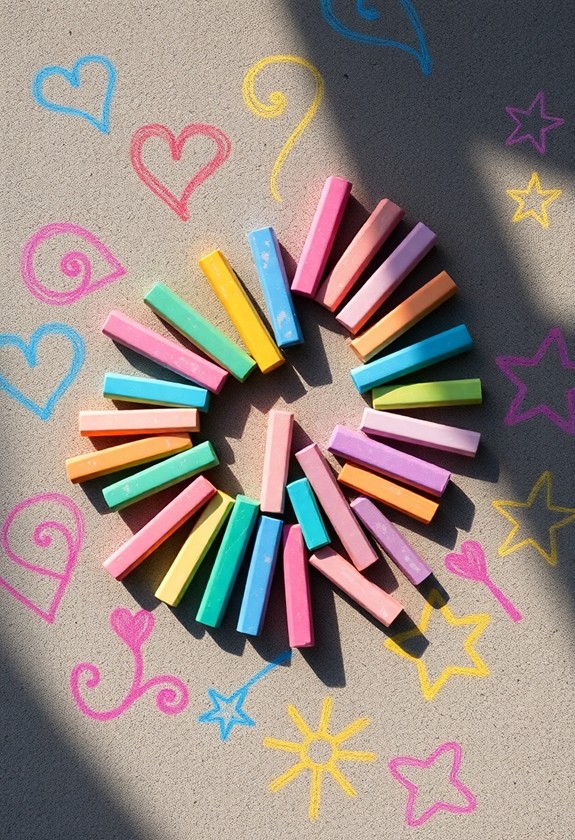
Stepping outside opens up a world of creative possibilities for your little ones. And what better way to investigate their artistic side than with homemade sidewalk chalk? It's time to whip up some colorful, chunky chalk that'll have your toddlers drawing up a storm! This DIY project is perfect for fostering creativity and developing motor skills in a safe, non-toxic environment.
Here's what you'll need:
- 1 cup cornstarch
- 1 cup water
- Food coloring
Let's get chalky! Mix the cornstarch and water in a bowl until smooth. Divide the mixture into smaller portions and add different food coloring to each. Pour the colorful concoctions into molds (ice cube trays work great!) and let them dry overnight. Voila! You've got yourself some DIY sidewalk chalk!
But wait, there's more! This chalk isn't just for sidewalks. Use it on:
- Driveways
- Fences
- Trees (don't worry, it'll wash off!)
Your little Picassos will love the smooth texture and lively colors. Plus, it's safe if they accidentally taste it (though we don't recommend a chalk buffet!). So, grab your homemade chalk and let the driveway doodling begin!
Washable Window Crayons

Let's turn those windows into canvases! With washable window crayons, your little Picasso can create masterpieces on glass without leaving a lasting mark. These magical art tools are super easy to make at home, and they're a blast to use! Non-toxic materials guarantee safe creative exploration for toddlers, promoting fine motor skills and color recognition as well as minimizing mess.
Here's what you'll need:
- 1/4 cup grated soap
- 1/4 cup warm water
- Food coloring
- Small containers
Mix it up:
- Combine the grated soap and warm water in a bowl.
- Stir until you get a thick, paste-like consistency.
- Divide the mixture into separate containers.
- Add different food coloring to each container. Get creative with your color choices!
- Let the mixtures cool and solidify overnight.
Voila! You've got window-derful crayons ready to go! Watch as your toddler's imagination runs wild on glass surfaces. The best part? These crayons wipe off easily with a damp cloth, so there's no need to worry about permanent marks. It's a win-win situation: your child gets to express their creativity, and you get to keep your windows clean. So, what are you waiting for? Get ready for some glass-tastic fun!
Homemade Glue Stick
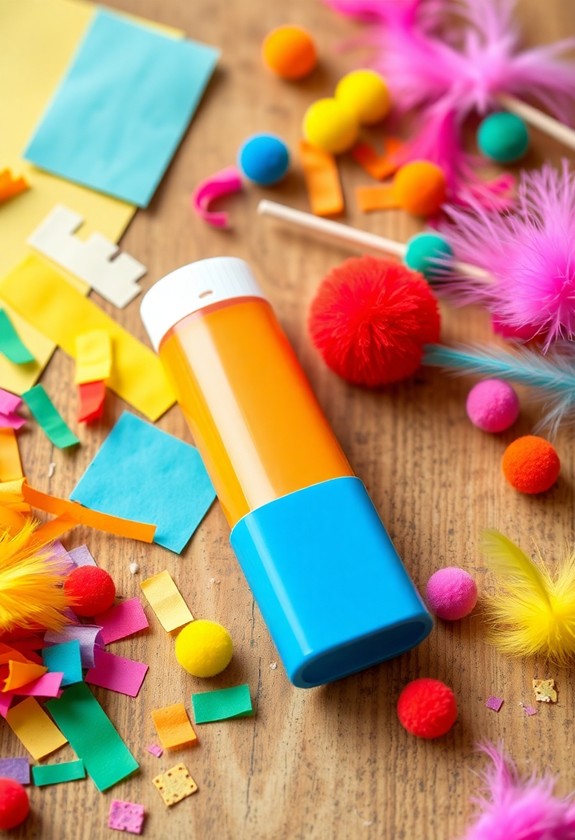
As window art is fun, sometimes your toddler might want to stick things together. That's where a homemade glue stick comes in handy! You can create this safe, non-toxic adhesive right in your kitchen. It's easy, cost-effective, and perfect for little hands! This DIY glue is an excellent alternative to store-bought options, promoting creative play and sensory exploration during ensuring safety for your child.
Here's what you'll need:
- 1/4 cup cornstarch
- 1/4 cup water
- 1 tablespoon white vinegar
- 1 teaspoon sugar
Mix these ingredients in a saucepan over medium heat. Stir constantly until it thickens – it's like magic! Once it's cooled, pour it into an empty glue stick container or small jar. Voila! You've got a homemade glue stick!
This DIY glue is great for:
- Paper crafts
- Collages
- Scrapbooking
Your little one will love using their very own glue stick! It's safe if they accidentally taste it (though we don't recommend it as a snack!). Plus, it washes off easily with water. No more sticky situations!
Scented Modeling Clay
After creating your homemade glue stick, it's time to explore the world of scented modeling clay. This fun, squishy substance will keep your little ones entertained for hours! Let's plunge into the clay-zy world of homemade modeling fun!
Ingredients:
- 2 cups flour
- 1 cup salt
- 2 tablespoons vegetable oil
- 1 cup warm water
- Food coloring
- Key oils (for scent)
Instructions:
- Mix the flour and salt in a large bowl.
- Add the oil and water, then stir until it forms a dough.
- Knead the dough for a few minutes. It's time to get your hands dirty!
- Divide the dough into portions for different colors.
- Add a few drops of food coloring and key oil to each portion.
- Knead again until the color is even. Voila! You've got scented clay!
Your toddler will love squishing, rolling, and shaping this aromatic dough. And the best part? It's completely safe if they decide to taste-test their creations! So, get ready to mold some memories with this clay-tastic activity!
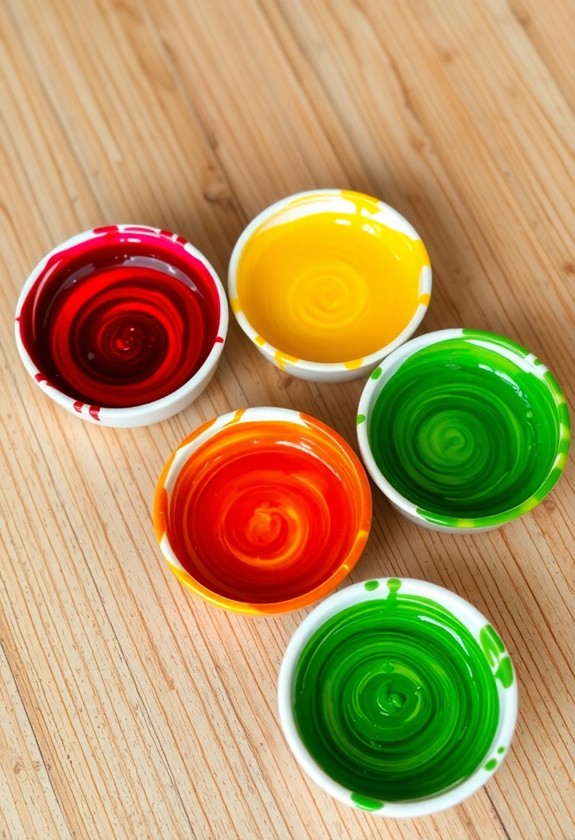
Safe Watercolor Paints
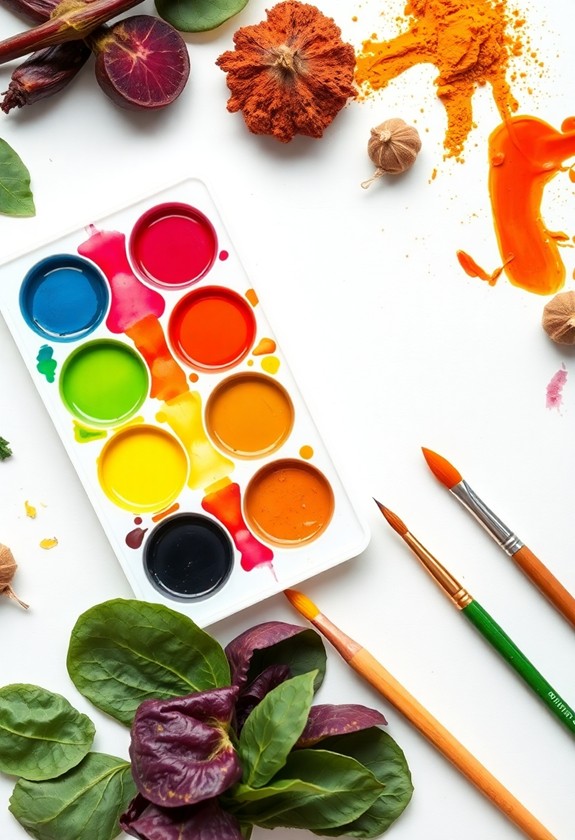
Frequently, parents worry about the safety of art supplies for their toddlers. But don't fret! You can easily whip up safe watercolor paints at home. It's super simple, and your little Picasso will love it!
What You'll Need:
- Food coloring
- Water
- Cornstarch
Mix equal parts water and cornstarch in small containers. Add a few drops of food coloring to each, and voila! You've got homemade watercolors that are safe and fun. But wait, there's more! These paints aren't just safe – they're washable too. No more panic about stained clothes or walls!
Want to make painting even more exciting? Try these cool ideas:
- Freeze the paints for icy art sessions!
- Add a drop of vanilla for scented creations
- Use vegetables like beets or spinach for natural colors
Your toddler will have a blast discovering these lively, non-toxic paints. And you'll have peace of mind knowing exactly what's in them. So, grab those ingredients and let the colorful adventures begin! Who knows? You might be nurturing the next Monet or O'Keeffe right in your own home!
Curious Little Questions
How Long Can Homemade Art Materials Be Stored?
Safely storing your sensational, super-fun homemade art materials? You've got options! Most concoctions can last from a few days to several weeks. But beware, bacterial buildup can be a buzzkill! For peak performance, pop your creations in the fridge. This cool move can extend their lifespan! Remember, though: when in doubt, throw it out. Safety first, budding artists! Keep an eye out for any funky smells or odd colors. And always label your lovely creations with the date you made them!
Are There Any Allergens to Watch Out for in DIY Art Supplies?
When making DIY art supplies, you've got to keep your eyes peeled for potential allergens. Watch out for common culprits like wheat flour, eggs, and nuts. But don't stop there! Some kiddos might be sensitive to certain food colorings or even natural dyes. And let's not forget about fragrances – they can be sneaky troublemakers too! Always check with parents about any allergies, and when in doubt, stick to simple, hypoallergenic ingredients. Safety first, creativity second!
What Age Is Appropriate to Introduce Homemade Art Materials to Children?
You can introduce homemade art materials as early as 18 months! Your little Picasso's ready to create, investigate, and get messy. Start with simple, safe materials like edible finger paints or play dough. As they grow, so can their artistic adventures! By age 3, they're ready for more complex crafts. Remember, safety first! Always supervise and choose non-toxic ingredients. It's not just about age, but likewise your child's individual development. So, get ready to release their inner artist and have a blast!
Can These Materials Be Used on Different Surfaces Without Causing Damage?
These fun materials can be used on all sorts of surfaces, but you'll want to be careful. Some might stain or stick, so it's best to test them first. Try using washable options on paper, cardboard, or plastic. For messy play, head outside and use sidewalks or fences. Don't forget to protect surfaces with old sheets or newspapers. And remember, always supervise your little artists to make certain they're creating masterpieces, not messes!
How Do I Remove Stains Caused by Homemade Art Materials From Clothing?
Oh no, stains from art projects? Don't worry, you've got this! First, act fast! Rinse the stain with cold water right away. Then, try these magic tricks: For paint stains, dab with rubbing alcohol. For food coloring, soak in vinegar and water. And for marker stains, use hairspray or hand sanitizer. Blot, don't rub! If all else fails, pre-treat with stain remover and wash as usual. You'll have those clothes looking picture-perfect in no time!