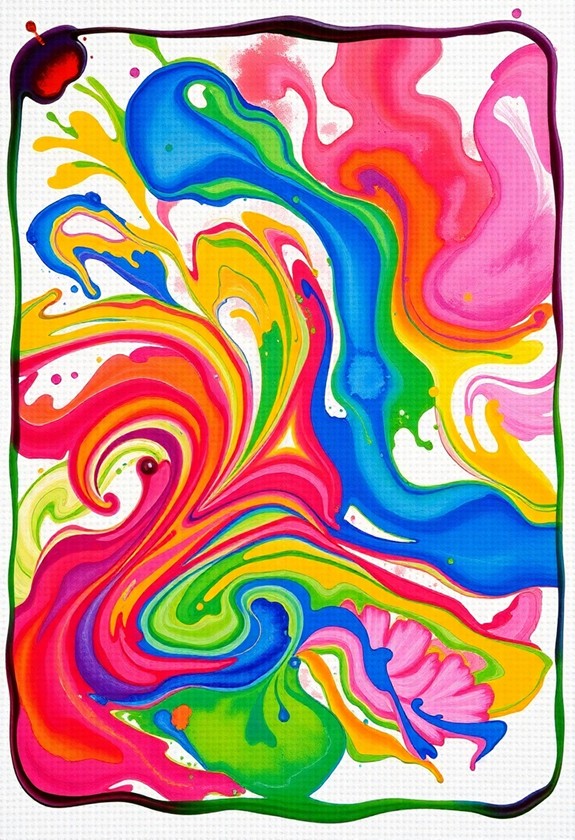
Get ready for mess-free fun with these 7 awesome contained art projects! Your little ones will love Zip-Lock Bag Finger Painting, where creativity stays inside the bag. Shake things up with Glitter Bottles that sparkle without the cleanup. Sticky Art using contact paper lets kids investigate textures worry-free. Immerse yourself in colorful Sensory Bins for hands-on mixing magic. Create unique prints with Bubble Wrap for giggles and art. Design lively Window Cling Mosaics that stick and restick. And don't forget No-Spill Water Coloring Mats for on-the-go artistry! These projects are perfect for curious hands and enthusiastic minds. Keep scrolling to unlock a world of contained creativity!
Creative Highlights
- Zip-lock bag finger painting offers mess-free color exploration and enhances fine motor skills for toddlers.
- Mess-free glitter shaker bottles provide a captivating visual experience without the cleanup hassle.
- Contact paper sticky art encourages tactile creativity with easy setup and removal.
- Sensory bin color mixing combines exploration and play while teaching color theory.
- No-spill water coloring mats offer portable, reusable fun with effortless cleanup.
Zip-Lock Bag Finger Painting
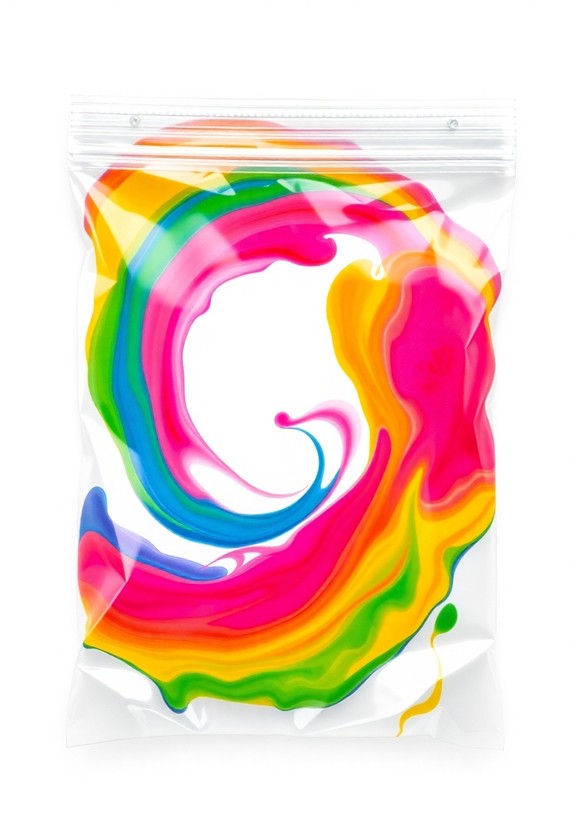
Many parents and teachers love zip-lock bag finger painting for its mess-free approach to artistic expression. It's a brilliant way to let your little ones investigate colors and textures without the usual cleanup headache! This activity is perfect for toddlers aged 2-4, promoting fine motor skills and sensory exploration during keeping the mess contained.
Here's how to set it up:
- Grab a large zip-lock bag
- Squirt in dollops of different colored paints
- Seal the bag, squeezing out excess air
- Tape it to a flat surface
Now, let the fun begin! Your child can squish, smear, and swirl the paint around inside the bag. It's like a magical, contained canvas! They'll love watching the colors blend and create new shades. And you'll love that their hands stay clean!
Bonus tip: Use this activity to teach color mixing. It's a hands-on (well, hands-off) way to learn about primary and secondary colors!
Mess-Free Glitter Shaker Bottles
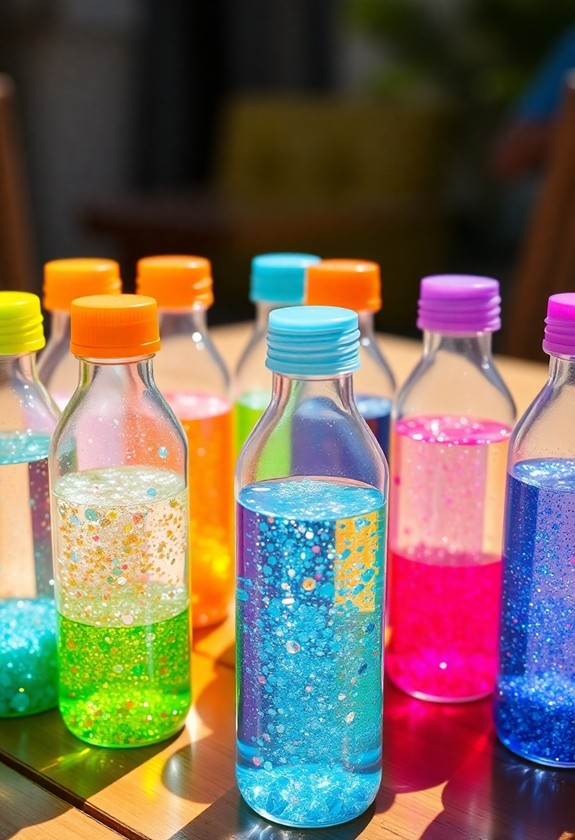
Glitter enthusiasts rejoice! You can now enjoy all the sparkle without the mess. Mess-free glitter shaker bottles are a game-changer for crafty kids and parents alike. This worry-free creativity option allows toddlers to engage in artistic expression without stress over potential messes. Here's how to make your own magical creation:
- Grab a clear plastic bottle
- Fill it 1/3 with water
- Add a squirt of clear glue
- Sprinkle in your favorite glitter colors
- Top it off with baby oil
- Screw the lid on tight
Shake it up and watch the glittery magic happen! The oil and water don't mix, creating a mesmerizing effect as the glitter swirls and settles. It's like a tiny, portable disco ball in your hands! Plus, you can add small toys or beads for extra fun. Get ready to be dazzled by your very own glitter galaxy!
Contact Paper Sticky Art

As glitter bottles offer sparkly fun, contact paper sticky art provides a different tactile experience for young creators. It's a fantastic way to keep your little ones engaged and their creativity contained! This activity not only promotes fine motor skills but additionally encourages self-expression and builds confidence in their artistic abilities. Here's how to set it up:
- Cut a piece of contact paper and tape it to a table, sticky side up.
- Gather colorful items like tissue paper, feathers, and foam shapes.
- Let your child stick the items onto the paper in any pattern they like.
- When finished, cover with another piece of contact paper for a sealed masterpiece!
This activity is perfect for toddlers and preschoolers. They'll love the sensory experience of touching the sticky surface and arranging their chosen materials. Plus, it's easy to clean up – just peel off the contact paper when you're done! Get ready for some stick-tacular art fun!
Sensory Bin Color Mixing
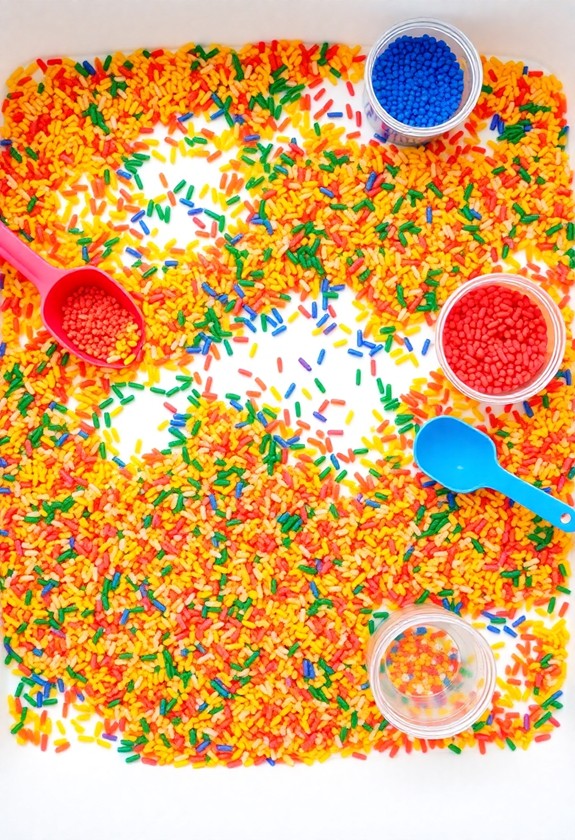
Plunge into the world of color exploration with sensory bin color mixing! This engaging activity is perfect for curious little artists. You'll need:
- A large plastic bin
- White rice or sand
- Food coloring
- Small containers
- Scoops and spoons
Start by filling your bin with rice or sand. Next, create lively hues in separate containers by mixing food coloring with small amounts of the base material. Now, let the colorful chaos begin!
Encourage your child to scoop, pour, and blend the colors in the main bin. Watch as they uncover new shades and patterns! But wait, there's more! Add some sparkle with glitter or texture with small pom-poms. As they mix and mash, they're learning about color theory and sensory play.
Clean-up is a breeze – just store the bin with a lid for future fun!
Bubble Wrap Printing Station
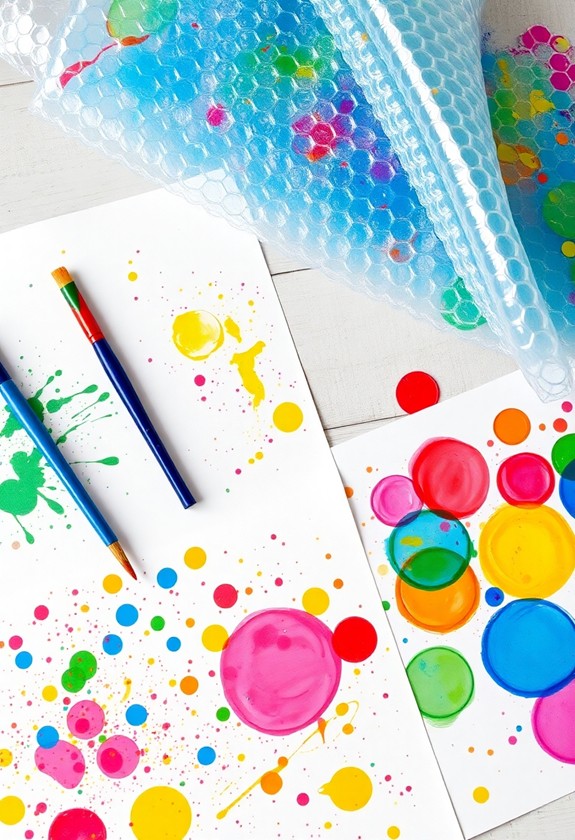
Pop your way to artistic expression with a bubble wrap printing station! This fun, messy project will have your little ones giggling with glee as they create unique masterpieces. Here's what you'll need:
- Large sheets of bubble wrap
- Washable tempera paint
- Paper or canvas
- Paint rollers or brushes
Start by laying out the bubble wrap, bumpy side up. Squirt different colors of paint onto the wrap and let your kids roll or brush it around. Then, press a sheet of paper onto the painted bubble wrap. Peel it off to reveal a magical, textured print! But wait, there's more! Try different patterns by popping some bubbles before printing. Or use cookie cutters to make shapes in the paint. The possibilities are endless, and the giggles are guaranteed!
Window Cling Mosaic Making
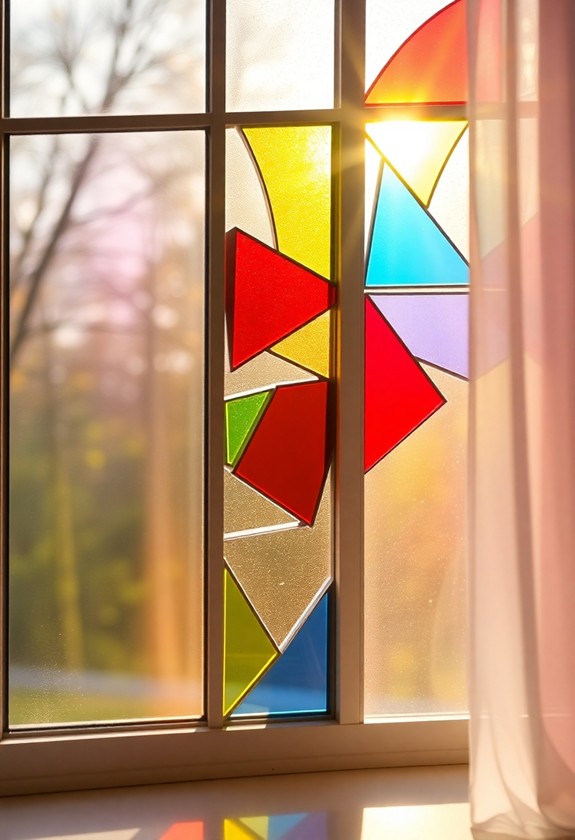
Let's move from paint to plastic with a colorful window cling mosaic project! This fun activity will have your little artists creating lively designs that stick right to your windows. It's mess-free and oh-so-easy!
Here's what you'll need:
- Clear plastic sheet
- Window cling sheets (various colors)
- Scissors
- Ruler (optional)
Follow these simple steps:
- Cut the clear plastic sheet to your desired size.
- Snip the window cling sheets into small shapes – squares, triangles, circles, oh my!
- Arrange the shapes on the clear plastic, creating a dazzling mosaic design.
- When you're happy with the layout, press the pieces firmly to stick.
Voila! You've got a stunning, sun-catching masterpiece. Hang it up and watch your room glow with color!
No-Spill Water Coloring Mats
Water coloring just got a whole lot tidier with no-spill water coloring mats. These ingenious tools let kids express their creativity without the mess! You'll love how they keep your little artists engaged and your floors spotless.
Here's why no-spill water coloring mats are a game-changer:
- Mess-free fun: The water's contained in the mat, so no spills!
- Reusable: Just let it dry and use it again and again.
- Portable: Perfect for road trips or quiet time anywhere.
- Easy cleanup: Simply wipe clean when done.
To use, just fill the mat with water, give your child a special brush, and watch the magic happen! As they "paint," colorful designs appear. But here's the kicker – when it dries, the slate's wiped clean for a fresh start. It's like a never-ending coloring book!
Curious Little Questions
How Can I Encourage My Child's Creativity Beyond These Contained Art Projects?
Let your child's imagination run wild as you open the floodgates of creativity! Here are some exciting ways to encourage their artistic spirit:
- Set up an "inspiration station" with various materials
- investigate nature and collect items for art projects
- Try finger painting or messy play outdoors
- Encourage dress-up and imaginative play
- Visit museums and galleries for inspiration
- Let them decorate their own space
- Try collaborative family art projects
What Age Range Are These Activities Most Suitable For?
You'll find these activities are perfect for little artists aged 3 to 8! They're designed to enchant curious minds and tiny hands. For the younger ones, you'll want to focus on simpler projects with bigger materials. As they grow, you can introduce more complex tasks. Remember, every child develops differently, so don't be afraid to mix it up! The key is to keep it fun, safe, and engaging. Watch your little Picasso bloom with excitement as they investigate their creativity!
Are There Any Eco-Friendly Alternatives for Materials Used in These Projects?
You'll love these eco-friendly swaps for your art projects:
- Use recycled paper or cardboard instead of new materials
- Try natural dyes from fruits and veggies – it's like magic!
- Swap plastic glitter for biodegradable alternatives
- Make your own clay with flour and salt – so fun!
- Use beeswax crayons instead of regular ones
These green choices are not only better for the planet, but they're furthermore super creative! You'll have a blast investigating these Earth-friendly options during making amazing art. Let's get crafty and eco-conscious!
How Can I Incorporate Learning Objectives Into These Art Activities?
You can easily turn art into a learning adventure! Start by picking a theme that matches your lesson, like shapes or colors. Then, challenge kids to create art that fits the theme. For example, have them make a collage of triangles or paint a picture using only warm colors. You can even sneak in math by counting objects or measuring materials. Don't forget to ask questions throughout the process – it'll get those little minds thinking as they're having fun!
What Precautions Should I Take for Children With Sensory Sensitivities?
Did you know that 1 in 6 children has sensory processing challenges? It's essential to be mindful! For kids with sensory sensitivities, you'll want to take some special precautions. First, create a calm environment with soft lighting and quiet music. Offer noise-canceling headphones if needed. Use gentle, non-toxic materials like unscented play dough or fluffy cotton balls. Always introduce new textures gradually, and let the child set the pace. Remember, every child is unique, so be patient and observant!