Get ready for cardboard crafting fun! You'll love turning boxes into magical castles, vibrant cities, and quirky robots. Create wild animal masks or cute tube creatures for imaginative play. Race cardboard cars, build a cozy dollhouse, or put on a puppet show in your homemade theater. For endless entertainment, construct a marble run with twists and turns. These crafts are perfect for little hands and big imaginations! They'll boost creativity, problem-solving skills, and fine motor development. Plus, you're recycling as you play – how cool is that? Fasten your seatbelt, since there's a world of cardboard adventures waiting for you!
Creative Highlights
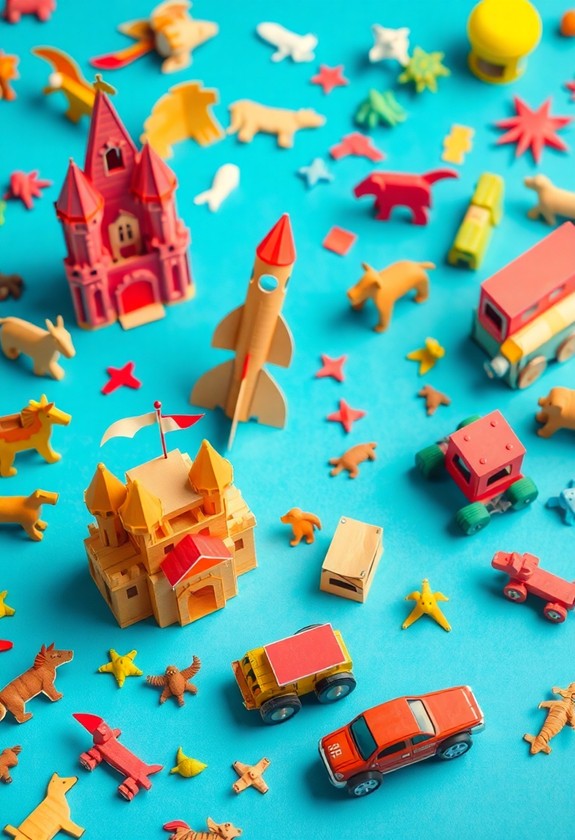
- Cardboard castles and miniature cities foster creativity, problem-solving, and urban planning skills in children.
- Recycled robots and marble runs enhance engineering abilities while teaching lessons on recycling and physics.
- Animal masks and puppet theaters encourage imaginative play, storytelling, and performance skills.
- Cardboard car racers and dollhouses promote fine motor skills, spatial awareness, and creative design.
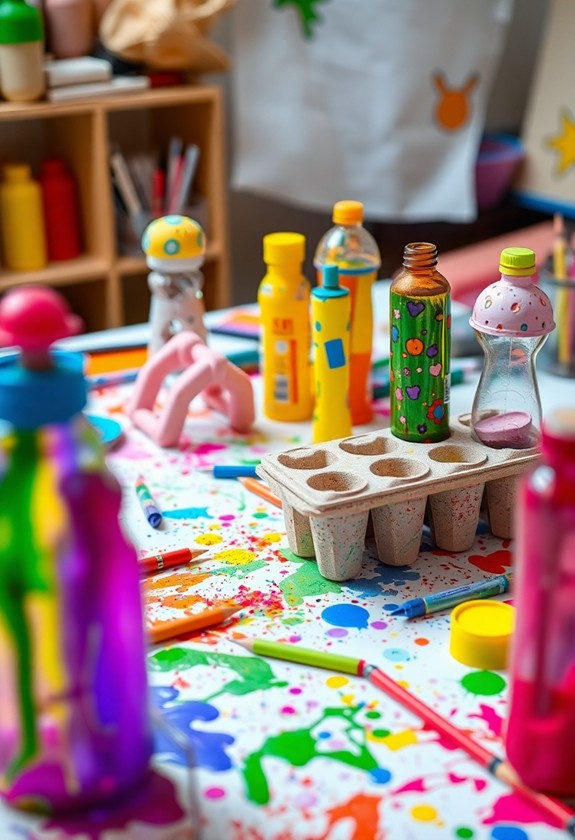
- Cereal box picture frames and cardboard tube creatures offer artistic expression while teaching eco-friendly crafting.
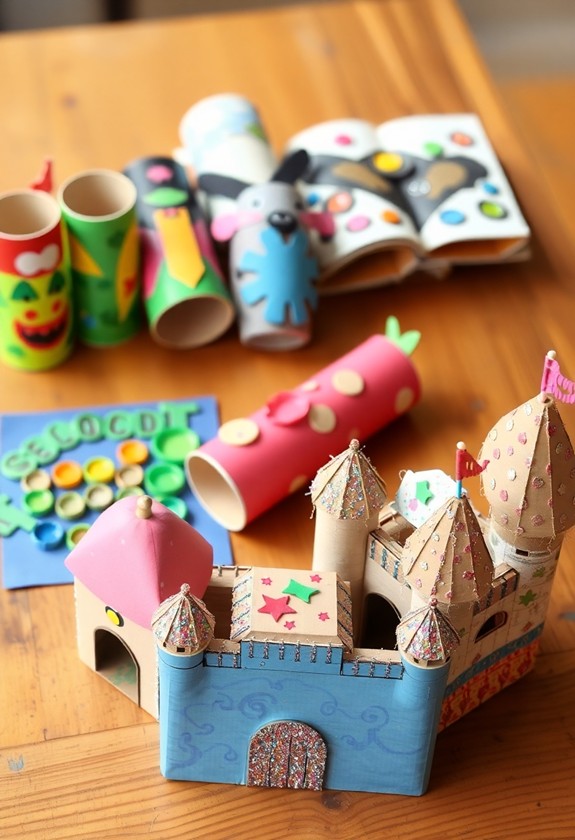
Cardboard Castle
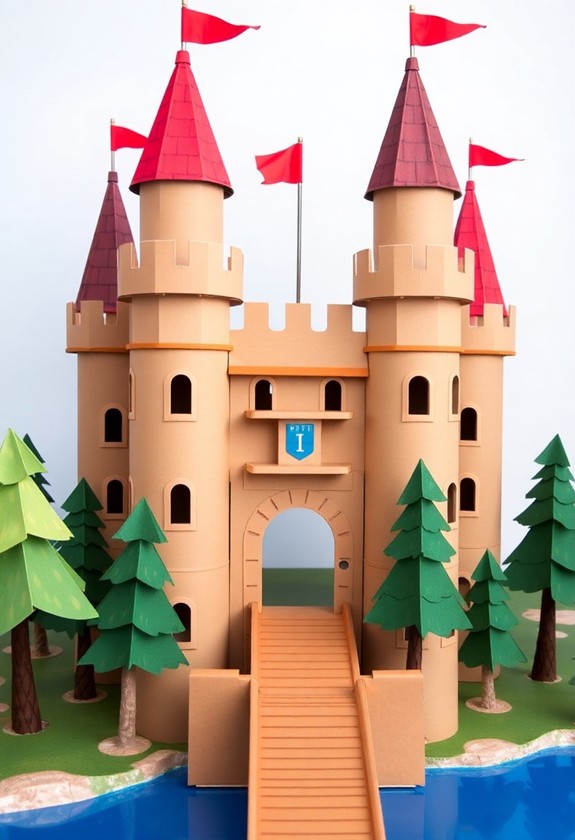
Every child dreams of having their own castle, and now you can make that dream a reality with a DIY cardboard castle. It's time to release your inner royal architect! With just a few cardboard boxes and some basic supplies, you'll be ruling your own kingdom in no time. This project not only sparks creativity but also encourages problem-solving abilities as children figure out how to construct their fortress.
Materials needed:
- Large cardboard boxes
- Scissors or craft knife (with adult supervision)
- Tape or glue
- Paint and brushes
- Markers or crayons
Step-by-step instructions:
- Cut out the basic shape of your castle from the cardboard boxes.
- Create towers by rolling smaller pieces of cardboard into cylinders.
- Add windows, doors, and a drawbridge – get creative!
- Tape or glue everything together.
- Paint your castle in regal colors. Go for a stone look or make it a colorful fantasy palace!
- Add details like flags, a moat, or even a dragon guard!
Your cardboard castle is now ready for epic adventures! Will you defend it from invading armies or host grand royal balls? The possibilities are endless in your new cardboard kingdom. Long live the cardboard monarch!
Miniature Cardboard City
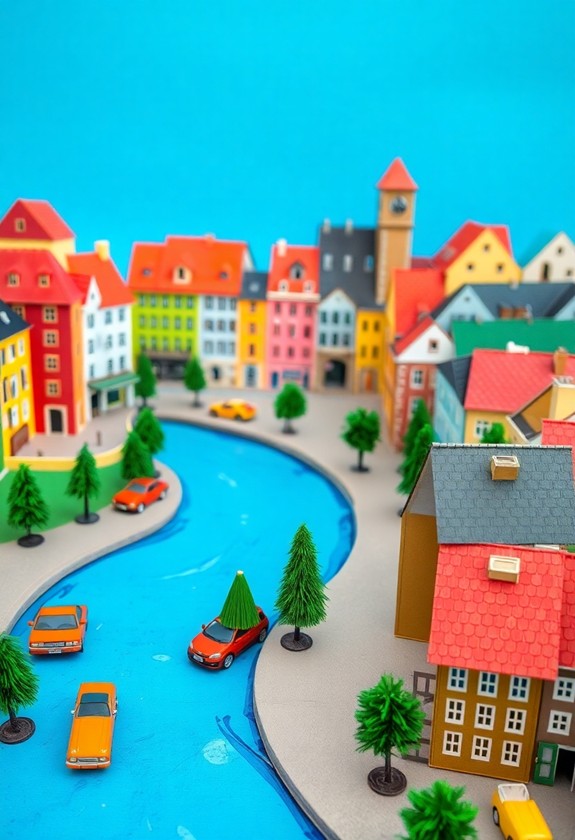
As you construct a castle is grand, creating a miniature cardboard city lets your child's imagination soar to new heights. It's time to think big by building small! This project is perfect for little architects and urban planners in the making. You'll be amazed at how quickly your dining room table transforms into a vibrant metropolis! This craft not only enhances fine motor skills but moreover promotes problem-solving abilities as children figure out how to construct their buildings.
To get started on your cardboard cityscape, gather these fundamental materials:
- Cardboard boxes of various sizes
- Scissors and craft knives (for adult use)
- Colorful paint and markers
- Glue and tape for assembly
Start by sketching out your city plan. Will you have towering skyscrapers or quaint shops? Don't forget parks and roads! Cut your cardboard into building shapes and let your creativity run wild. Paint windows, doors, and fun details like billboards or street lamps. For added pizzazz, use bottle caps for roundabouts or straws for streetlights!
As your city grows, encourage your little one to create stories about the residents. Who lives in that apartment? What's happening at city hall? Before you know it, you'll have a thriving cardboard community that's bursting with life and imagination!
Recycled Robots
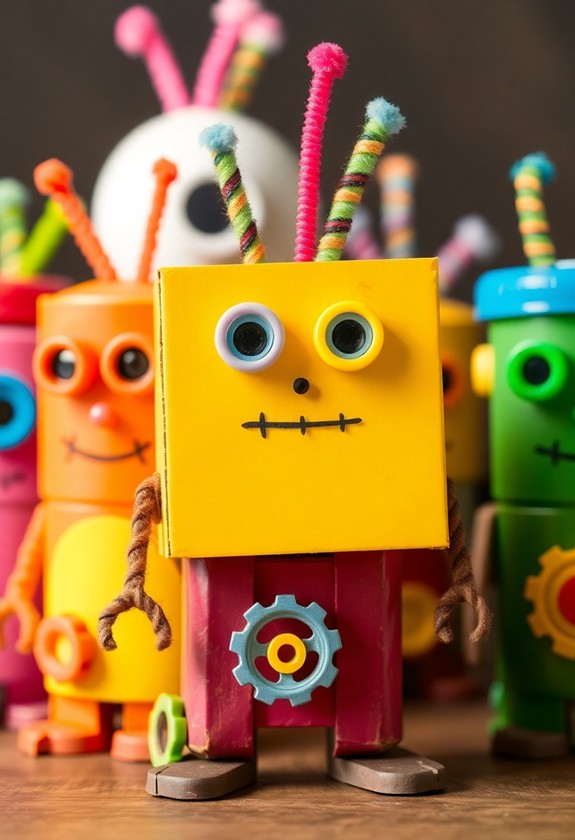
From lively cardboard cities to futuristic companions, let's shift gears and explore the world of recycled robots. Get ready to transform everyday cardboard into amazing mechanical marvels! These crafts not only entertain but enhance fine motor skills and spatial reasoning, making them perfect for toddlers aged 1-5.
Gather Your Materials
You'll need:
- Cardboard boxes of various sizes
- Scissors (ask an adult for help!)
- Glue or tape
- Paint or markers
- Bottle caps, buttons, and other small recyclables
Build Your Bot
Start with a cardboard box for the body. Cut out holes for the head, arms, and legs. Attach smaller boxes or tubes for limbs. Get creative with details! Use bottle caps for eyes, buttons for knobs, and cut-out shapes for cool designs.
Personalize Your Creation
Now it's time to bring your robot to life! Paint it in bold colors or cover it with shiny foil. Add personality with drawn-on facial features or funky antennae. And don't forget to name your new friend!
Why stop at one? Build a whole robot family! These cardboard companions are not only fun to make but teach valuable lessons about recycling and creativity. So, gear up and let your imagination run wild!
Cardboard Animal Masks
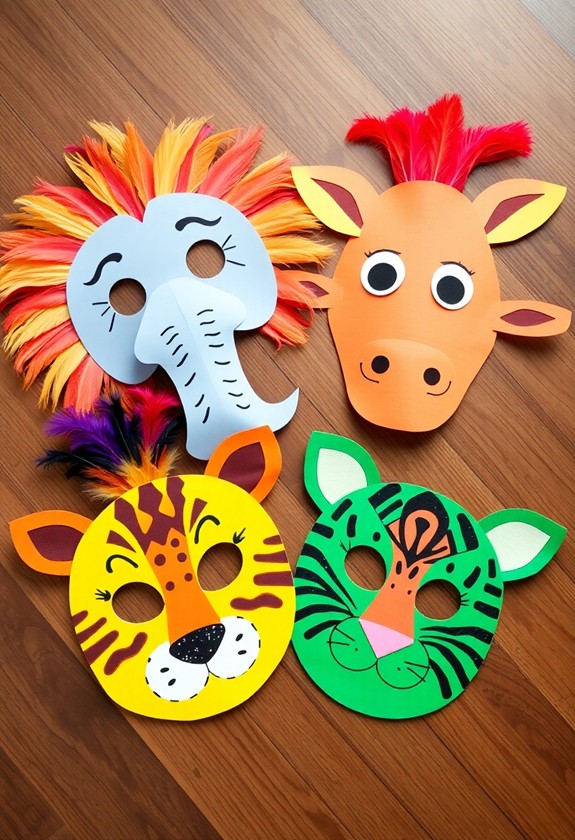
Imagination roars to life with cardboard animal masks! These fun creations let kids transform into their favorite creatures in no time. With just a few simple materials, you'll be ready to release your wild side! Eco-friendly craft options like these masks promote sustainability as they encourage creativity. They're also great for developing fine motor skills and inspiring imaginative play.
Here's what you'll need:
- Cardboard (cereal boxes work great!)
- Scissors (with adult supervision)
- Elastic or string
- Colorful markers or paint
Start by drawing your animal's face shape on the cardboard. Cut it out carefully, and don't forget to make eye holes! Now, it's time to let your creativity run wild. Add ears, whiskers, or a trunk – whatever your animal needs! Paint or color your mask to bring it to life. Roar like a lion, trumpet like an elephant, or hoot like an owl!
Once your masterpiece is dry, attach the elastic or string so it fits snugly on your face. And just like that, you've become a cardboard creature! These masks are perfect for playtime, parties, or putting on your own animal parade. So, what are you waiting for? Immerse yourself in the animal kingdom and let your imagination soar!
Cardboard Tube Creatures
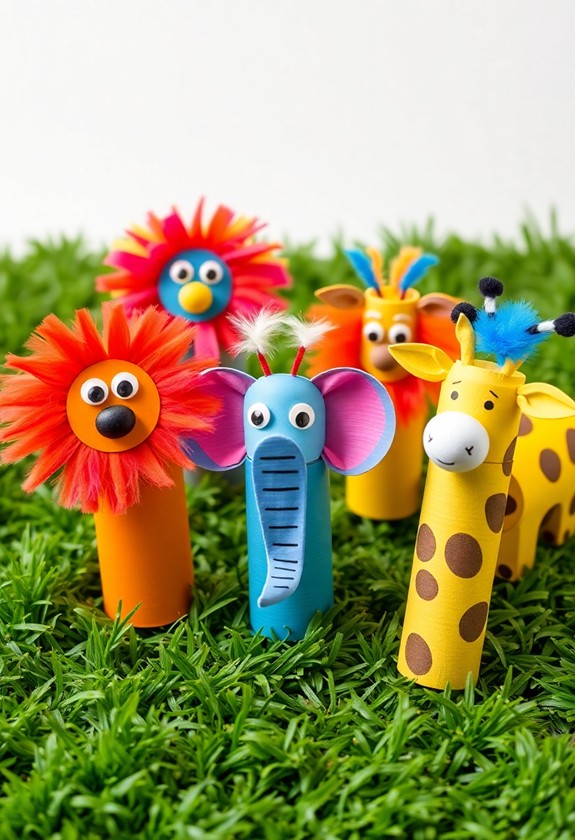
Toilet paper and paper towel rolls transform into adorable creatures with just a bit of creativity! These cardboard tube creatures are a blast to make and offer endless possibilities for your little ones. Let's plunge into this fun-tastic craft! This activity enhances fine motor skills and encourages problem-solving as children figure out how to bring their imaginative creatures to life.
Materials you'll need:
- Cardboard tubes
- Paint or markers
- Googly eyes
- Glue
- Scissors
- Colorful paper
- Pipe cleaners
Steps to create your creature:
- Paint or color your tube. Go wild with patterns!
- Cut out paper shapes for ears, wings, or fins. Glue them on!
- Stick on those googly eyes. The bigger, the better!
- Use pipe cleaners for antennae, whiskers, or legs.
- Add final details with markers. Don't forget a silly smile!
Your cardboard tube creatures are ready to play! Make a whole zoo, or create an underwater scene. The sky's the limit! And here's a "tube-rific" idea: use them as pencil holders or toy organizers. Who knew recycling could be so much fun? Your kids will be "roll-ing" with laughter as they bring these quirky creatures to life!
Cereal Box Picture Frames
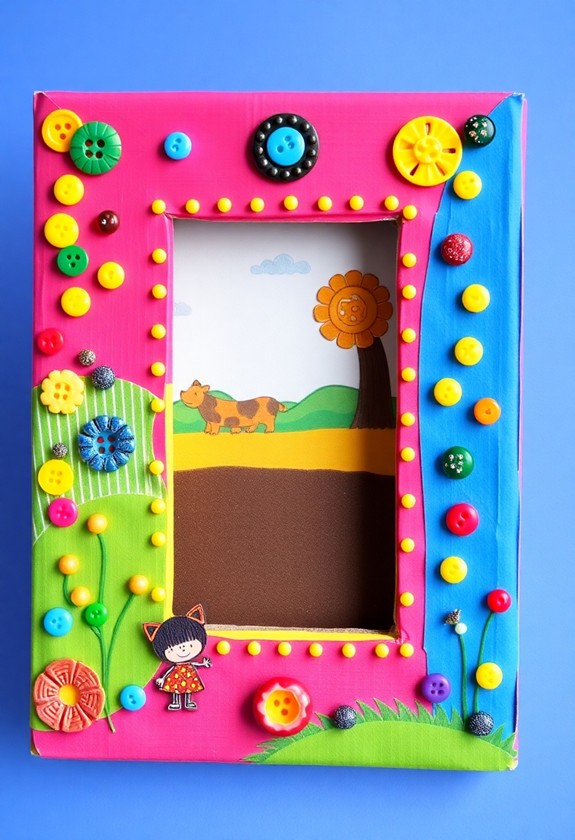
Picture frames add a personal touch to any room, and creating them from cereal boxes is a fantastic way to upcycle. You'll love this fun, eco-friendly craft that turns breakfast leftovers into beautiful décor! It's a snap to make and perfect for displaying your favorite photos or artwork. This brain-boosting activity encourages fine motor skills and creative thinking in toddlers, making it an excellent choice for parents looking to support their child's development through crafts.
Ready to get started? Here's what you'll need:
- An empty cereal box
- Scissors or a craft knife (with adult supervision)
- Decorative items like paint, glitter, or stickers
- A photo or picture to display
First, cut the front panel of your cereal box into a frame shape. Don't forget to leave enough room for your picture! Next, release your creativity and decorate your frame. Paint it, glue on sequins, or cover it with colorful washi tape – the possibilities are endless!
Once your masterpiece is dry, it's time to add your photo. Tape it to the back of the frame, and voila! You've got a one-of-a-kind picture frame that's guaranteed to brighten any space. And the best part? You can make as many as you want! So, get ready to frame-ously transform your room with these cereal-ously awesome creations!
Cardboard Car Racers
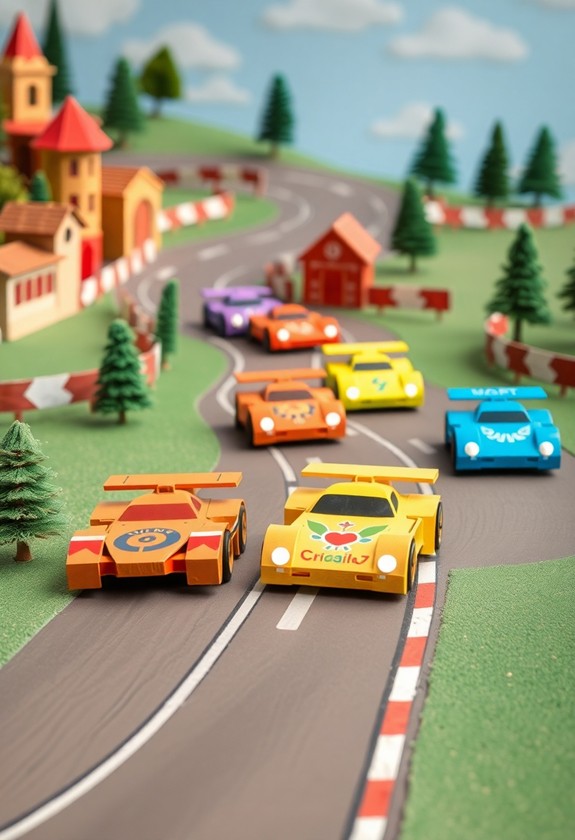
Fasten your seatbelt for an exciting ride with cardboard car racers! These speedy little vehicles are a blast to make and even more fun to play with. You'll be zooming around in no time! This craft not only enhances creativity but additionally helps develop fine motor skills crucial for later academic success.
What you'll need:
- Cardboard boxes
- Scissors
- Paint or markers
- Bottle caps (for wheels)
- Straws or skewers (for axles)
- Glue
Let's get rolling:
- Cut out your car shape from cardboard. Be creative – make a sports car, a truck, or even a wacky monster mobile!
- Decorate your car with paint or markers. Add racing stripes, flames, or cool designs.
- Attach bottle caps as wheels using straws or skewers for axles. Ensure they spin freely!
- Add fun details like headlights, a steering wheel, or a spoiler.
Now, it's time to hit the track! Set up a ramp using more cardboard and watch your car zoom down. Race against friends or time yourself. Who'll be the cardboard car champion? Ready, set, go! With these DIY racers, you'll be cruising to victory lane in style!
Cardboard Dollhouse
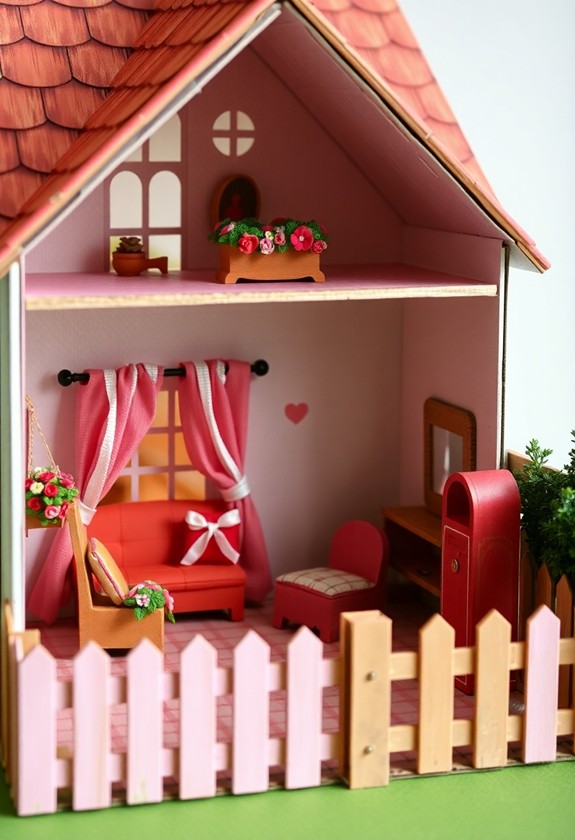
Transform a simple cardboard box into a charming miniature abode with a DIY cardboard dollhouse. It's a magical project that'll spark your child's imagination and keep them entertained for hours! With just a few supplies and some creativity, you'll be amazed at what you can create.
To get started, gather your materials:
- A sturdy cardboard box
- Scissors or a craft knife (adult supervision required!)
- Decorative paper or paint
- Glue or tape
First, cut out windows and doors in the box. Don't forget to leave one side open as the front of the house! Now comes the fun part – decorating! Let your little one's creativity run wild. They can paint the walls, add wallpaper with colorful paper, or even create tiny artwork to hang inside. For the finishing touches, why not make some cardboard furniture? A little bed, a miniature table, or even a tiny TV – the possibilities are endless!
This craft isn't just fun, it's additionally a great way to teach kids about design and spatial awareness. Plus, it's a "home run" for recycling! So, grab that cardboard and let the dollhouse dreams begin!
Cardboard Puppet Theater

Even though puppet shows have been entertaining children for centuries, you can easily bring this classic art form into your home with a homemade cardboard puppet theater. It's time to evoke your creativity and make something truly magical!
Getting Started:
First, grab a large cardboard box and cut out a big rectangle in the front for your stage. Don't forget to leave enough space at the bottom for your little puppeteers to hide! Next, decorate the outside with paint, markers, or colorful paper. Let your imagination run wild – you could create a castle, a forest, or even a spaceship!
Adding the Finishing Touches:
Now for the fun part! Cut out some curtains from fabric or tissue paper and attach them to the top of your stage. You can use a stick or dowel rod to make them open and close. For an extra special touch, add some twinkling fairy lights around the edges. Voila! You've just created a puppet-tacular masterpiece!
But wait, there's more! Why not make some simple stick puppets to go with your theater? The sky's the limit regarding putting on your very own show. Lights, camera, puppet action!
Cardboard Marble Run
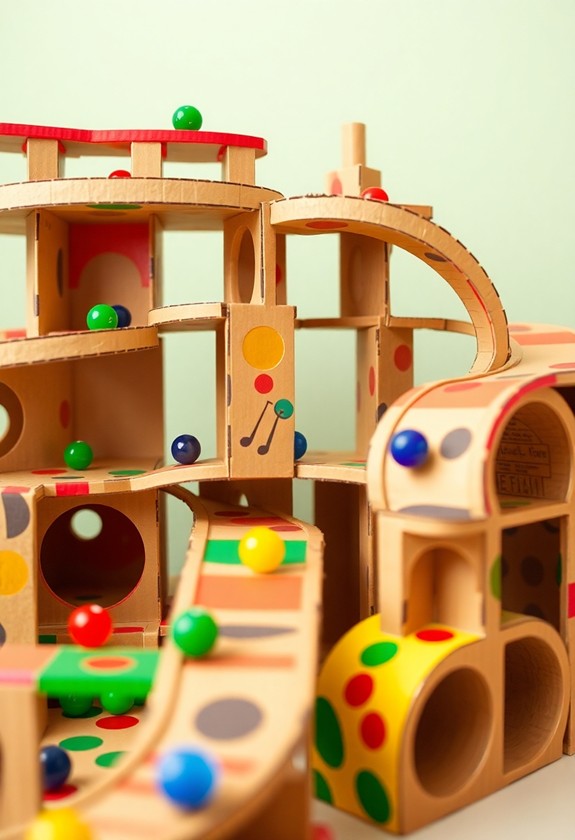
From puppets to marbles, cardboard can create endless entertainment for kids. And now, it's time to roll into the exciting world of cardboard marble runs! This fun-tastic project will have your little ones bouncing with joy as they watch their marbles zip and zoom through twists and turns.
Ready to get rolling? Here's what you'll need to create your marvelous marble run:
- Cardboard tubes (from paper towels or wrapping paper)
- A large piece of cardboard for the base
- Scissors and tape
- Marbles (of course!)
Start by cutting your cardboard tubes into different lengths. Then, get creative! Tape the tubes to your base in a zig-zag pattern, creating ramps and curves. But wait, there's more! Add some pizzazz with obstacles like cardboard flaps or small boxes. Your kids will have a ball designing their own unique courses!
This project isn't just fun – it's educational too! It's a great way to teach kids about gravity, momentum, and problem-solving. So, what are you waiting for? Let's get this show on the roll!
Curious Little Questions
What Age Group Are These Cardboard Crafts Suitable For?
As they say, "One man's trash is another child's treasure!" These cardboard crafts are perfect for little hands, typically suited for kids aged 3 to 10. You'll find projects for toddlers, preschoolers, and elementary-age children. But don't let age limit creativity! Younger kids might need more help, whereas older ones can tackle complex designs. It's all about tailoring the difficulty to your child's skills. Remember, crafting isn't just fun – it's a fantastic way to boost motor skills and imagination!
How Can I Make Cardboard Crafts More Durable for Long-Term Play?
Want your cardboard creations to last longer? You're in luck! Here are some awesome tricks to make them super durable:
- Seal it up! Use clear varnish or mod podge to protect the surface.
- Reinforce with tape! Add packing tape to edges and joints for extra strength.
- Layer it on! Use multiple layers of cardboard for sturdier structures.
- Paint power! A coat of acrylic paint adds protection and pizzazz.
- Get fancy! Add fabric or felt for a soft, long-lasting finish.
Your cardboard crafts will be ready for endless play!
Are There Any Safety Concerns When Working With Cardboard and Children?
Did you know that 90% of children's injuries from crafting are preventable? That's right! Regarding cardboard crafts, you'll want to keep safety in mind. Watch out for sharp edges, and always supervise little ones with scissors. But don't worry, cardboard is usually safe! Just be cautious with glue and small pieces that could be choking hazards. And remember, a fun craft session is a safe craft session! So get creative and enjoy your cardboard adventures!
Where Can I Find Large Quantities of Cardboard for Bigger Projects?
You've got so many options for cardboard sources, it's box-tastic! Local stores are goldmines – ask grocery shops, appliance dealers, or furniture stores for their leftovers. They'll often give them away for free! Recycling centers are another goldmine. Don't forget to check online marketplaces or community groups. And hey, why not put out a call to friends and family? Before you know it, you'll be swimming in cardboard, ready for those big, bold projects. Happy crafting!
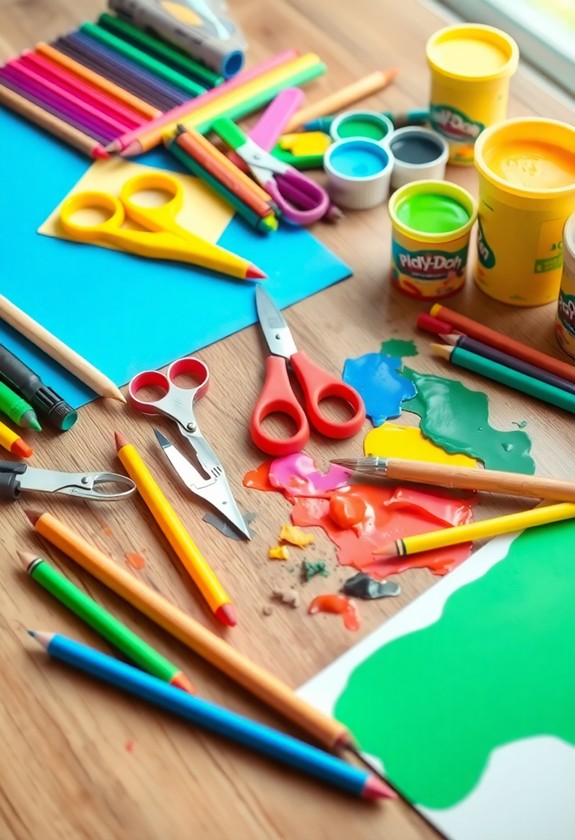
What Tools Are Essential for Cardboard Crafting With Young Children?
Let's get crafting! For cardboard projects with kids, you'll want these crucial tools: child-safe scissors (the sharper, the better!), a glue stick or white glue, markers or crayons, and a ruler. Don't forget tape – masking tape for temporary holds and clear tape for finishing touches. A hole punch can be super handy too! And here's a fun tip: use a plastic knife for scoring cardboard – it's safer than a box cutter but still gets the job done. Happy creating!