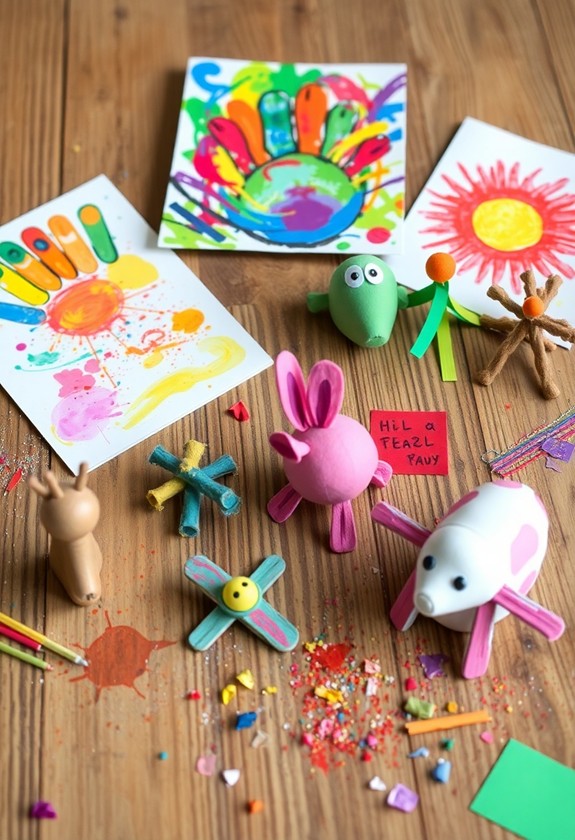
Get ready for paint-tastic fun with your preschoolers! These 10 affordable projects will unleash their inner artists: Finger painting, cotton ball masterpieces, bubble wrap printing, leaf art, sponge stamping, recycled material creations, marble rolling, Q-tip pointillism, watercolor and salt textures, and homemade paint recipes. Each activity sparks creativity and develops skills as it keeps costs low. You’ll love watching your little ones investigate colors, textures, and patterns. From messy finger painting to delicate Q-tip dots, there’s something for every budding Picasso. Don’t forget to protect your workspace and use washable paints for easy cleanup. Immerse yourself to uncover the colorful world of preschool art!
Creative Highlights
- Finger painting with washable paints offers a classic, low-cost activity for sensory exploration and color mixing.
- Q-tip pointillism introduces artistic techniques using inexpensive materials like cotton swabs and tempera paint.
- Marble rolling paint projects create unique effects with minimal supplies, engaging preschoolers in colorful, messy fun.
- Sponge stamping allows for creative pattern-making using cut sponges and washable paints on paper or cardboard.
- Nature-inspired leaf painting utilizes free materials from outdoors, teaching about shapes and textures while exploring colors.
Finger Painting Fun
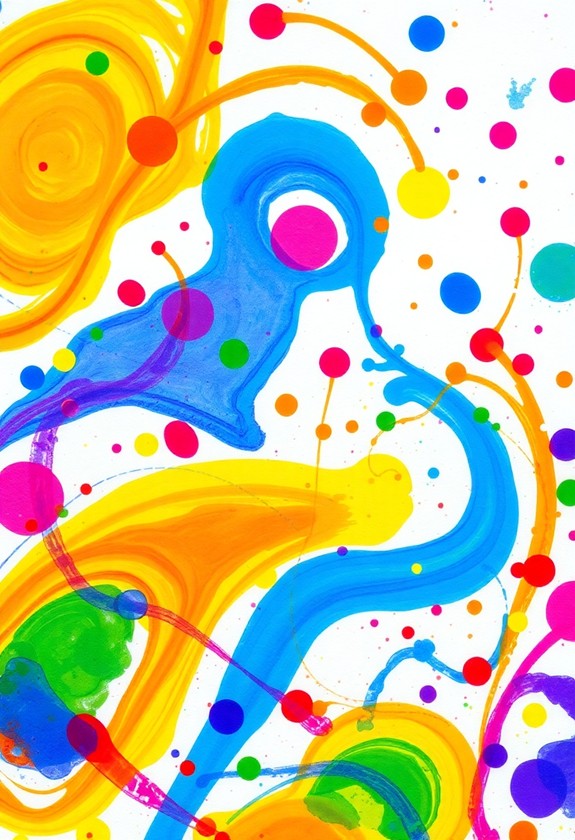
Investigating the world of color through finger painting is a classic preschool activity that never loses its appeal. It’s time to get messy and have fun! Here’s how to set up an exciting finger painting session:
- Gather supplies: washable paint, paper, and old clothes
- Cover your workspace with a plastic tablecloth
- Pour small amounts of paint onto paper plates
For a mess-free alternative, consider using the Color Wonder Mess Free fingerprint ink painting set, which reveals colors only on special paper. Now, let your little artist loose! Encourage them to:
- Mix colors and see what happens
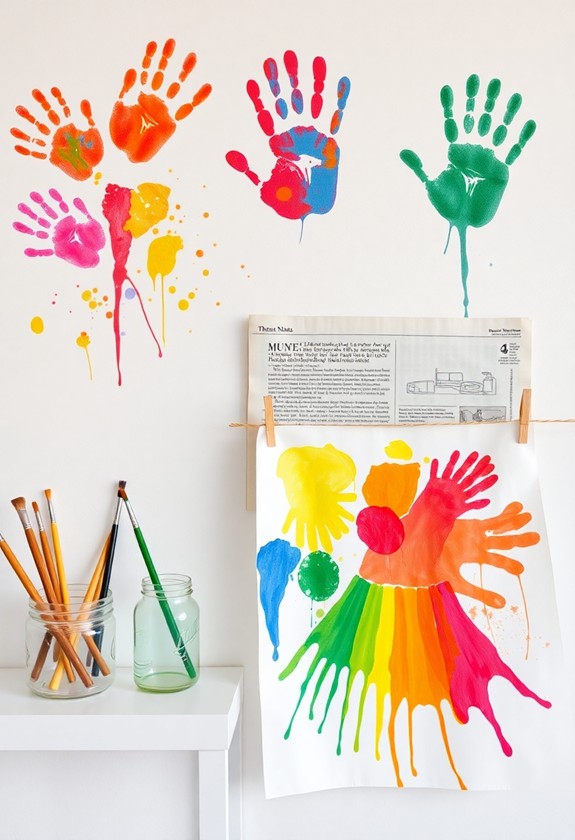
- Create handprints and fingerprints
- Draw shapes and patterns
Don’t forget to praise their colorful creations! Finger painting isn’t just fun—it’s likewise great for developing fine motor skills and sensory exploration. And the best part? Clean-up is a breeze with washable paints. Just rinse those tiny hands, and you’re done!
Cotton Ball Masterpieces
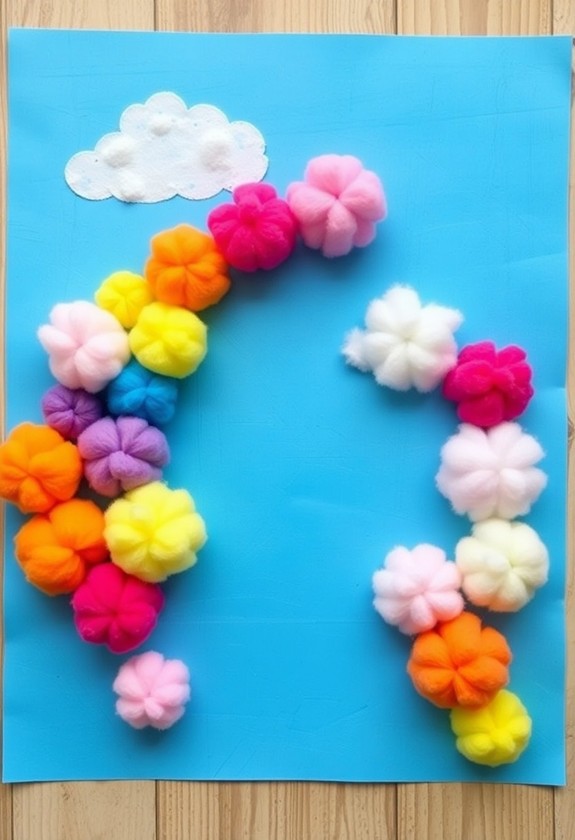
From messy finger painting, let’s move to a fluffier art project. Cotton ball masterpieces are a delightful way to create texture-rich art! You’ll need:
- Paint
- Paper
- Cotton balls
- Clothespins (optional)
Here’s how to make your cotton ball creation:
- Dip cotton balls in paint
- Dab or roll them on paper
- Mix colors for a rainbow effect
- Try different patterns – swirls, dots, or lines
For less mess, clip cotton balls with clothespins. This technique is perfect for worry-free creativity, allowing toddlers to express themselves without stress over potential messes. It’s likewise an excellent way to develop fine motor skills in children aged 3 and up. Get creative! Make fluffy clouds, fuzzy animals, or soft flowers. This project’s a ball of fun and easy to clean up. Plus, it’s great for developing fine motor skills. Your little artists will love the unique textures they create. Who knew cotton could be so cool? It’s time to get rolling with this cottontastic craft!
Bubble Wrap Printing
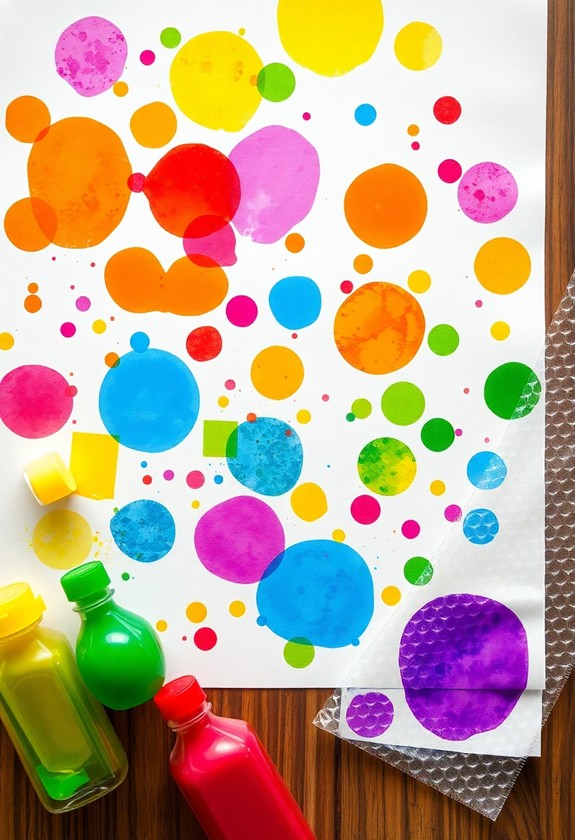
On to another exciting texture-based project: bubble wrap printing! This fun activity is a blast for little ones and creates amazing, textured masterpieces. Here’s how to do it:
- Gather your supplies:
- Bubble wrap
- Paint
- Paper
- Scissors
- Paintbrush or roller
- Cut bubble wrap into manageable pieces.
- Apply paint to the bubbly side using a brush or roller.
- Press the painted bubble wrap onto paper, bubble-side down.
- Gently peel it off to reveal a cool, dotted pattern!
For this project, consider using washable finger paints which are non-toxic and suitable for sensitive skin, making them perfect for young artists. These paints likewise offer easy cleanup, reducing post-activity stress for parents.
Kids will love the sensory experience of popping bubbles during the creation of art. Try different colors, patterns, or even layering prints for extra pizzazz! This project’s a real “pop” star in the world of preschool painting. It’s cheap, easy, and oh-so-fun – talk about bursting with creativity!
Nature-Inspired Leaf Painting
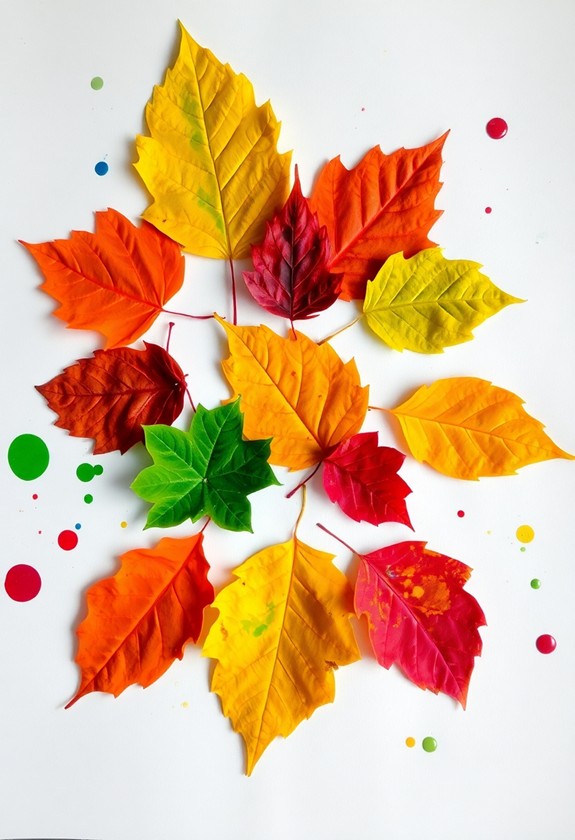
Let’s move out into nature for our next affordable paint project: leaf painting. This activity’s a blast and couldn’t be easier! Here’s what you’ll need:
- Fresh leaves (various shapes and sizes)
- Washable paint
- Paper
- Paintbrushes
First, gather some beautiful leaves from your yard or local park. Now, it’s time to get creative! You can:
- Paint directly onto the leaves and press them onto paper
- Use leaves as stencils by painting around them
- Create leaf rubbings with crayons, then paint over them
Don’t leaf out any fun details! Try mixing colors or adding glitter for extra sparkle. This project’s not just cheap and cheerful, but it’ll likewise help your little ones appreciate nature’s beauty. Plus, it’s a great way to learn about different leaf shapes and colors. Ready, set, paint!
Sponge Stamping Creations
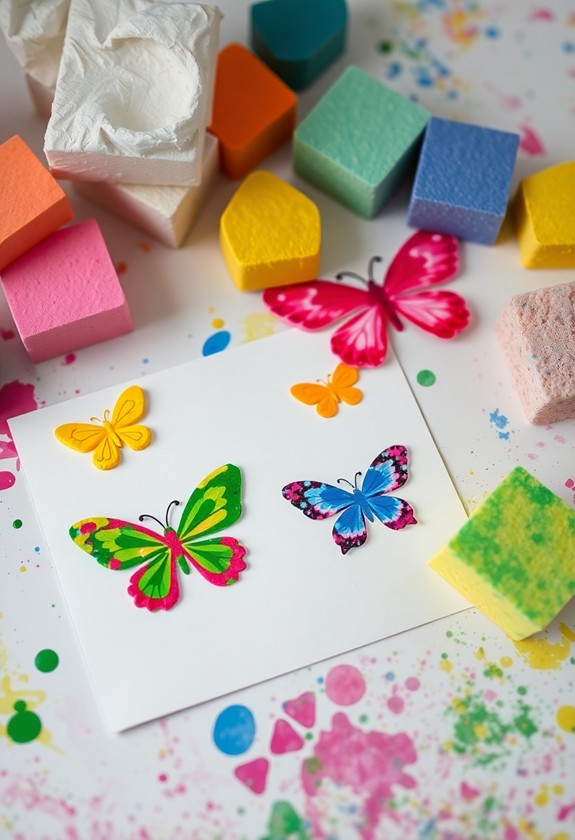
Sponge stamping offers a fun and inexpensive way to create art with preschoolers. It’s super easy to set up, too! Here’s what you’ll need:
- Different-shaped sponges
- Washable paints
- Paper or cardboard
Cut the sponges into fun shapes like stars, hearts, or animals. Pour paint onto paper plates, and let your little one dip away! They’ll love pressing the sponges onto paper to create colorful masterpieces.
Want to add some pizzazz? Try these sponge-tacular ideas:
- Mix colors for rainbow effects
- Use sponges to make animal prints
- Create patterns or scenes
Don’t forget to protect your workspace with newspaper. And remember, messy hands mean happy artists! So let your preschooler go wild with their spongy creations. You’ll be amazed at the stamp-endous results!
Homemade Paint Recipes
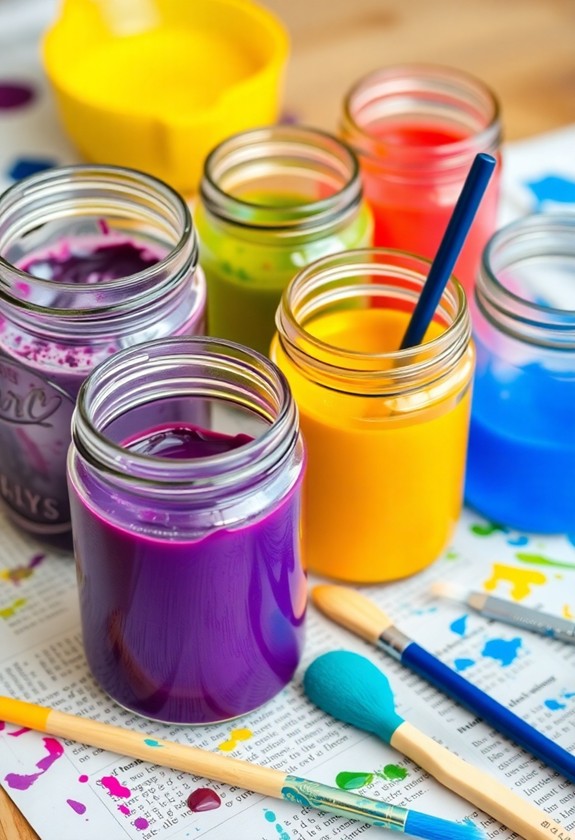
Frugal families rejoice! You don’t need to break the bank for your little Picassos to create masterpieces. With these homemade paint recipes, you’ll save money and have a blast making art supplies together!
Try these easy-to-make paints:
- Flour Power Paint: Mix equal parts flour and water, then add food coloring. Voila!
- Cornstarch Creativity: Combine cornstarch, water, and food coloring for a silky-smooth texture.
- Kool-Aid Colorama: Dissolve unsweetened Kool-Aid powder in water for vivid, scented paint.
Tips for success:
- Use old containers or ice cube trays for mixing and storing.
- Experiment with natural dyes like beet juice or turmeric for eco-friendly options.
- Add a dash of salt to prevent mold growth.
Get ready to paint the town red (and blue, and green)! Your little artists will love these homemade concoctions.
Recycled Material Art Projects
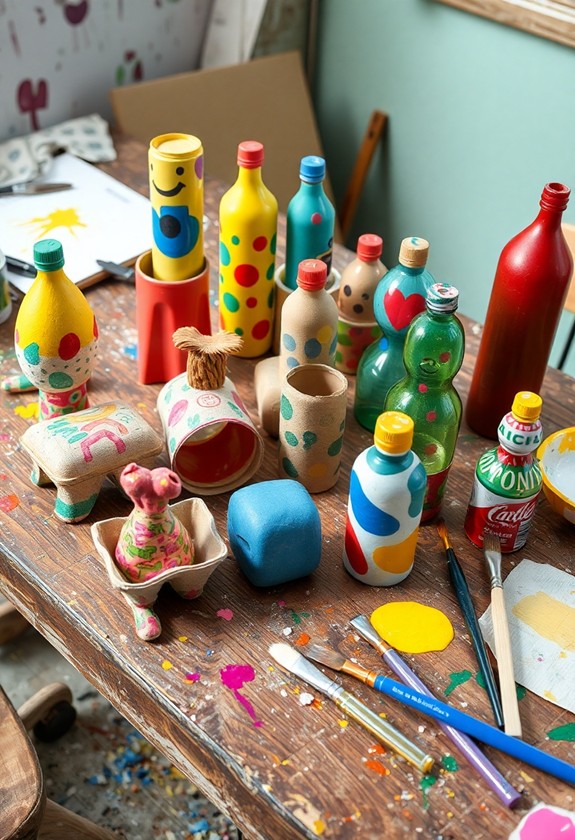
Now that you’ve mixed up some budget-friendly paints, it’s time to look at what you’ll be painting on. Get ready for some recycled material magic! You’ll be amazed at how everyday items can transform into canvases for your little artists.
Try these super-cool ideas:
- Egg carton critters: Turn those empty cartons into colorful caterpillars or funky flowers!
- Cereal box masterpieces: Cut them up for instant canvases – perfect for mini-Picassos!
- Toilet paper roll totems: Stack ’em up and paint away for tribal-inspired art!
Don’t toss those plastic bottles! They’re art-tastic potential:
- Cut them into spirals for twirly mobiles
- Use the bottoms as stamp pads
- Create funky flower vases
Marble Rolling Paint Techniques
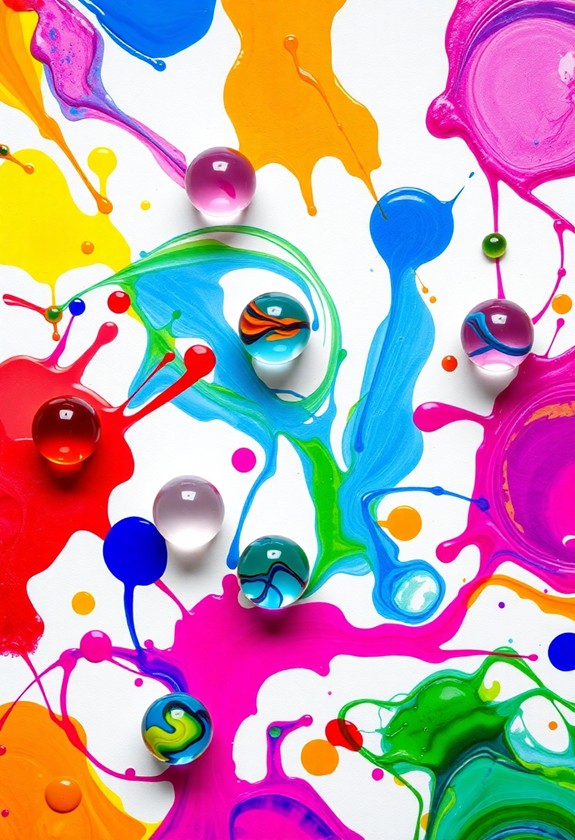
Let’s roll into some messy fun with marble painting! This technique is a blast for preschoolers and incredibly easy to set up. Here’s what you’ll need:
- A shallow box or tray
- Paper that fits inside
- Washable paint
- Marbles
Ready to create? Follow these simple steps:
- Place paper in the box
- Squeeze small dollops of paint onto the paper
- Drop in a few marbles
- Tilt the box gently to roll the marbles
Watch as your little artist creates swirling masterpieces! The marbles will leave colorful trails as they zip across the paper. It’s like a mini-rollercoaster for paint! Experiment with different colors and marble sizes for unique effects. This activity is perfect for developing fine motor skills and color recognition. Plus, it’s so much fun, your preschooler will be marble-ous at it in no time!
Q-tip Pointillism Paintings
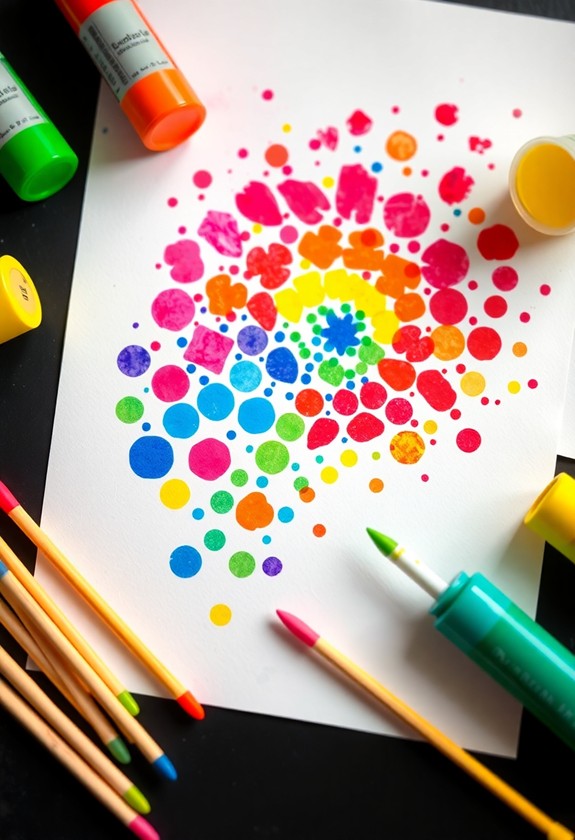
From rolling marbles to dabbing dots, we’re moving on to a technique that’s all about precision and patience. Get ready for Q-tip Pointillism Paintings! This fun project will have your little artists creating masterpieces with just a few simple supplies.
Here’s what you’ll need:
- Q-tips (lots of them!)
- Washable tempera paint
- Paper
- Small containers for paint
It’s time to get dotty! Dip a Q-tip into paint and gently press it onto the paper. Repeat with different colors, creating a picture or pattern one dot at a time. It’s like magic – watch as tiny dots transform into a beautiful image!
Pro tip: Use bright, contrasting colors for extra pop! And remember, patience is key. This project might take some time, but the results are worth it. Your preschooler will be proud as punch with their pointillism prowess!
Watercolor and Salt Textures
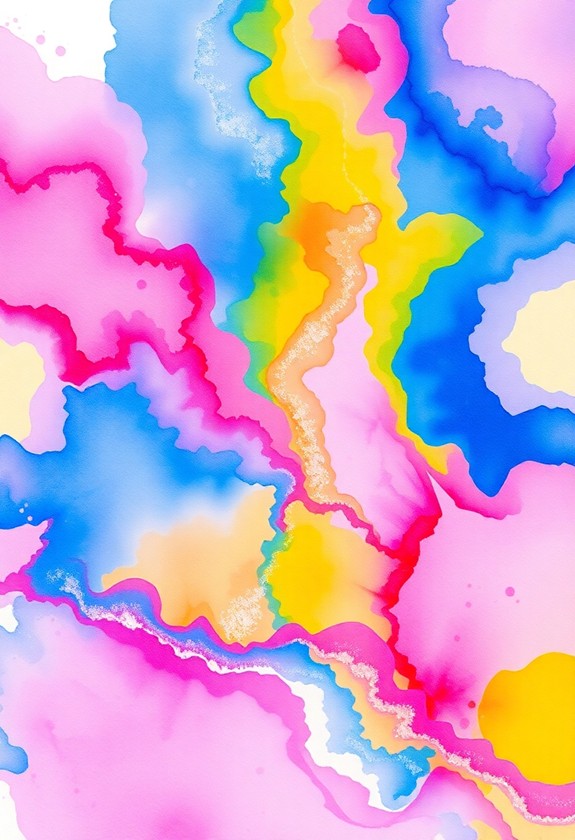
Magic happens when you combine watercolors and salt! This simple yet exciting project will have your preschoolers creating stunning, textured masterpieces in no time. Here’s what you’ll need:
- Watercolor paper
- Watercolor paints
- Paintbrushes
- Table salt
- Water
Start by wetting the paper with a sponge or brush. Then, let your little artists go wild with watercolors! As they paint, sprinkle salt onto the wet areas. Watch in amazement as the salt absorbs the pigment, creating fascinating patterns and textures.
Pro tip: Try different types of salt for varied effects! Experiment with:
- Coarse sea salt
- Fine table salt
- Kosher salt
Once the painting is dry, gently brush off the salt to reveal the magical results. Your budding artists will be thrilled with their salty, spectacular creations!
Curious Little Questions
How Can I Protect My Furniture and Floors During Painting Activities?
Did you know that 87% of parents worry about paint stains during art time? Don’t fret! You can easily protect your home as you let creativity flow. Here’s how:
- Lay down old newspapers or plastic sheets
- Use washable paints (they’re a lifesaver!)
- Dress kids in old clothes or smocks
- Cover furniture with drop cloths
- Create a designated “art zone”
And remember, a little mess means a lot of fun! With these tips, you’ll be ready to paint the town red… or your living room, at least!
What Are the Best Washable Paints for Preschoolers?
You’ll love these washable paints for your little artists! Here are some fantastic options:
- Crayola Washable Kids’ Paint: Brilliant colors that easily wash off skin and clothes!
- Colorations Washable Tempera: Smooth, creamy, and super easy to clean up!
- Melissa & Doug Washable Paint Set: Non-toxic and perfect for tiny hands!
- Alex Toys Washable Finger Paint: Get messy without the stress!
These paints are a parent’s dream come true! They’re safe, easy to use, and clean up in a snap. Your preschoolers will have a blast creating masterpieces without any worries!
How Long Should I Expect a Painting Session to Last?
Envision this: Little Timmy’s painting session turns into a two-hour masterpiece marathon! But don’t worry, that’s not typical. You can expect most preschooler painting sessions to last about 15-30 minutes. It’s all about their attention span and interest level. Some kids might zip through in 10 minutes, whereas others could happily paint for an hour! Remember, it’s not a race. Let their creativity flow, and don’t be surprised if they’re done faster than you’d think!
Are There Any Non-Toxic Alternatives to Traditional Paints for Very Young Children?
Non-toxic paint alternatives for little ones are a blast! Try these fun options:
- Homemade finger paints using cornstarch and food coloring
- Yogurt mixed with food coloring for edible fun
- Pudding paint for tasty creativity
- Crushed berries for natural pigments
- Colored shaving cream for foamy art
These safe alternatives will keep your kiddos happily painting without worry. Plus, they’re easy to make and clean up! Get ready for colorful, mess-free adventures that’ll make you the coolest parent ever!
How Can I Safely Store and Organize Preschoolers’ Artwork?
From messy masterpieces to tidy treasures, storing your little Picasso’s artwork is a cinch! Here’s how to keep those precious creations safe and organized:
- Use clear plastic folders or binders to protect and display artwork
- Create a digital gallery by snapping photos of each piece
- Make a rotating art wall with clothespins and string
- Try a portfolio case for flat storage
- Label everything with dates and names