Get ready for some spooktacular Halloween fun with these finger painting ideas! You'll love creating ghostly handprints, pumpkin patch smears, and creepy spider webs. Don't forget the witches' cauldron swirls – they're wickedly cool! Let your little monster's imagination run wild with colorful monster faces. For a grand finale, paint a haunted house scene complete with bats and jack-o'-lanterns. These projects are perfect for tiny hands and big imaginations. Use washable paints and cover your workspace – things might get messy! But that's half the fun, right? Grab some paper, paints, and prepare for a ghoulishly good time. The possibilities are endless when you release your inner artist!
Creative Highlights
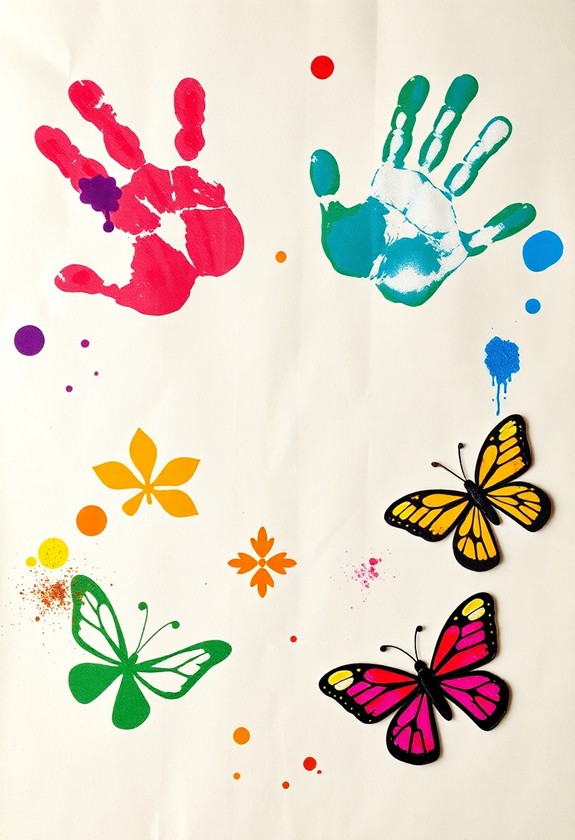
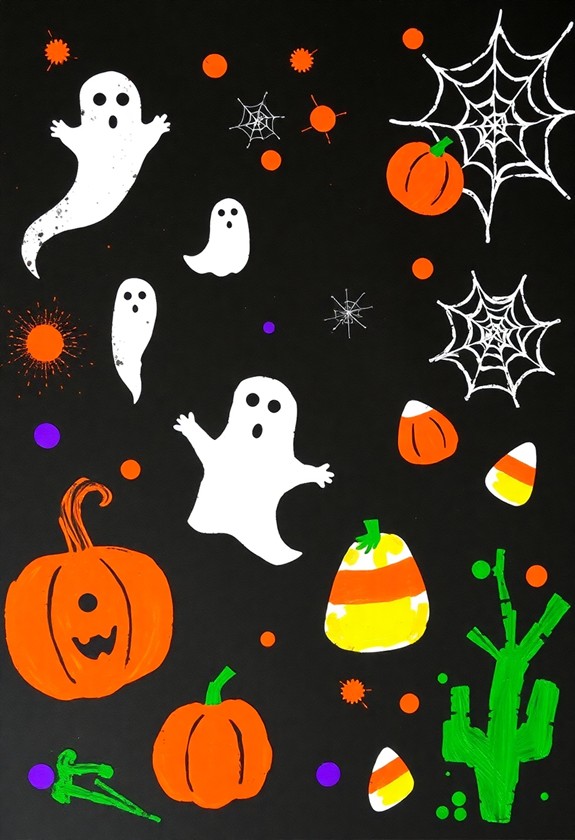
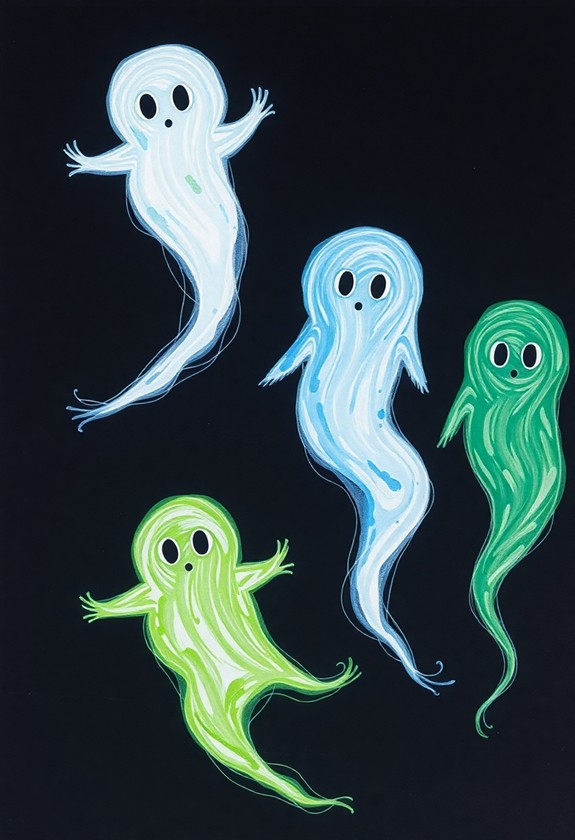
- Create ghostly handprints using white paint on dark paper, adding spooky details with black paint.
- Make pumpkin patch scenes by smearing orange paint in circular motions and adding green vines.
- Design eerie spider webs with white paint on dark paper, incorporating glow-in-the-dark effects for added spookiness.
- Craft witches' cauldrons using swirling green, purple, and orange paints, adding bubbles and steam effects.
- Paint creepy monster faces with vibrant colors, encouraging messy and unique designs for maximum scariness.
Ghostly Handprints
When creating ghostly handprints, you'll need white and black paint, paper, and enthusiastic little hands. This spooky craft is certain to get your kids in the Halloween spirit! Non-toxic materials are crucial for child safety, so be certain to choose paints that meet this criterion. These crafts are an excellent way to encourage creativity and develop fine motor skills in toddlers.
Start by spreading white paint on your child's palm and fingers. Then, have them press their hand firmly onto dark paper. Voila! You've got the ghostly base. But wait, there's more!
Once the white paint dries, it's time to add some personality. Use black paint to create:
- Two oval eyes
- A scary mouth (try different expressions!)
- Wispy details around the edges
For extra fun, why not make a whole family of ghosts? Line them up from biggest to smallest, or create a ghostly parade across the page. These handprint haunts are certain to be a hit!
Pumpkin Patch Smears
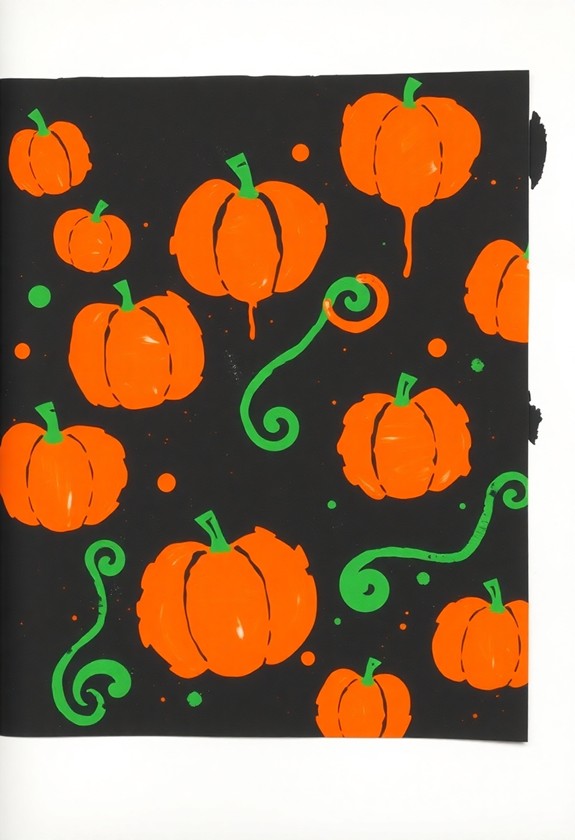
You'll love creating a pumpkin patch with this messy but fun finger painting technique. Get ready to plunge into it with your hands and make some orange magic!
Start with a big sheet of black paper – it's your spooky night sky backdrop. Now, grab some orange paint and get squishy! Here's how to make your pumpkins:
- Dip your palm in orange paint
- Smear it on the paper in a circular motion
- Use your fingertips to add bumpy texture
But wait, there's more! Don't forget the vines:
- Use green paint on your pinky finger
- Swirl it around your pumpkins
For an extra BOO-tiful touch, add some white highlights with your thumb. Your pumpkin patch will be gourd-geous! And remember, the messier, the better – it's all part of the Halloween fun!
Spooky Spider Webs
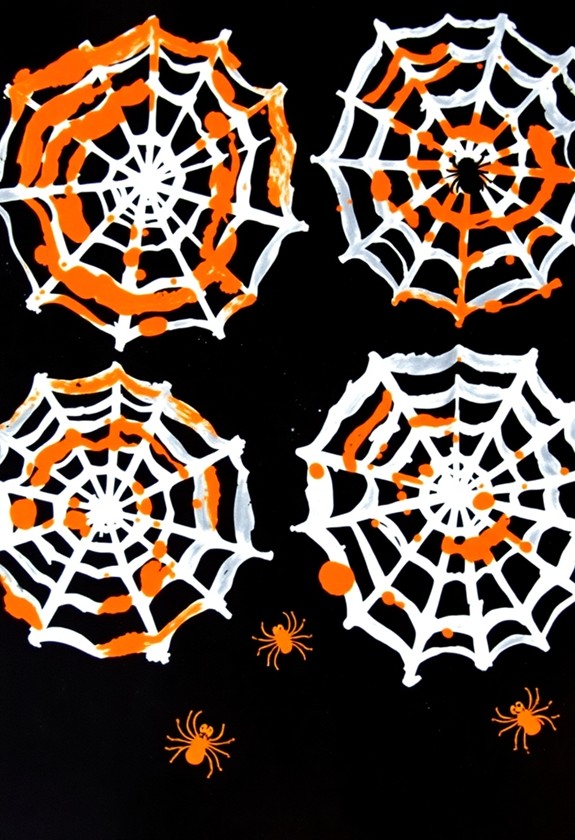
Three simple steps will transform your fingertips into creepy crawly spider web creators. First, dip your fingers in white paint and drag them across dark paper, making crisscrossing lines. Next, add smaller lines between the main ones for a more intricate web. Finally, dot a spider or two with your fingertip!
For extra spooky fun, try these tricks:
- Use glow-in-the-dark paint for a luminous web!
- Combine different colors for a rainbow web effect.
- Add glitter as the paint's wet for a sparkly surprise!
You'll be spinning webs like a pro in no time! Don't forget to make spooky spider sounds as you create – it's all part of the Halloween magic. Who knew finger painting could be so spine-tinglingly fun? Your masterpiece will be hauntingly beautiful!
Witches' Cauldron Swirls
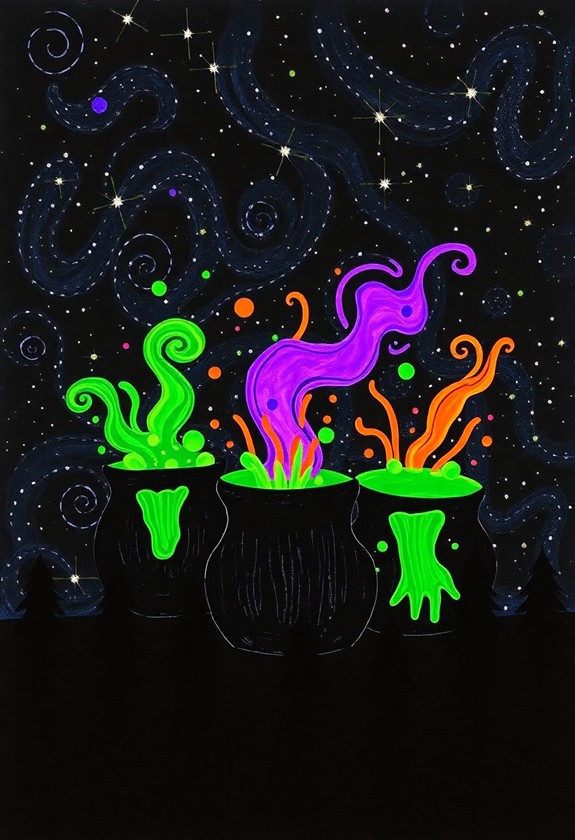
Into the depths of a witch's cauldron we go with this enchanting finger painting idea! Get ready to create swirling, bubbling potions with your very own fingertips. It's wickedly fun! For this activity, we'll be using washable finger paints that are safe for little hands and easy to clean up. These paints are perfect for sensory exploration and promoting creativity in young artists.
Here's what you'll need:
- Black paper
- Green, purple, and orange finger paints
- A small bowl of water
Start by dipping your fingers in green paint. Make a large circle in the center of your paper—that's your cauldron! Now, let's brew some magic:
- Swirl green, purple, and orange paints together inside the cauldron.
- Use your pinky to add tiny bubbles rising from the mixture.
- Dip your thumb in water and press it around the edges for a steamy effect.
Voila! You've conjured up a spellbinding witches' cauldron. It's brew-tifully spooky!
Creepy Monster Faces
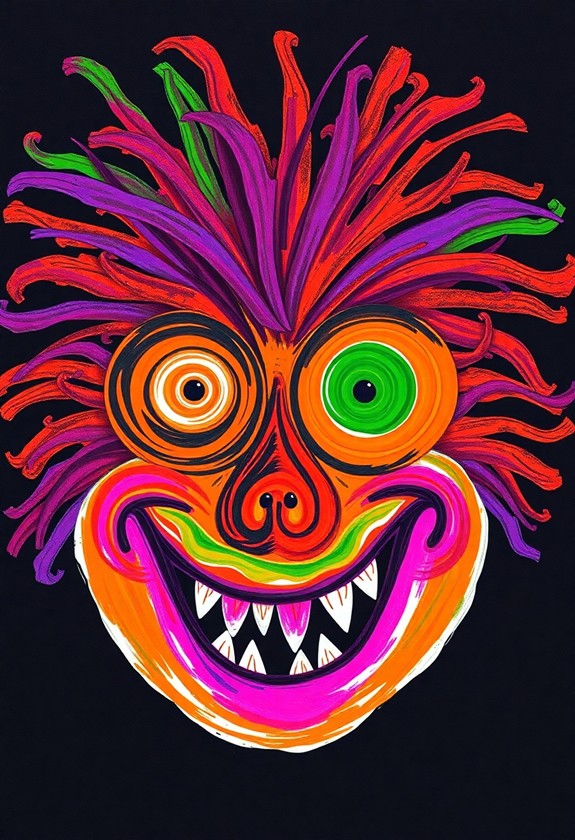
From brewing potions to creating monsters, our Halloween finger painting adventure takes a spine-chilling turn. It's time to release your inner Dr. Frankenstein and bring creepy monster faces to life! Grab your paints and get ready for some ghoulishly good fun!
Here's how to create your own monstrous masterpieces:
- Start with a big blob of green or blue paint for the face
- Add glowing eyes with yellow or red paint
- Finish with a terrifying mouth full of sharp teeth
Let your imagination run wild! Mix colors to create slimy skin textures, add warts or scars, and don't forget those monster horns! The messier, the scarier! And remember, every monster is unique – just like you! So go ahead, get those fingers dirty and watch your spooky creations come alive. It's monstrously fun!
Haunted House Scenes
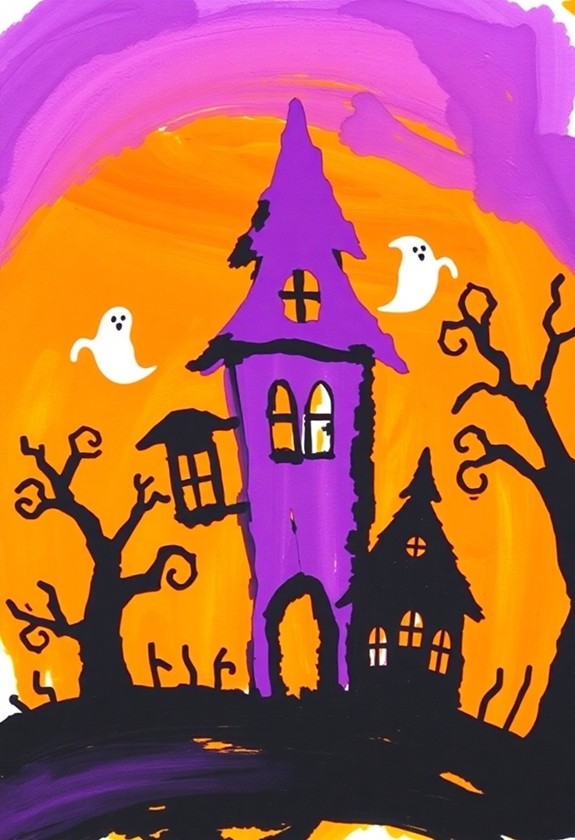
Occasionally, the most spine-chilling Halloween scenes unfold within the walls of a haunted house. You can bring these eerie abodes to life with your fingertips! Start by painting a dark, ominous sky using purple and black. Then, create the house's silhouette with your fingers dipped in gray or brown paint. Don't forget the crooked windows and a creaky door!
Add spooky details to make your haunted house truly terrifying:
- Ghostly wisps floating from windows (use white paint)
- A gnarled tree with bare branches (brown fingertips work great)
- Jack-o'-lanterns on the porch (orange thumb prints)
- Bats circling overhead (black fingertip smudges)
Curious Little Questions
What Age Is Appropriate for Halloween Finger Painting Activities?
You're never too old for finger painting fun! But in regards to Halloween-themed activities, kids as young as 2 can join in the messy magic. Toddlers and preschoolers (ages 2-5) will love getting their hands dirty with spooky designs. Elementary-aged children (6-10) can create more detailed masterpieces. Even teens and adults can embrace their inner child! Just remember, the younger the artist, the more supervision they'll need. So grab those paints and get ready for some ghostly giggles!
How Can I Protect My Child's Clothes During Messy Finger Painting?
Protect your child's clothes during messy finger painting? No problem! Here are some super-easy solutions:
- Use an old, oversized t-shirt as a smock
- Try a plastic garbage bag with holes for arms and head
- Invest in a waterproof art apron – they're washable and reusable!
- Go shirtless (if it's warm enough)
Don't forget to cover the floor too! Lay down newspapers or a plastic tablecloth. And remember, it's not just about keeping clean – it's about having fun and getting creative! Let the messy masterpieces begin!
Are There Non-Toxic, Skin-Safe Paint Options for Sensitive Skin?
Your little artist's sensitive skin deserves the gentlest touch, just like a butterfly's wings. Don't worry, there are tons of skin-friendly options out there! Look for:
- Natural, food-based paints (think beet juice or turmeric)
- Hypoallergenic finger paints
- Homemade options using cornstarch and food coloring
These paints are as safe as a teddy bear's hug! Plus, they're easy to wash off. Remember, always do a patch test first. Happy painting, and let those tiny fingers create masterpieces without any worries!
How Long Does Finger Paint Typically Take to Dry Completely?
Finger paint drying time can vary, but you're usually looking at about 15-30 minutes for it to be touch-dry. For complete drying, give it a good 1-2 hours. But wait, there's more! Factors like paint thickness, room temperature, and humidity can all play a role. Here's a fun tip: Use a hairdryer on low heat to speed things up! Just be careful not to blast your masterpiece away. Happy painting, and may your creations dry in record time!
What's the Best Way to Preserve or Display Halloween Finger Paintings?
You've got so many fun options to show off those spooky masterpieces! Here are some wickedly awesome ideas:
- Frame it up! Pop that painting in a frame for instant art.
- Make a mini gallery! String up paintings with clothespins for a ghostly display.
- Create a scrapbook! It's like a haunted house for your art.
- Go digital! Snap a photo and share it online – it's scary good fun!
Don't forget to seal the paint with clear spray to keep those creepy creations looking fresh for years to come!