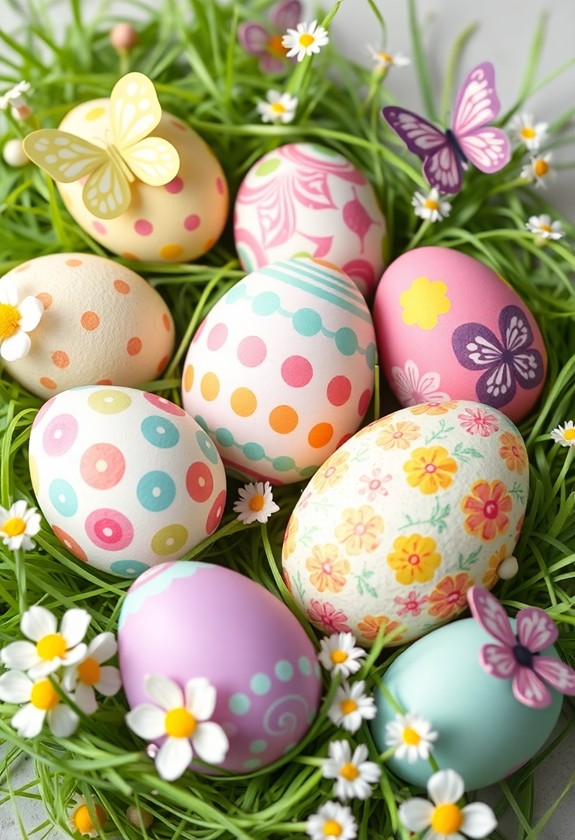
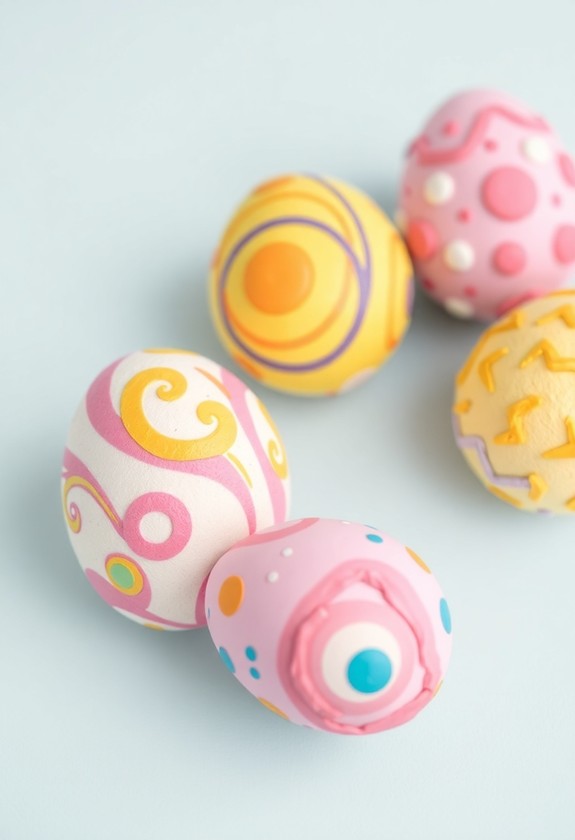
Get ready for egg-cellent Easter fun with these 9 adorable designs perfect for little hands! From finger-painted polka dots to sticker-decorated eggs, there's something for every budding artist. Try glitter-dipping for sparkly shine, or create neat stripes with washi tape. Sponge-stamping adds texture, as you create crayon-resist art that reveals hidden patterns. Tissue paper collages bring color, and puffy paint adds dimension. For a dreamy look, investigate watercolor washes. These egg-citing projects are certain to keep kids engaged and creative! With easy-to-follow steps and minimal supplies, you'll have a basket full of unique Easter eggs in no time. Jump in to find out which design will be your family's new favorite!
Creative Highlights
- Finger-painted polka dot eggs offer a fun, tactile experience for young children using washable paints.
- Tissue paper collage eggs allow kids to create colorful designs while developing fine motor skills.
- Sticker-decorated Easter eggs provide a simple, mess-free option for little hands to express creativity.
- Sponge-stamped pattern eggs encourage exploration of shapes and colors through easy-to-use stamping techniques.
- Crayon-resist Easter egg art combines drawing and dyeing for a magical reveal of hidden designs.
Finger-Painted Polka Dot Eggs
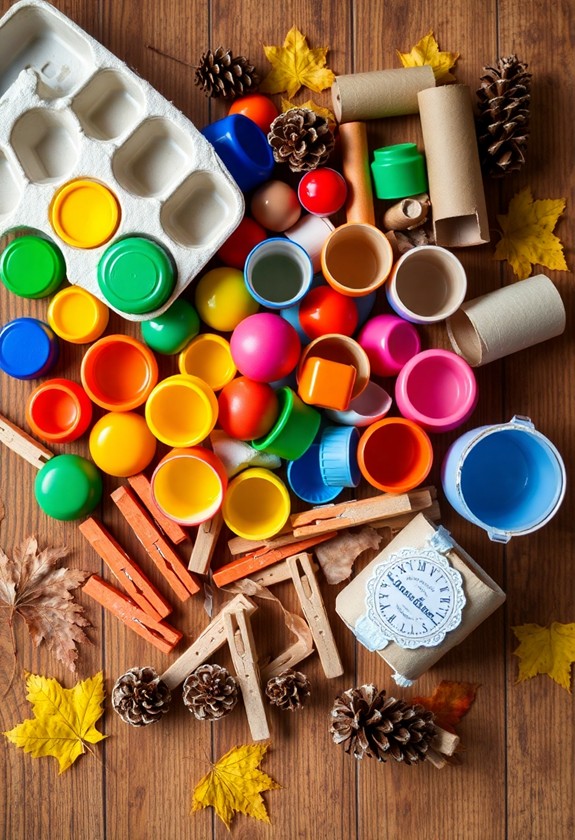
For a fun and easy Easter egg design, try finger-painted polka dots. This colorful technique is perfect for little hands and big imaginations! Here's how to create these egg-cellent masterpieces:
- Gather your supplies:
- Hard-boiled eggs
- Washable finger paints
- Paper plates
- Wet wipes
- Plastic or hard-boiled eggs
- Easter-themed stickers
- Imagination!
This creative toddler craft is guaranteed to make your Easter celebration memorable. For added fun, try using glitter paints or metallic colors to make your eggs extra special.
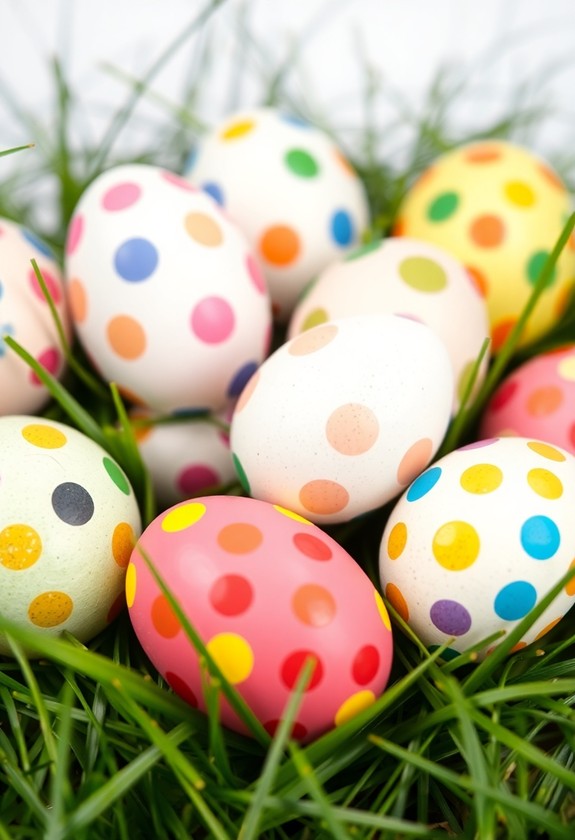
Sticker-Decorated Easter Eggs
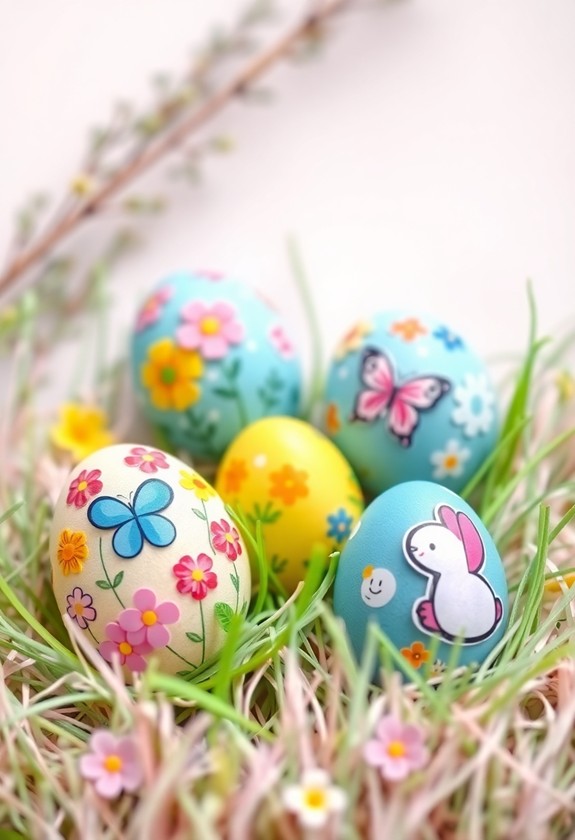
Another fantastic Easter egg decorating option for little ones is using stickers. It's so easy and fun! You'll need:
Start by picking out your favorite stickers. Bunnies, chicks, flowers – oh my! Now, let's get sticking! Peel off a sticker and place it carefully on the egg. Press down gently to make certain it sticks. Keep adding stickers until your egg is egg-ceptionally cute!
Want to take it up a notch? Try these egg-citing ideas:
- Create patterns with tiny dot stickers
- Make funny faces using eye and mouth stickers
- Spell out words or names with letter stickers
And voila! You've got yourself some sticker-rific Easter eggs. This decorating method is perfect for little hands and big imaginations. It's mess-free, too!
Glitter-Dipped Colorful Eggs
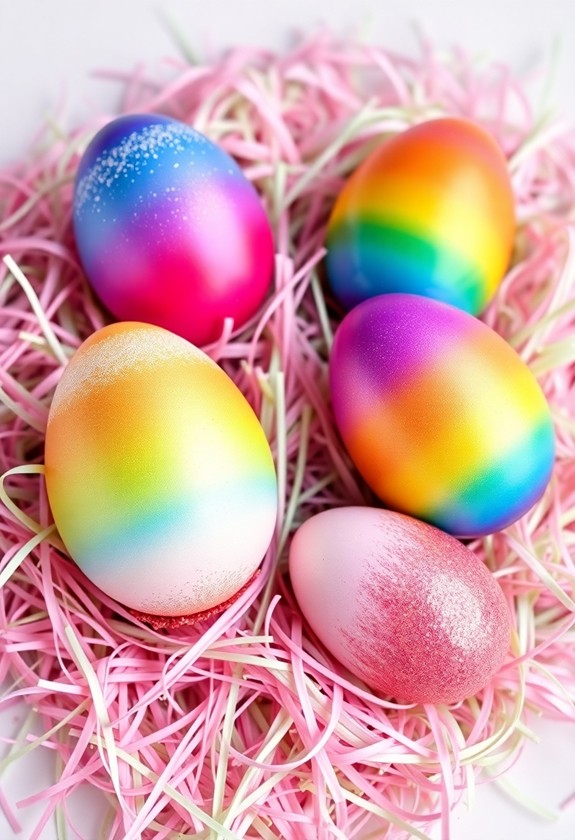
Shimmering with lively colors, glitter-dipped eggs add a dazzling touch to your Easter decorations. You'll love how easy and fun this craft is! Here's what you need:
- Hard-boiled eggs
- Glue
- Glitter in various colors
- Small bowls
- Spoons
Ready to get glittery? Let's hop to it!
- Dip one end of the egg in glue.
- Sprinkle glitter over the gluey part.
- Tap off excess glitter.
- Let it dry completely.
Mix it up by dipping different ends in various colors. Or go wild and cover the whole egg in glitter! The possibilities are egg-citing! But wait, there's more! Try creating patterns by using tape to make stripes or zigzags. Your little ones will have a sparkling good time creating these eye-catching eggs!
Washi Tape Striped Eggs

With a splash of color and pattern, washi tape striped eggs offer a delightful twist on traditional Easter decorations. You'll love how easy and fun this craft is! Here's what you need:
- Hard-boiled eggs
- Various washi tape rolls
- Scissors
This craft is perfect for toddlers, as it helps develop fine motor skills and encourages creativity, much like the Valentine's Day crafts mentioned earlier. It's additionally a great way to bond with your little ones during the holiday season.
Ready to get cracking? Follow these egg-cellent steps:
- Clean and dry your eggs
- Cut washi tape into thin strips
- Stick the strips onto your egg in any pattern you like
- Smooth out any bubbles with your fingers
- Trim excess tape at the edges
Get creative! Mix and match different tape patterns for a truly unique look. You can make stripes, zigzags, or even polka dots. And the best part? No messy dyes or paints! These tape-tastic eggs are perfect for little hands and big imaginations. So hop to it and start decorating!
Sponge-Stamped Pattern Eggs

Countless possibilities await with sponge-stamped pattern eggs. You'll love this easy, mess-free technique that's perfect for little hands! Simply cut sponges into fun shapes, dip them in paint, and press onto your eggs. It's like magic watching the patterns appear! Set up a toddler art table to make this activity even more enjoyable and organized for your little ones.
Here are some eggciting ideas to get you started:
- Polka dots: Use a round sponge for classic spots
- Hearts: Cut a heart shape for love-ly designs
- Stars: Stamp celestial patterns for out-of-this-world eggs
- Flowers: Create a blooming garden on your eggs
Mix and match colors for rainbow effects! Try layering different shapes for unique textures. And don't forget to experiment with different sponge sizes. The possibilities are endless! Let your creativity run wild and watch as your eggs transform into colorful masterpieces. It's a fun, engaging activity that'll keep kids entertained for hours!
Crayon-Resist Easter Egg Art
Uncovering the magic of crayon-resist Easter egg art will delight both kids and adults alike. It's a super fun and easy technique that creates stunning results! Here's how to do it:
- Grab white crayons and hard-boiled eggs
- Draw designs on the eggs with the crayons
- Dip the eggs in food coloring or egg dye
- Watch as your secret designs appear!
The waxy crayon resists the dye, revealing your hidden masterpiece. Get creative with swirls, zigzags, or even write messages! For an egg-stra special touch, try layering colors. Dye the egg one color, let it dry, then add more crayon designs and dye again! This activity is perfect for enhancing fine motor skills and encouraging imaginative play, supporting your toddler's emotional development through a sense of achievement.
This egg-cellent activity is perfect for little hands and big imaginations. Plus, it's a great way to learn about color theory and resist techniques. So, crack open your creativity and get cracking on some egg-ceptional art!
Tissue Paper Collage Eggs
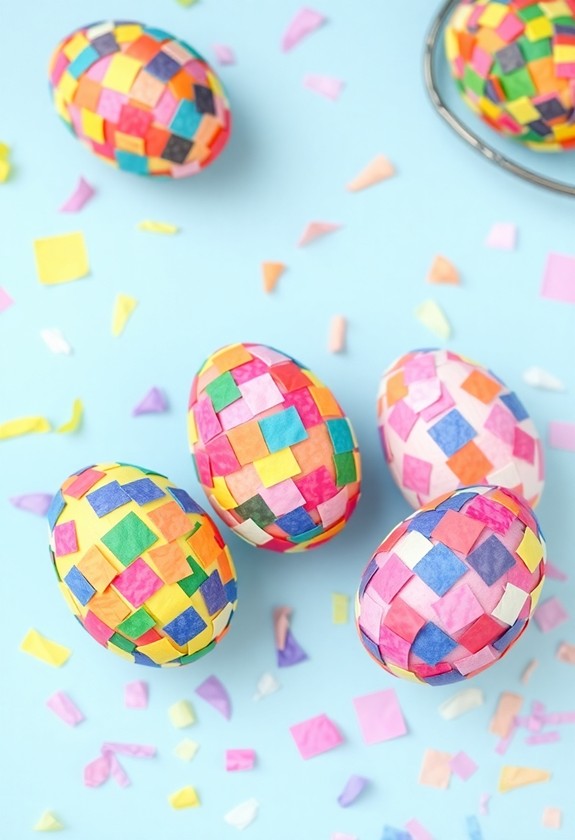
Now let's explore another egg-citing Easter craft: Tissue Paper Collage Eggs. This colorful technique is perfect for little hands and big imaginations! You'll love how easy and fun it is to create these lively masterpieces. This craft enhances fine motor skills and creativity as you utilize eco-friendly materials, making it an ideal activity for environmentally conscious families.
Here's what you'll need:
- Hard-boiled eggs or plastic egg forms
- Colorful tissue paper, cut into small squares
- Watered-down glue or Mod Podge
- Small paintbrushes
To start, dip your brush in the glue mixture and apply it to a small section of the egg. Then, gently press a tissue paper square onto the wet area. Keep adding pieces, overlapping them slightly, until your egg is covered in a rainbow of colors! The result? A beautifully textured, eye-catching Easter egg that's guaranteed to make everyone "shell-ebrate" your creativity!
Puffy Paint Textured Eggs
In the domain of Easter egg decorating, puffy paint textured eggs offer a delightful tactile experience for little hands. You'll love creating these fun, squishy designs! Here's how to make them:
- Gather your supplies:
- Plastic eggs
- Puffy paint in various colors
- Small paintbrushes
These textured eggs are not only fun to make but are additionally great for sensory play. Your little ones will have a blast investigating the bumpy, puffy surfaces they've created!
Watercolor-Washed Easter Eggs

For a softer, dreamier look, watercolor-washed Easter eggs offer a beautiful alternative to traditional decorating methods. You'll love how easy and fun this technique is! Start by hard-boiling your eggs and letting them cool. Then, grab some watercolor paints and get ready to create magic!
Here's how to make your eggs look amazing:
- Dip a brush in water and mix it with your chosen color.
- Gently brush the watery paint onto the egg's surface.
- Let colors blend and swirl for a dreamy effect.
- Add more layers for deeper hues or try splattering for extra pizzazz!
This method is egg-cellent for little artists who love to experiment with colors. And don't worry about perfection – the beauty is in the unique, watery patterns you'll create. Let your imagination run wild!
Curious Little Questions
How Long Do Decorated Easter Eggs Last Before Spoiling?
Hey there, egg-cellent question! Your decorated Easter eggs won't last forever, but you've got some options:
- Hard-boiled eggs (refrigerated): 1 week
- Raw eggs (refrigerated): 2-4 weeks
- Blown-out eggs: Months or years!
Keep 'em cool and dry to make them last longer. Don't want to risk it? Try plastic eggs instead! They'll stay fresh forever and you can reuse them year after year. How egg-citing is that? Happy decorating!
Can I Use Natural Dyes Instead of Store-Bought Egg Coloring Kits?
Natural dyes are egg-cellent for coloring Easter eggs. It's so fun and easy! Here's how:
- Use onion skins for orange
- Try beets for pink
- Spinach makes green
- Blueberries create blue
Just boil your chosen ingredient in water, strain, and add vinegar. Dip your eggs and watch the colors bloom! It's like painting with nature's paintbrush. Plus, you'll feel like a kitchen scientist! Isn't that egg-citing?
What's the Best Way to Remove Dye Stains From Children's Hands?
Got dye-stained hands? Don't worry! Here's how to clean them up:
- Try scrubbing with soap and warm water first. It's simple but effective!
- Baking soda paste is a super helper. Mix it with water and gently rub.
- Lemon juice is nature's bleach. Squeeze some on and watch the magic happen!
- For stubborn stains, try a bit of toothpaste. It's not just for teeth!
Are There Egg Alternatives for Children With Egg Allergies?
Guess what? You don't need eggs to join the Easter fun! There are fantastic alternatives for kids with egg allergies. Get ready for some eggciting options:
- Wooden eggs: Paint 'em, decorate 'em, they're egg-cellent!
- Plastic eggs: Fill with treats and get creative!
- Paper mache eggs: Make your own and go wild!
- Foam eggs: Soft, safe, and super fun to decorate!
These egg-ceptional choices let everyone join in the festivities. No more feeling left out – it's time to crack on with the Easter celebrations!
How Can I Preserve Decorated Eggs as Keepsakes for Years to Come?
You can preserve your decorated eggs as treasured keepsakes for years to come! Here's how:
- Blow out the egg's contents first. Yay, omelet time!
- Rinse and dry the shell thoroughly.
- Apply a clear sealant spray to protect the design.
- Store in a cool, dry place away from sunlight.
For extra durability:
- Fill the empty shell with plaster of Paris.
- Let it dry completely.
Now your egg-cellent creations will last and last! Display them proudly or tuck them away for safekeeping. Happy preserving!