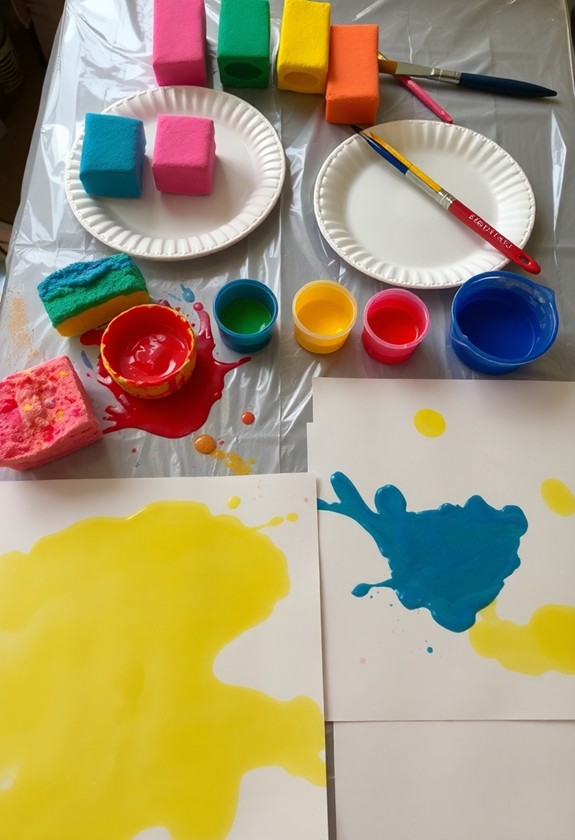
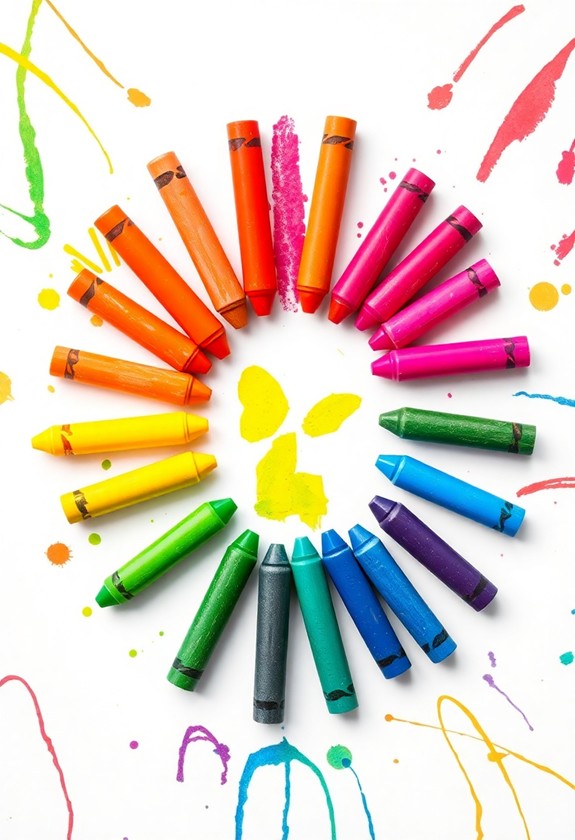
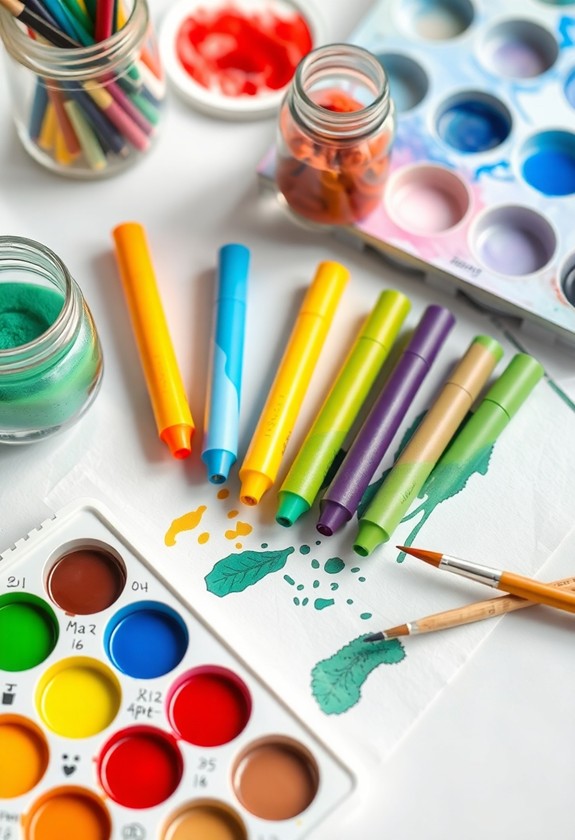
Get ready for some colorful fun with your toddler! You'll love these 8 homemade washable markers that are safe, easy to make, and a breeze to clean up. From natural food coloring markers to beet juice finger paint sticks, there's something for every little artist. Try cornstarch-based crayons, vegetable-dyed chalk markers, or even scented Kool-Aid color sticks! Don't forget the eco-friendly watercolor markers and yogurt paint daubers for sensory exploration. These DIY art supplies encourage creativity, improve fine motor skills, and provide hours of mess-free entertainment. Best of all, they're non-toxic and washable, so you can relax and enjoy the artistic adventure with your little one. Uncover how to make each magical marker!
Creative Highlights
- Natural food coloring markers offer a non-toxic, vibrant alternative to commercial dyes, easily washable from clothes and walls.
- Cornstarch-based washable crayons provide a safe, remeltable option for sensory exploration and creative play.
- Beet juice finger paint sticks create all-natural, easy-to-grip art tools that enhance independent creativity for toddlers.
- Homemade gel markers, made with food coloring and hair gel, are versatile for various surfaces and excellent for indoor and outdoor activities.
- Yogurt paint daubers offer an edible, sensory-rich painting experience that cleans up easily during bath time.
Natural Food Coloring Markers
Safety comes first when creating markers for toddlers, and natural food coloring offers a non-toxic alternative to commercial dyes. You'll love how easy it is to make these colorful, kid-safe markers! Here's what you need:
- Food coloring (red, blue, yellow, green)
- Water
- Cornstarch
- Small containers
Mix 2 tablespoons of water with 1 tablespoon of cornstarch in each container. Add 5-10 drops of food coloring and stir well. Voila! You've got lively, washable markers! These homemade markers are eco-friendly and sustainable, promoting a green approach to artistic expression during still allowing creativity to flourish.
But wait, there's more! Experiment with different color combinations to create a rainbow of options. Your little Picasso will be tickled pink (and blue, and green)! These markers are perfect for mess-free art time. And if some ends up on clothes or walls? No worries! They'll wash right off. Get ready for a colorful adventure with your tiny artist!
Cornstarch-Based Washable Crayons
Let's plunge into another fun DIY project for your little ones: cornstarch-based washable crayons. These colorful creations are a blast to make and use! You'll need:
- Cornstarch
- Water
- Food coloring
- Silicone molds
Mix 1/2 cup cornstarch with 1/2 cup water in a saucepan. Heat and stir until it thickens – it's like magic! Divide the mixture and add different food colors. Pour into molds and let cool. Pop them out, and voila! You've got crayons that'll make your tot's eyes light up! These homemade crayons are perfect for sensory exploration, just like washable finger paints, promoting creativity and fine motor skill development in toddlers.
But wait, there's more! These crayons are washable, so don't worry about stains. They're safe, non-toxic, and perfect for little hands. And if they break? No problem! Just remelt and reshape. It's a colorful adventure that'll have you and your toddler drawing with delight!
Beet Juice Finger Paint Sticks
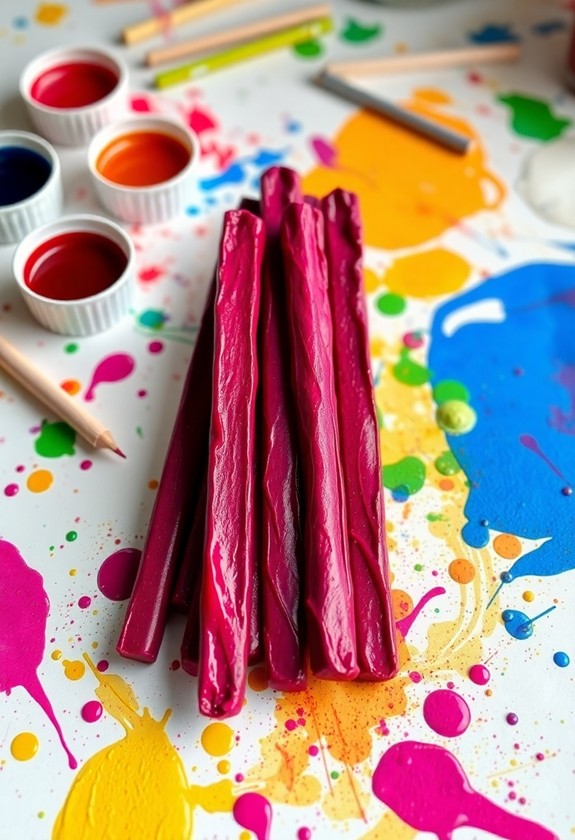
Moving from cornstarch crayons, we'll now explore another lively, washable art medium for your toddler: beet juice finger paint sticks. These colorful, all-natural paint sticks are a beet-utiful addition to your little one's art supplies! Non-toxic materials are essential for young children's art projects, and these homemade paint sticks fit the bill perfectly. They're safe, fun, and encourage independent creativity.
Here's how to make them:
- Boil beets until tender
- Blend cooked beets with water
- Strain the mixture
- Mix beet juice with cornstarch and glycerin
- Pour into molds and freeze
Voila! You've got colorful, easy-to-grip paint sticks that'll have your tot creating masterpieces in no time. And the best part? They're completely washable! Just a quick rinse, and those rosy-red creations will vanish from skin and most surfaces. But be careful – these sticks might stain clothes, so don't let your little Picasso go too wild!
Vegetable-Dyed Chalk Markers
Nature's palette comes to life with vegetable-dyed chalk markers, offering a lively and safe alternative to store-bought options. You'll love creating these bright, washable wonders with your little one! Here's how:
- Mix 1/4 cup cornstarch with 1/4 cup water in a bowl
- Add 2 tablespoons of vegetable juice (beet for red, spinach for green, carrot for orange)
- Stir until smooth and pour into molds or toilet paper rolls
These non-toxic supplies are perfect for toddlers aged 1-3, promoting sensory exploration and cognitive development through hands-on creativity. Voila! You've got colorful, non-toxic markers that'll make your toddler squeal with delight! These chalk-like creations are perfect for sidewalk art or doodling on paper. And the best part? They wash off easily, so you won't have to worry about stains. Let your little Picasso's imagination run wild with these veggie-powered masterpieces!
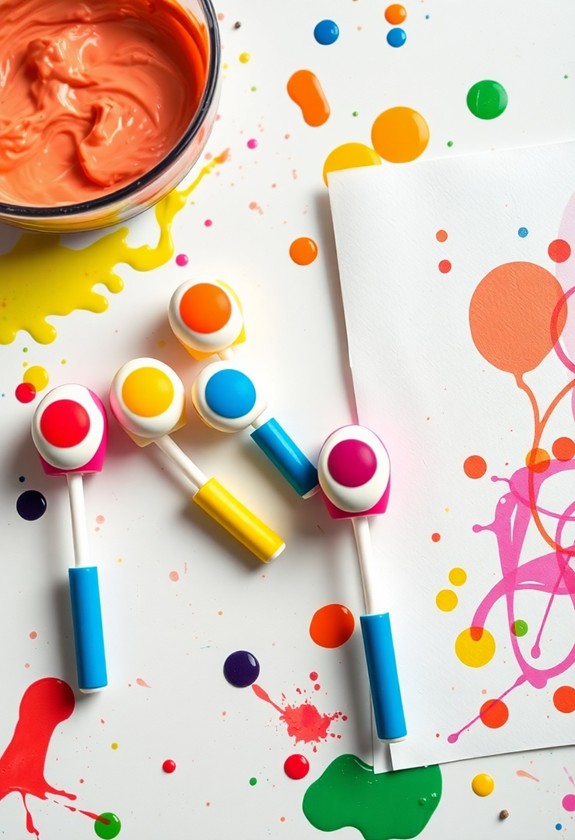
Homemade Gel Markers
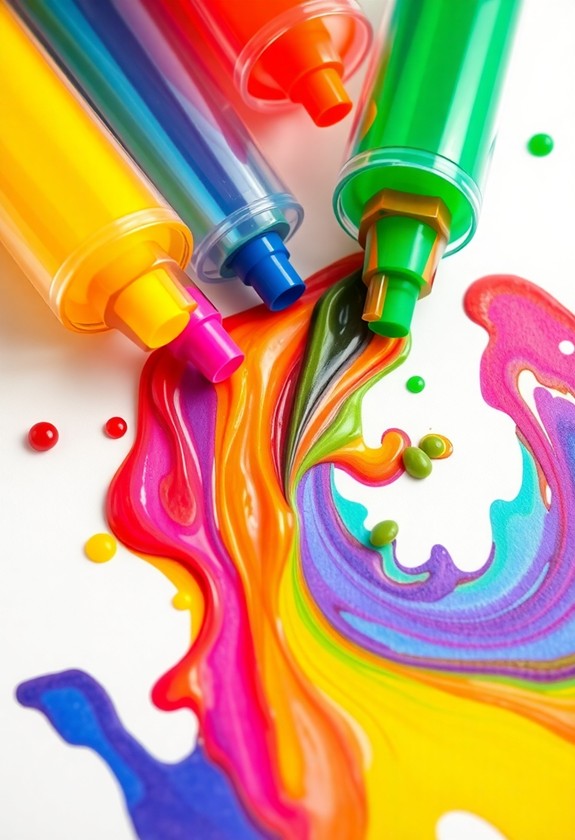
Gel markers offer a unique twist on traditional coloring tools, providing a smooth, glossy finish that toddlers will love. Making these fun markers at home is a breeze! You'll need:
- Food coloring
- Clear hair gel
- Small squeeze bottles
Mix 1 tablespoon of hair gel with 5-10 drops of food coloring in each bottle. Shake it up, and voila! You've got colorful gel markers ready to go. The best part? They're non-toxic and super washable! These homemade markers are an excellent alternative to store-bought art supplies, promoting both creativity and safety for your little ones.
Let your little one go wild with these squishy sensations! They'll adore the slick texture and lively hues. Plus, cleanup is a snap – just wipe with a damp cloth. These markers are perfect for:
- Window art
- Bathtub drawing
- Outdoor fun on smooth surfaces
Get ready for some gel-orious creativity! Your toddler will be squealing with delight as they squish and squiggle their way to artistic bliss.
Kool-Aid Scented Color Sticks

Kool-Aid Scented Color Sticks offer a delightful twist on homemade markers for toddlers. They're easy to make and smell amazing! Here's how:
- Mix 1 packet of Kool-Aid with 2 tablespoons of water
- Add 3 tablespoons of cornstarch
- Stir until smooth
- Pour into ice cube trays
- Let dry for 24 hours
Voila! You've got colorful, scented sticks that'll make your little one's art time a blast! The best part? They're washable and safe if accidentally tasted. But wait, there's more! You can create a rainbow of scents:
- Cherry red
- Grape purple
- Lemon yellow
- Blue raspberry blue
Mix and match for endless fun! Your toddler will be over the moon with these fruity drawing tools. And you'll love how easy they are to clean up. It's a win-win situation!
Eco-Friendly Watercolor Markers
Frequently, parents seek environmentally conscious alternatives for their children's art supplies. Search no more! These eco-friendly watercolor markers are a perfect solution. They're easy to make and super fun to use!
Here's what you'll need:
- Natural food coloring
- Water
- Cornstarch
- Recycled marker tubes or small containers
Mix it up:
- Combine 2 parts water with 1 part cornstarch
- Add food coloring for lively hues
- Pour into containers
Voila! You've got markers that are kind to the planet and your little one's skin. These washable wonders will have your toddler coloring up a storm! And when they dry out? Just add water to revive them. It's like magic!
Yogurt Paint Daubers
Moving from watercolors to a more tactile experience, yogurt paint daubers offer a unique sensory adventure for your little ones. Get ready for a messy, giggly good time! Here's how to make these yummy paint pals:
- Mix plain yogurt with food coloring
- Pour into squeeze bottles
- Let your toddler go wild!
These creamy creations are perfect for finger painting, squeezing, and smooshing. And the best part? They're totally edible! Your mini Michelangelo can investigate colors, textures, and tastes all at once. Plus, cleanup's a breeze – just pop your little artist in the tub!
Pro tip: Use Greek yogurt for thicker paint that's easier to control. Want to add some pizzazz? Sprinkle in glitter or crushed cereal for extra sensory fun. Get ready to watch your child's creativity bloom with these dairy-licious daubers!
Curious Little Questions
Are Homemade Markers Safe if Accidentally Ingested by Toddlers?
Safety should be your top priority when crafting curious concoctions for kids! Whereas homemade markers can be fun, they're not always safe if swallowed. You'll want to be extra careful with the ingredients you use. Stick to food-safe colorants and non-toxic materials. But remember, even "safe" ingredients can cause tummy troubles in large amounts. Your best bet? Keep a close eye on your little ones and store those markers out of reach. Safety first, fun second!
How Long Do Homemade Markers Typically Last Before Drying Out?
Hey there, marker enthusiasts! You're probably wondering how long your homemade creations will last. Well, it's marker madness time! Typically, your DIY masterpieces can stay juicy for 2-4 weeks. But wait, there's more! With proper care, you can extend their lifespan:
- Keep those caps on tight!
- Store them horizontally
- Avoid direct sunlight
Can These Markers Be Used on Surfaces Other Than Paper?
Envision this: Your little one's eyes light up as they uncover a whole new world of creativity! You'll be thrilled to know that these magical markers aren't just for paper. They're versatile little wonders! You can use them on:
- Whiteboards
- Windows
- Plastic toys
- Ceramic tiles
But wait, there's more! Always test on a small area first to avoid any oops moments. And remember, as they're washable, some surfaces might need a bit more elbow grease. So, let your kiddo's imagination run wild – the sky's the limit!
What's the Best Way to Store Homemade Markers to Maintain Quality?
You'll love how easy it is to keep your homemade markers in tip-top shape! Here's the scoop:
- Store them upright in a cool, dry place
- Use airtight containers to prevent drying out
- Keep them away from direct sunlight
- Label each marker with its color
- Shake them gently before use
And here's a fun tip: create a "marker garage" with your kids! Decorate a shoebox with slots for each marker. It's a great way to keep them organized and make cleanup a blast!
Are There Any Allergenic Ingredients to Watch Out for in Homemade Markers?
When making homemade markers, you'll want to be as sharp as a tack about potential allergens. Here are some ingredients to keep an eye on:
- Food coloring: Some people are sensitive to artificial dyes
- Vital oils: Can cause skin reactions in some individuals
- Corn starch: A no-no for those with corn allergies
- Glycerin: Rarely, but possibly, allergenic
Always test a small patch on skin first, and if you're worried, consult a doctor. Safety first, fun second!