Get ready for some artsy fun with these 10 simple seasonal projects perfect for little hands! Create handprint autumn trees, cotton ball snow scenes, and flower petal suncatchers. Try leaf rubbings and rainbow ice painting for colorful creations. Make seashell mosaics to remember beach trips, and stamp pumpkins for fall festivities. Welcome spring with blossom finger painting, and craft pinecone bird feeders to connect with nature. Each project uses easy-to-find materials and encourages creativity. From autumn leaves to summer shells, there's a craft for every season! These hands-on activities will keep your kids engaged and excited about art all year long. Uncover how each project brings the beauty of nature indoors!
Creative Highlights
- Handprint Autumn Tree uses children's painted hands to create colorful fall scenes with minimal supplies.
- Cotton Ball Snow Scene allows kids to craft winter landscapes using simple materials like paper and cotton.
- Spring Blossom Finger Painting encourages tactile exploration and creativity with vibrant spring colors.
- Rainbow Ice Painting offers a cool, mess-free summer activity using frozen colored ice cubes.
- Pinecone Bird Feeders combine craft and nature, teaching children about wildlife while using readily available materials.
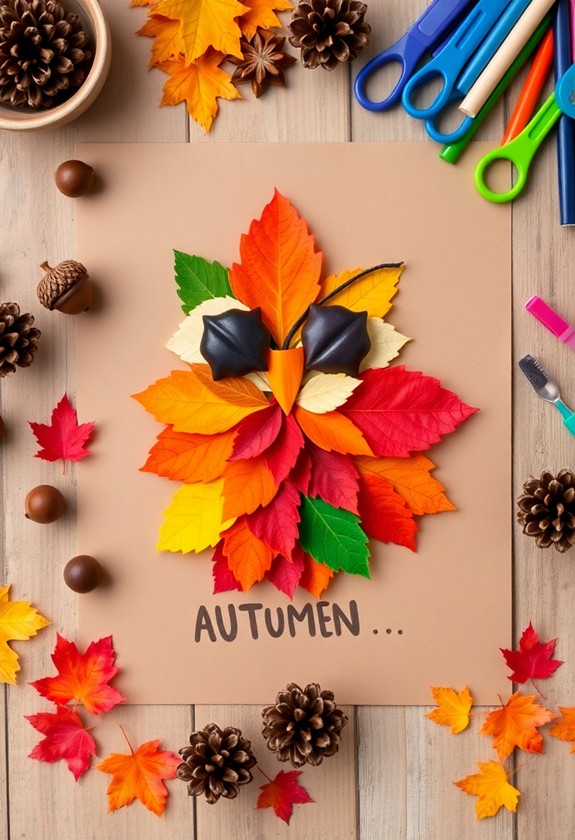
Handprint Autumn Tree
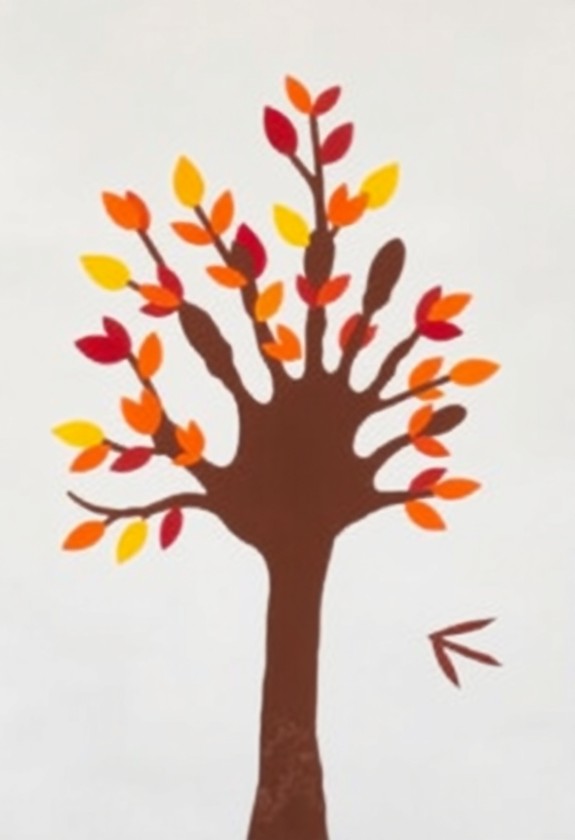
Fall brings a striking palette of colors to the world, and kids can capture that beauty with a simple yet delightful craft. The Handprint Autumn Tree is a perfect project for little artists! This activity not only promotes fine motor skills but also encourages self-expression and boosts confidence as children complete their unique masterpiece. Here's how to create this seasonal masterpiece:
- Gather your supplies: paper, paint, and enthusiastic hands!
- Paint your child's palm and fingers with brown for the tree trunk and branches.
- Press the painted hand onto paper – voila, a tree is born!
- Now for the leafy fun! Use fingertips to add colorful dots all around the branches.
- Mix and match fall hues: reds, oranges, yellows, and browns.
Watch as your child's unique tree comes to life! This hands-on activity isn't just crafty – it's a great way to discuss changing seasons and colors. Plus, it's a keepsake you'll treasure for years to come. Talk about branching out into creativity!
Cotton Ball Snow Scene
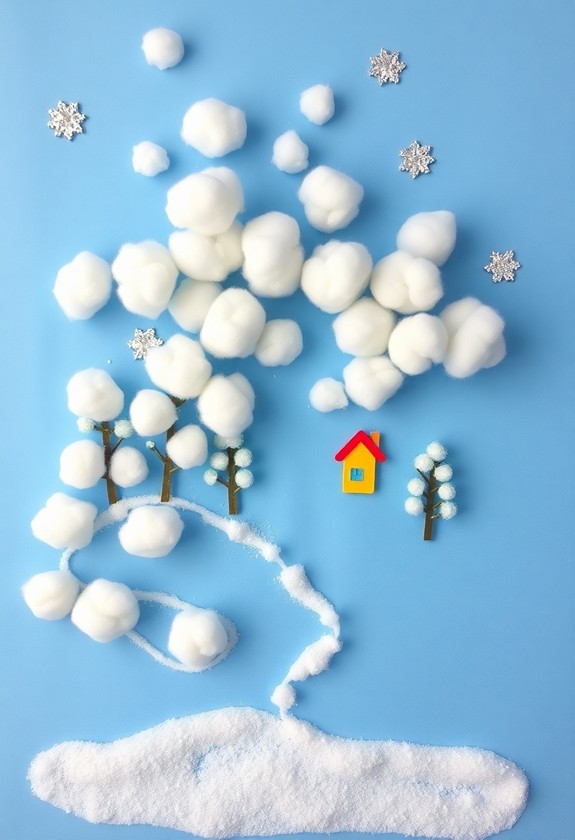
As winter's chill sets in, it's time to bring the magic of snow indoors with a Cotton Ball Snow Scene. This fluffy, fun project is perfect for little artists! You'll need:
- Blue construction paper
- Cotton balls
- White glue
- Scissors
- Optional: glitter, small pom-poms
Start by cutting out simple shapes like trees, houses, or snowmen from white paper. Glue these onto your blue "sky" background. Now for the snowy fun! Gently pull apart cotton balls to create different-sized snowflakes. Stick these fluffy wonders all over your scene. Add some to the ground for a blanket of snow, and don't forget to dust your trees! This craft is not only enjoyable but can likewise be a thoughtful gift for Dad if his birthday falls during the winter months.
Want to make it extra sparkly? Sprinkle some glitter for a magical touch. You can even add tiny pom-pom ornaments to your trees. Voila! You've created a winter wonderland!
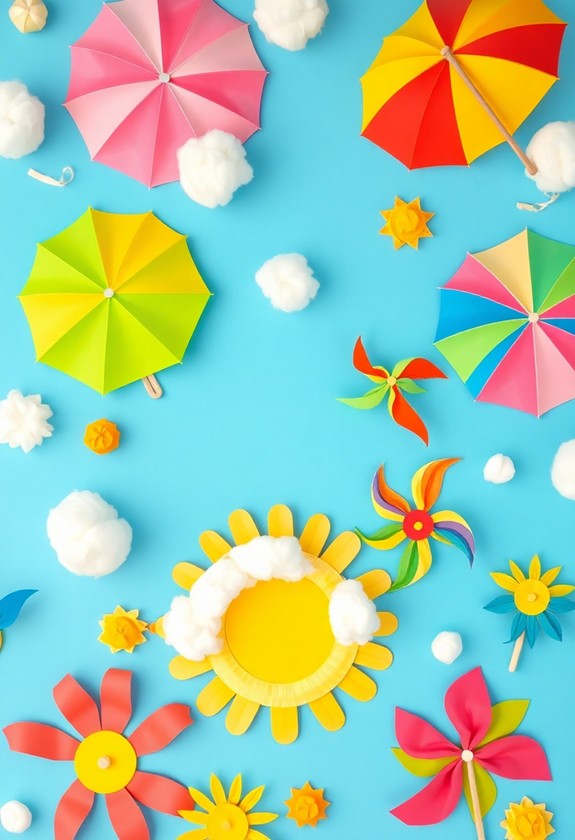
Flower Petal Suncatchers

Welcoming spring's lively colors, flower petal suncatchers bring nature's beauty indoors. It's time to get crafty and create these dazzling decorations! Here's what you'll need:
- Contact paper
- Colorful flower petals
- Scissors
- String or ribbon
Ready to plunge in? Let's go!
- Cut two circles from contact paper.
- Peel off one backing and place it sticky-side up.
- Arrange petals on the sticky surface – go wild with patterns!
- Carefully place the second circle on top, sticky-side down.
- Trim the edges and punch a hole for hanging.
- Thread your string through, and voilà!
This eco-friendly craft promotes fine motor skills and encourages sensory exploration, making it perfect for toddlers. It's also a great opportunity to teach children about different flower types and colors.
Hang your petal-tastic creation near a window and watch it shine! As sunlight streams through, you'll have a blooming beautiful display. It's like having a garden indoors – without the annoying weeds!
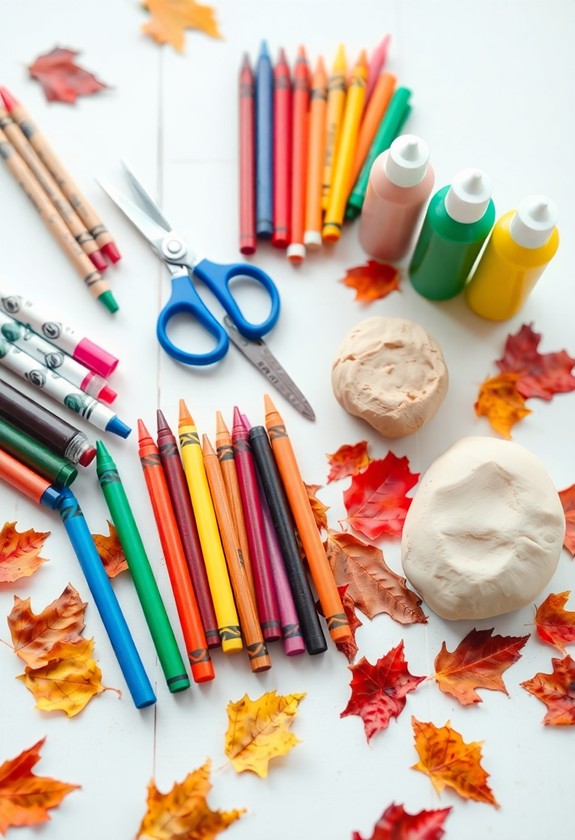
Leaf Rubbings

Let's move from spring's lively petals to autumn's colorful leaves with our next project. Leaf rubbings are a fantastic way to capture nature's beauty! Here's what you'll need:
- Crayons (with paper peeled off)
- White paper
- Various fallen leaves
This activity is not just fun but furthermore helps develop fine motor skills in toddlers. It's a great way to engage their senses as you create beautiful art for their bedroom.
Now, let's get started:
- Find some interesting leaves – look for different shapes and sizes!
- Place a leaf under your paper, vein-side up.
- Hold the paper steady and gently rub the crayon over it.
- Watch the leaf's texture magically appear!
You can create a whole forest of rubbings! Mix and match colors, or try layering leaves for a unique effect. It's a-leaf-zing how much fun this can be! And the best part? You're preserving autumn's colors long after the leaves have fallen. So grab those crayons and let's get rubbing!
Rainbow Ice Painting
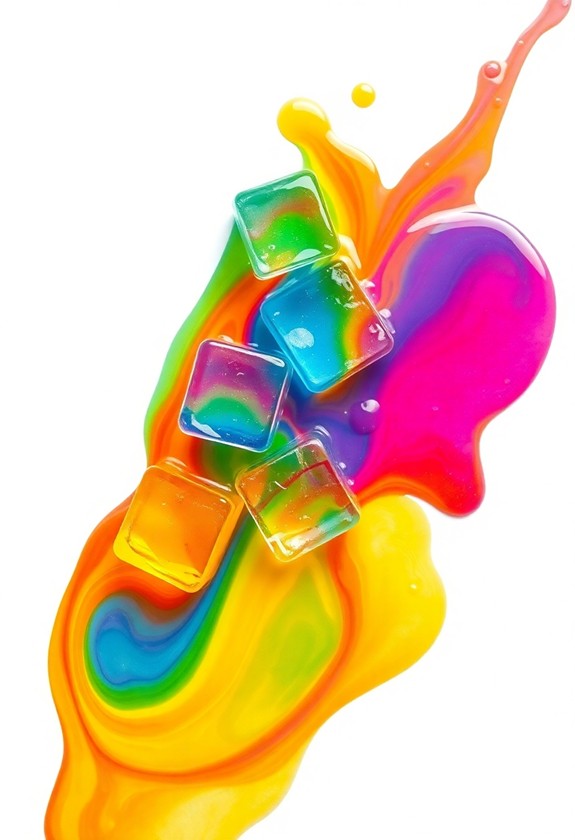
Cooling off with art takes on a whole new meaning with Rainbow Ice Painting. This chilly project is perfect for hot summer days! Here's what you'll need:
- Ice cube trays
- Food coloring
- Popsicle sticks
- Paper
First, fill your ice trays with water and add different food colors to each section. Pop in popsicle sticks and freeze overnight. The next day, it's time to paint!
This mess-free art project is not only fun but additionally helps develop fine motor skills and color recognition in toddlers. It's an excellent way to engage in creative play as you stay cool during summer.
Grab your frozen rainbow cubes and start creating! As the ice melts, it'll leave beautiful, swirling patterns on your paper. Mix colors for even more fun! You can likewise try:
- Sprinkling salt on wet areas
- Blowing through straws to move the paint
- Adding glitter for extra sparkle
When you're done, let your masterpiece dry. Voila! You've created a cool work of art – literally!
Butterfly Symmetry Art
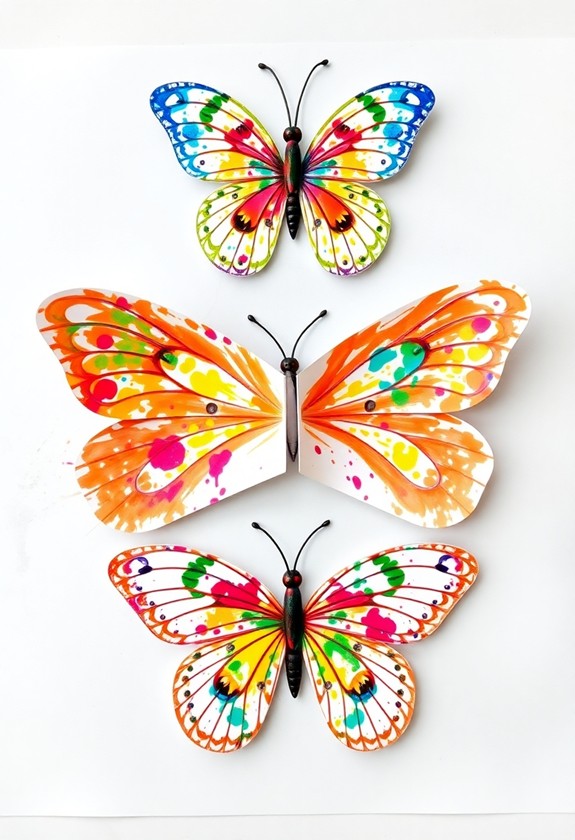
Beauty and symmetry combine in this engaging Butterfly Symmetry Art project. It's perfect for little hands and big imaginations! You'll need colorful paper, scissors, and glue. Fold a piece of paper in half, then draw half a butterfly on one side. Cut it out, unfold, and voila! You've got a symmetrical butterfly shape. Now, let your creativity soar! Decorate your butterfly with lively colors, glitter, or even small objects like buttons or sequins.
This project isn't just fun – it's educational too! Here's why kids love it:
- They feel like real artists!
- It's messy and exciting!
- They learn about symmetry without realizing it!
- The results are always stunning!
Butterfly Symmetry Art is a fantastic way to celebrate spring or summer. And who knows? You might just inspire the next Picasso!
Seashell Mosaics
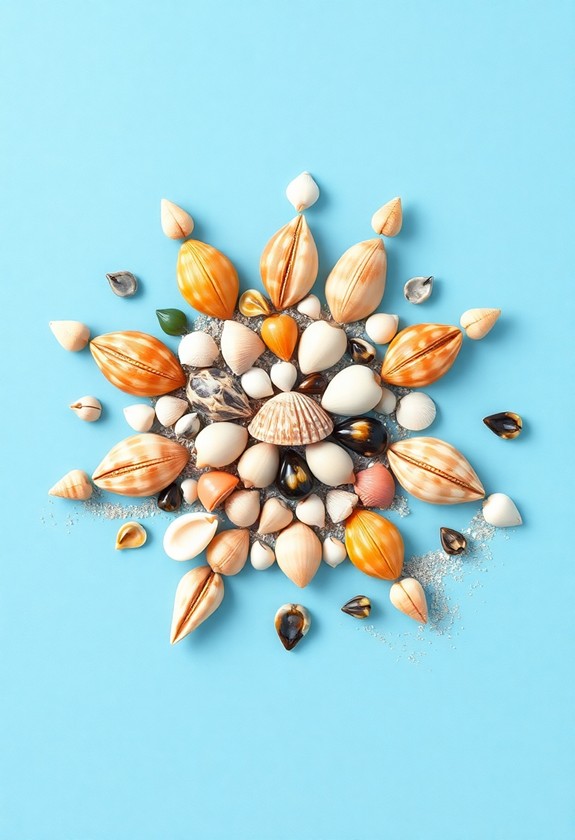
As summer approaches, seashell mosaics offer a perfect way to capture beach memories in a creative, hands-on project. It's time to get crafty with those seaside treasures!
Here's what you'll need:
- A variety of seashells
- Strong glue
- A flat surface (like a picture frame or wooden board)
- Paint (optional)
Follow these shell-tastic steps:
- Sort your shells by size and color
- Plan your design – maybe a fish or a wave!
- Start gluing shells in place
- Fill in gaps with smaller shells
- Let it dry completely
You can paint your base or shells for extra pizzazz! And don't forget to add some sand for that authentic beach feel. Your sea-sational masterpiece will be shore to impress everyone! Hang it up and let those summer vibes wash over you all year long.
Pumpkin Stamp Painting
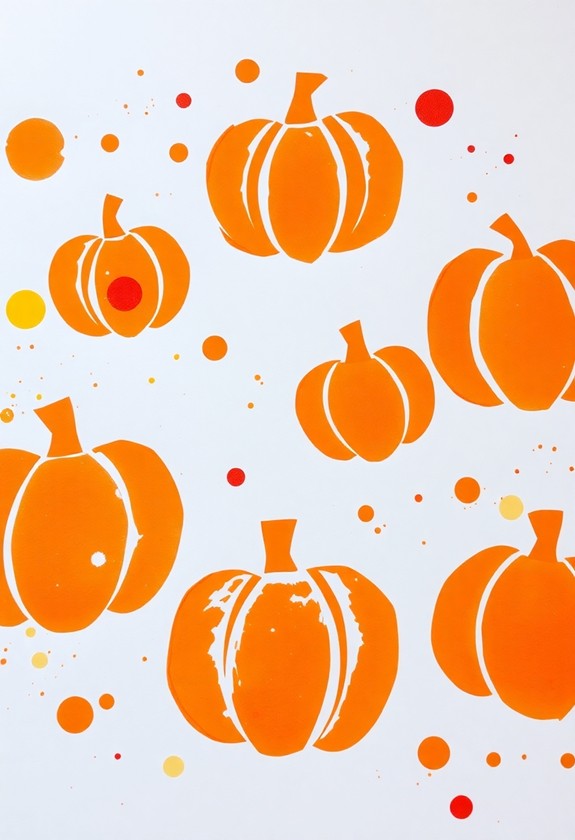
Fall brings with it the perfect opportunity for pumpkin stamp painting, a delightful autumn craft that's easy for little hands. Get ready for some messy fun! You'll need small pumpkins, paint, paper, and your little artist's imagination. Cut the pumpkins in half, dip them in paint, and press them onto paper. Voila! You've got adorable pumpkin prints. Mix colors for a rainbow of pumpkins, or stick to classic orange for a traditional look.
Here's why kids love pumpkin stamp painting:
- It's gloriously messy and hands-on!
- They can create a whole pumpkin patch in minutes!
- The prints make perfect decorations for fall festivities!
- It's a sensory experience they'll never forget!
Spring Blossom Finger Painting
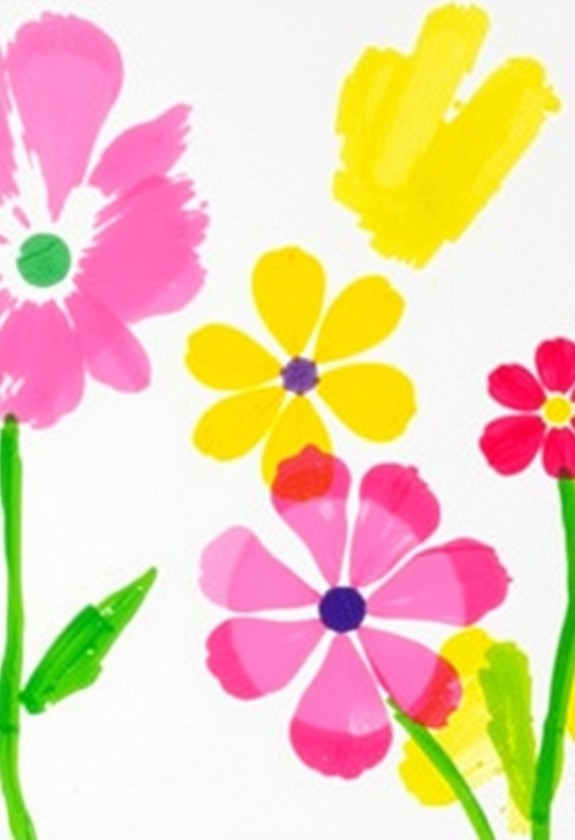
When winter's chill fades and spring's warmth returns, it's time to swap pumpkins for blossoms. Get ready for a blooming good time with spring blossom finger painting! This delightful project will have your little artists creating a colorful masterpiece in no time.
Here's what you'll need:
- Washable finger paints (pink, white, green)
- Large paper
- Wet wipes for clean-up
Let's get painting:
- Dip fingertips in pink paint
- Dab them on paper to create flower petals
- Use white paint for flower centers
- Add green fingerprints for leaves and stems
Watch as your child's canvas bursts into a garden of finger-painted flowers! This tactile activity isn't just fun – it's likewise great for developing fine motor skills. So, spring into action and let those little fingers bloom with creativity!
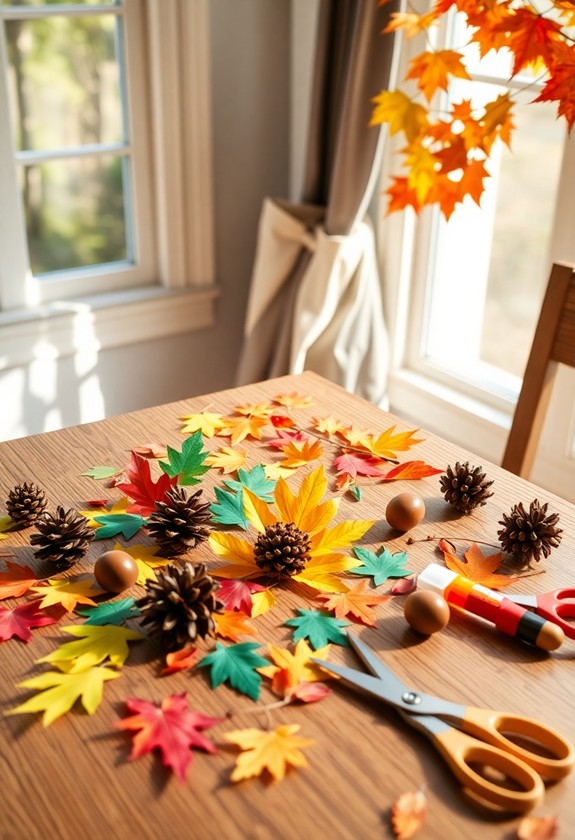
Pinecone Bird Feeders
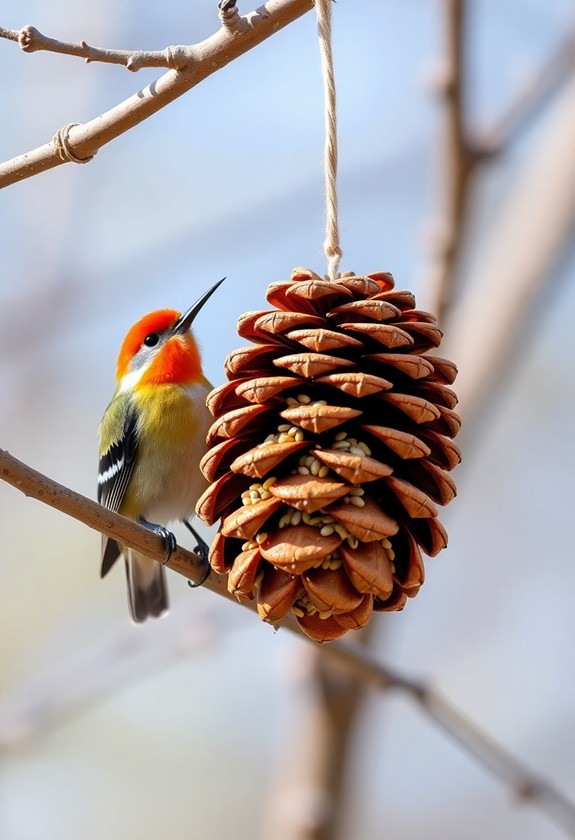
Throughout the fall season, you'll find an abundance of pinecones scattered on the ground. Why not turn them into cozy homes for your feathered friends? Making pinecone bird feeders is a fun and easy project that'll keep little hands busy and birds happy!
Here's why you'll love this activity:
- It's a fantastic way to connect with nature!
- You'll feel proud watching birds enjoy your creation!
- It teaches kids about helping wildlife!
- It's a super-cheap project with materials from your backyard!
First, gather your pinecones and tie strings around them. Then, slather peanut butter all over the cones. Roll them in birdseed until they're covered. Voila! You've got a bird buffet! Hang these tasty treats from tree branches and watch as your backyard becomes a birdie hotspot. It's tweetrific!
Curious Little Questions
How Can I Make These Projects Suitable for Children With Sensory Issues?
You've got this! To make projects sensory-friendly, try these awesome tips:
- Use non-toxic, washable materials – they're safe and easy to clean!
- Offer texture options – smooth, bumpy, soft, or rough
- Provide noise-canceling headphones for sound-sensitive kiddos
- Create a calm, quiet workspace – no distractions!
- Break tasks into small, manageable steps
- Let children choose their tools and materials
What Age Group Are These Seasonal Art Projects Most Appropriate For?
You're in luck! These seasonal art projects are perfect for kids aged 3 to 8. They're designed to be fun and engaging for little hands, but not too challenging. Preschoolers and early elementary students will love getting creative with these activities! Remember, every child develops differently, so you might need to adjust based on individual skills. But don't worry – with a little help from you, even younger toddlers can join in the artistic fun! It's all about exploration and enjoyment!
Are There Any Eco-Friendly Alternatives to the Materials Used in These Projects?
Imagine a world where art projects grow on trees! Although that's just a dream, you can make eco-friendly choices for your crafts. You'll love these green alternatives:
- Use recycled paper instead of new sheets
- Try natural dyes from fruits and veggies
- Swap plastic glitter for biodegradable options
- Collect leaves and twigs for nature-inspired art
Get creative with what's around you! Old cereal boxes, egg cartons, and even lint can become masterpieces. Remember, the Earth is your palette, so let's paint it green!
How Can I Incorporate Learning Objectives Into These Art Activities?
You can totally turn art time into learning time! Here's how:
- Sneak in math by counting shapes or measuring materials
- Boost language skills by describing colors and textures
- Investigate science concepts like color mixing or nature themes
- Immerse yourself in history by recreating famous artworks
- Practice fine motor skills with cutting and gluing
Get creative and make it fun! You'll be amazed at how much kids can learn during their time having a blast with art. It's like edu-tainment in disguise – they won't even realize they're learning!
What Safety Precautions Should Be Taken When Doing These Projects With Toddlers?
You're about to set out on a wild art adventure with toddlers! But wait, safety first! Here's what you need to know:
- Keep a watchful eye on those little artists!
- Use non-toxic, washable materials only
- Supervise scissors closely (or use safety scissors)
- Avoid small objects that could be choking hazards
- Have a first-aid kit handy, just in case