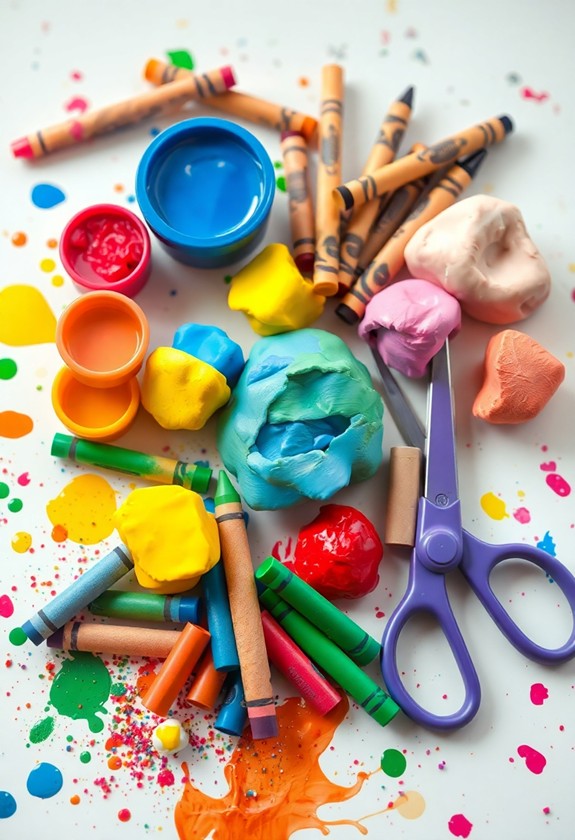
Get ready for some colorful fun with your little one! These wallet-friendly painting ideas are perfect for toddlers. Try finger painting with food coloring and shaving cream, or create unique patterns with bubble wrap. Nature-inspired leaf prints bring the outdoors in, whereas Q-tip pointillism introduces basic shapes and patterns. Make your own puffy paint or washable sidewalk chalk for endless creativity. Sponge stamping and cotton ball painting offer tactile experiences that'll keep tiny hands busy. With these easy, mess-friendly activities, you'll spark your toddler's imagination and develop their fine motor skills. There's so much more to investigate in the world of toddler art!
Creative Highlights
- Use non-toxic, washable tempera paints and everyday items like Q-tips for safe, affordable toddler art projects.
- Finger painting with food coloring and shaving cream offers a mess-free, edible option for creative exploration.
- Sponge stamping and leaf printing introduce textures and nature elements to art while developing fine motor skills.
- DIY sidewalk paint and homemade puffy paint provide budget-friendly alternatives for indoor and outdoor creativity.
- Q-tip pointillism technique minimizes mess while teaching basic art concepts and encouraging patience in toddlers.
Finger Painting With Food Coloring
With just a few simple ingredients, finger painting using food coloring can be a fun and mess-free activity for toddlers. It's time to get creative and colorful! Summer art ideas for toddlers can be both engaging and affordable, making them perfect for warm weather fun.
Here's what you'll need:
- Food coloring
- Shaving cream
- A large tray or baking sheet
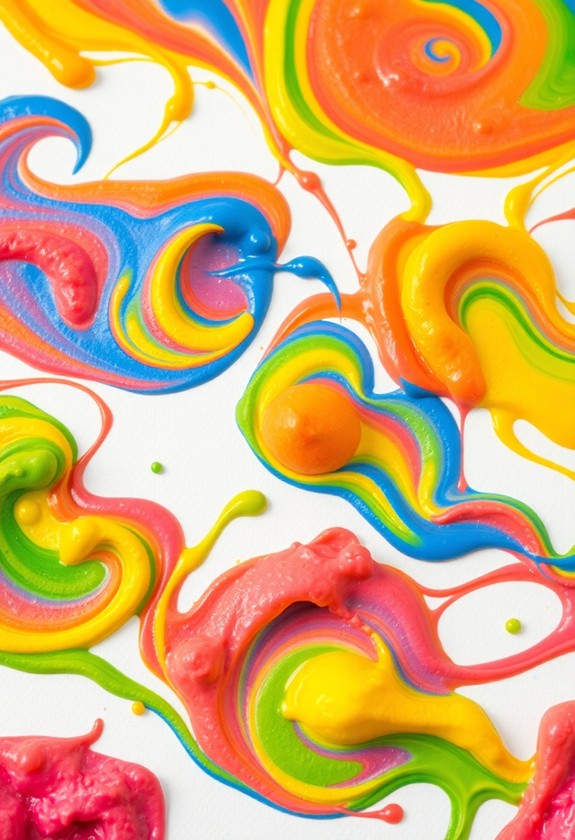
Mix a dollop of shaving cream with a few drops of food coloring, and voila! You've got instant finger paint. Spread it on the tray and let your little Picasso go wild! The best part? It's easy to clean up and safe if they accidentally taste it.
Want to add some extra pizzazz? Try these fun ideas:
- Make rainbow swirls
- Use cookie cutters to stamp shapes
- Add glitter for sparkly masterpieces
Sponge Stamping Art
Countless fun shapes and textures await your toddler with sponge stamping art. It's a blast and super easy to set up! Here's what you'll need:
- Different shaped sponges
- Washable paint
- Paper or cardboard
- Scissors (for grown-ups only!)
Cut sponges into fun shapes like stars, hearts, or animals. Pour paint onto paper plates. Let your little one dip the sponges in paint and stamp away! They'll love creating colorful masterpieces with these squishy tools. Non-toxic supplies are crucial for safe and worry-free creativity, especially when working with young children who may investigate materials orally.
Mix it up by:
- Using multiple colors on one sponge
- Overlapping stamps for cool effects
- Making patterns or scenes
Sponge stamping is a "soaking" good time that'll have your toddler begging for more! Plus, it's a great way to develop fine motor skills and creativity. So, get ready to make a splashy impression with this fun art activity!
Nature-Inspired Leaf Prints

Nature-inspired leaf prints offer a wonderful way to bring the outdoors into your toddler's art projects. It's so easy and fun! Here's how to do it:
- Gather leaves of different shapes and sizes
- Spread paint on a paper plate
- Dip the leaves in paint
- Press them onto paper, vein-side down
- Gently lift to reveal the print
For a festive twist, try using green paint and shamrock-shaped leaves to create St. Patrick's Day themed artwork with your little one. Watch your little one's eyes light up as they create leaf-tastic masterpieces! You can use fall colors for autumn scenes or bright hues for a spring garden. Mix it up by adding other natural elements like twigs or flowers. And don't forget to leave room for creativity! Try overlapping prints or making patterns. This activity is not only artistic but likewise teaches about nature and textures. Plus, it's a great way to spend quality time outdoors with your budding Picasso!
Bubble Wrap Painting Technique
Pop, paint, and create! Bubble wrap painting is a fun and messy way for your toddler to investigate texture and color. Here's how to do it:
- Gather supplies:
- Bubble wrap
- Washable paint
- Paper
- Shallow trays
Your tot will love the satisfying "pop" as they create unique patterns. Try rolling a bubble wrap tube for a different effect. Mix colors for a rainbow explosion! For even more fun, use washable finger paints to add extra sensory investigation to the activity. This bubble-tastic technique is certain to produce frame-worthy masterpieces. And the best part? It's cheap and easy to clean up. So, let your toddler's creativity bubble over with this exciting painting adventure!
Recycled Cardboard Canvas Creations
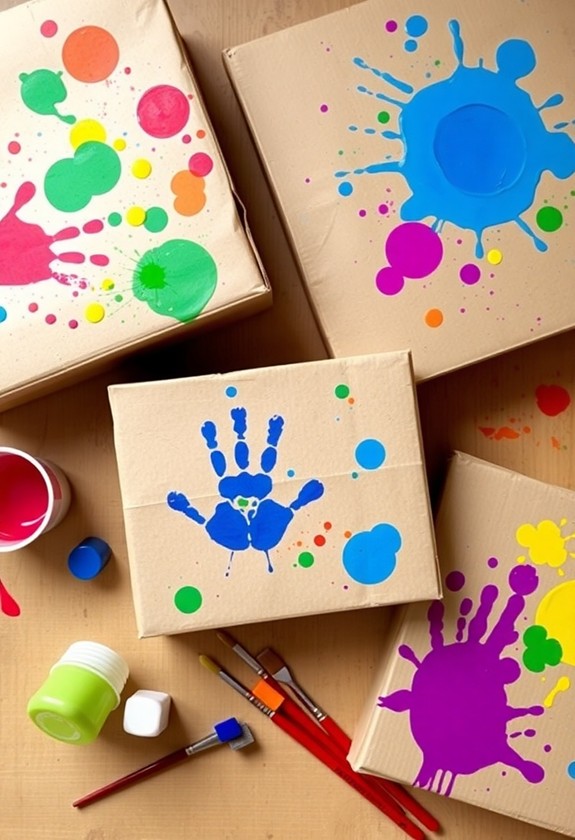
Why throw away cardboard when you can turn it into art? It's time to release your toddler's inner Picasso with recycled cardboard canvas creations! This eco-friendly craft is a win-win: you'll save money and the planet as you enjoy yourself! Paint variety and compatibility are key factors to ponder when choosing your art supplies, ensuring a diverse palette for your little one's creativity.
Here's how to get started:
- Gather clean, flat cardboard pieces
- Cut them into fun shapes (circles, stars, hearts)
- Prime the surface with white paint (optional)
Now, let your little one go wild! They can:
- Finger paint
- Use brushes or sponges
- Sprinkle glitter for extra sparkle
- Add stickers or googly eyes
But wait, there's more! Turn it into a 3D masterpiece by gluing on buttons, pom-poms, or pasta shapes. The possibilities are endless! This cardboard canvas creation will be a keeper, and you'll be amazed at your tiny artist's creativity!
DIY Washable Sidewalk Paint
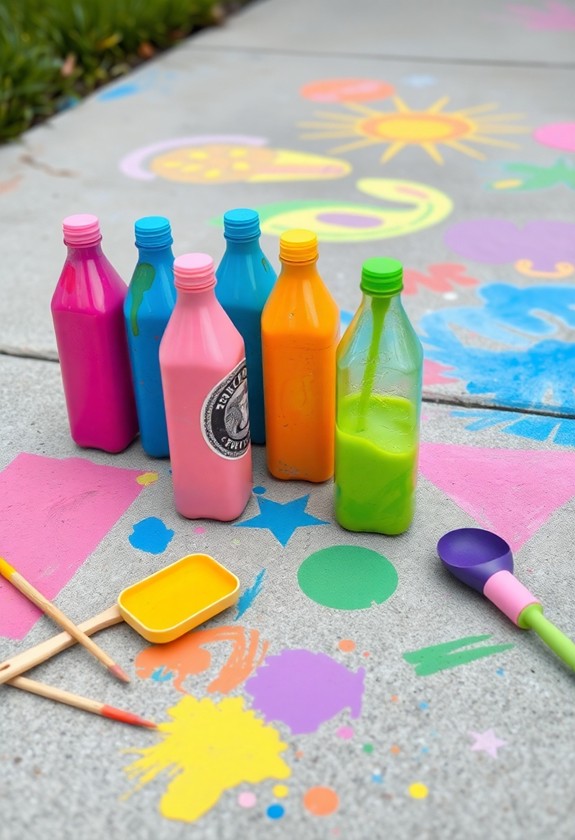
Bursting with lively colors, DIY washable sidewalk paint offers a messy yet magical outdoor art experience for toddlers. It's super easy to whip up, and you'll have a blast creating it with your little ones!
Here's what you'll need:
- Cornstarch
- Water
- Food coloring
- Squeeze bottles or paintbrushes
Mix equal parts cornstarch and water in a bowl, then add a few drops of food coloring. Voilà! You've got sidewalk paint! Pour it into squeeze bottles for easy application, or use paintbrushes for a more traditional approach.
Let your toddler's imagination run wild on the sidewalk or driveway. They can create colorful masterpieces that'll wash away with the next rain shower. It's a win-win situation – endless fun and easy cleanup! Plus, you'll be the coolest parent on the block with this awesome activity up your sleeve.
Cotton Ball Painting Projects
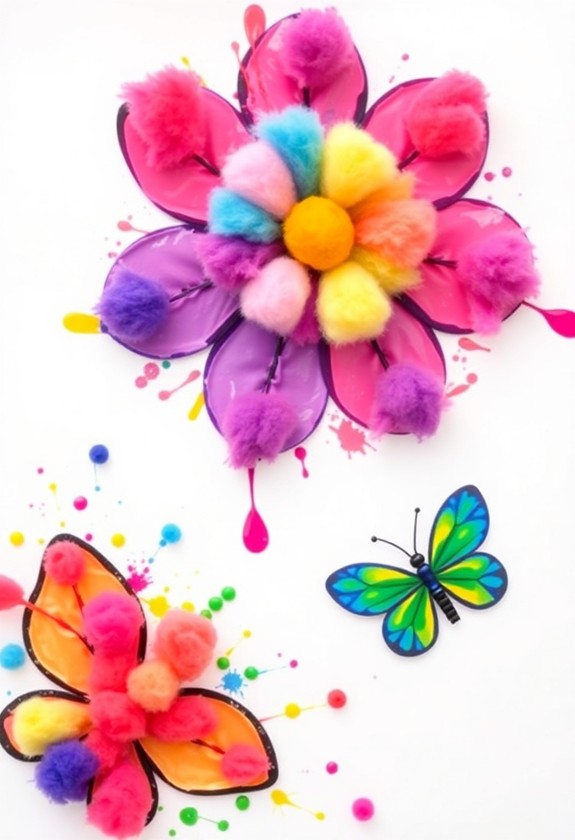
Cotton ball painting offers a delightful tactile experience for toddlers during creating unique textures in their artwork. It's super easy and fun! Here's how to get started:
- Gather supplies: cotton balls, clothespins, paint, and paper
- Clip cotton balls with clothespins (instant paintbrushes!)
- Pour paint onto plates or trays
Now, let your little Picasso loose! They'll love dipping and dabbing their fluffy brushes. Watch as they create cloudy skies, fuzzy animals, or abstract masterpieces. The possibilities are endless!
For extra excitement, try these variations:
- Use different sizes of cotton balls
- Mix colors for rainbow effects
- Stamp shapes with cotton ball-covered cookie cutters
Clean-up's a breeze too! Just toss the cotton balls when you're done. Your tot will have a ball with this cotton-tastic art adventure!
Homemade Puffy Paint Recipes
With homemade puffy paint, you can add a fun, tactile dimension to your toddler's art projects. It's easy to whip up, and your little one will love the squishy texture! Here's a simple recipe:
- Mix equal parts shaving cream and white glue
- Add a few drops of food coloring
- Stir until well-blended
Voila! You've got puffy paint that'll pop right off the page. Want to get even more creative? Try these variations:
- Add glitter for extra sparkle
- Use scented shaving cream for aromatic art
- Mix in a bit of flour for a thicker consistency
Let your toddler go wild with this fluffy, puffy masterpiece-maker! They'll have a blast squishing, spreading, and sculpting their way to colorful creations. And the best part? It's wallet-friendly and washable. Talk about a win-win!
Q-tip Pointillism for Toddlers
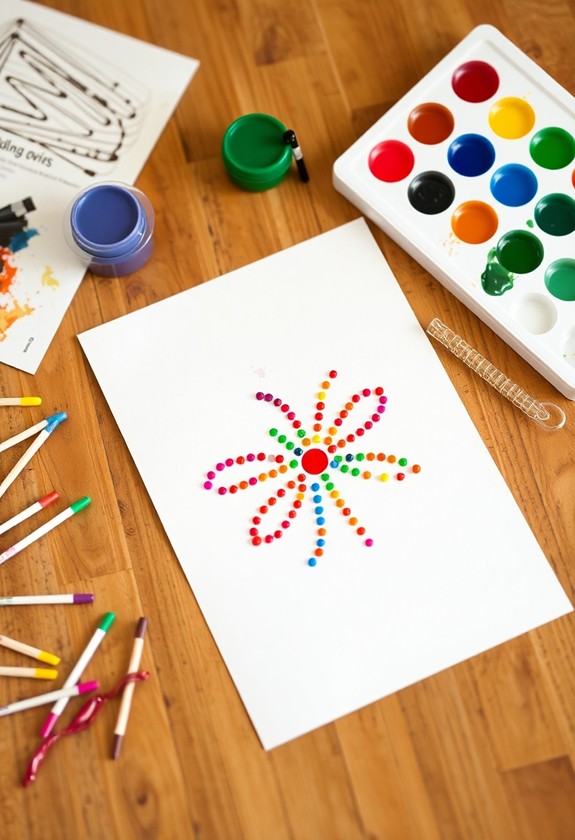
Introduce your toddler to the world of pointillism with this simple Q-tip painting technique. It's a fun, mess-minimizing way to create colorful masterpieces!
Here's what you'll need:
- Q-tips (lots of them!)
- Washable tempera paints
- Paper
- Small cups or a paint palette
Get ready to make some dot-tastic art! Pour different colors into separate cups or a palette. Show your little one how to dip the Q-tip in paint and make dots on the paper. Encourage them to create patterns, shapes, or even try spelling their name!
Pro tip: Use thick paper to prevent bleeding. And don't forget to lay down some newspaper for easy cleanup!
This activity is perfect for developing fine motor skills and color recognition. Plus, it's a great way to introduce your tiny Seurat to the world of art!
Curious Little Questions
How Can I Protect My Floors and Furniture During Toddler Painting Activities?
Protect your floors and furniture during toddler painting time? No problem! You've got options:
- Spread old newspapers or a plastic tablecloth on the floor
- Use washable paints – they're a lifesaver!
- Dress your little Picasso in old clothes or a smock
- Move valuable items out of splash range
- Try painting outside on a nice day
What Age Is Appropriate to Start Introducing Painting Activities to Toddlers?
You can start introducing painting activities to toddlers as early as 18 months old! It's an exciting time to let their creativity bloom. But remember, every child develops differently. Watch for signs of readiness, like improved hand-eye coordination and interest in scribbling. Start with finger painting or big brushes, and always supervise. As they grow, you'll see their skills blossom! By age 3, most toddlers are ready for more structured painting activities. Let the colorful adventures begin!
Are There Non-Toxic Alternatives to Traditional Paints for Very Young Children?
Did you know that 85% of brain development occurs before age 5? That's why safe art is essential! You're in luck as there are tons of non-toxic paint alternatives for your little Picasso. Try these fun options:
- Yogurt + food coloring
- Pudding finger paints
- Homemade cornstarch paint
- Mashed berry "paint"
- Edible fingerpaint from gelatin
These options are safe, cheap, and oh-so-colorful! Your toddler can create masterpieces without worry. And if they decide to taste-test their art? No problem! It's all part of the messy, delicious fun!
How Can I Encourage My Toddler to Explore Different Textures in Painting?
Wow, investigating textures in painting is so much fun for toddlers! You can make it exciting by:
- Adding sand to paint for a gritty feel
- Mixing in rice or pasta for bumpy textures
- Using sponges, bubble wrap, or textured rollers to apply paint
- Letting them finger paint with pudding or shaving cream
Don't forget to try different surfaces too! Paint on cardboard, fabric, or even leaves. It's all about sensory investigation. Let your little one get messy and creative – they'll love it!
What Are Some Ways to Display and Preserve Toddlers' Artwork?
Let your little Picasso's masterpieces shine like stars in the night sky! You've got so many fun options to showcase their artwork. Create a gallery wall with colorful frames, or use clothespins on a string for an easy display. Preserve their creations by laminating them or making a scrapbook. For 3D art, snap photos and create a digital album. Don't forget to date everything! And hey, why not turn their art into personalized gifts? Grandma would love a mug with your tot's handiwork!