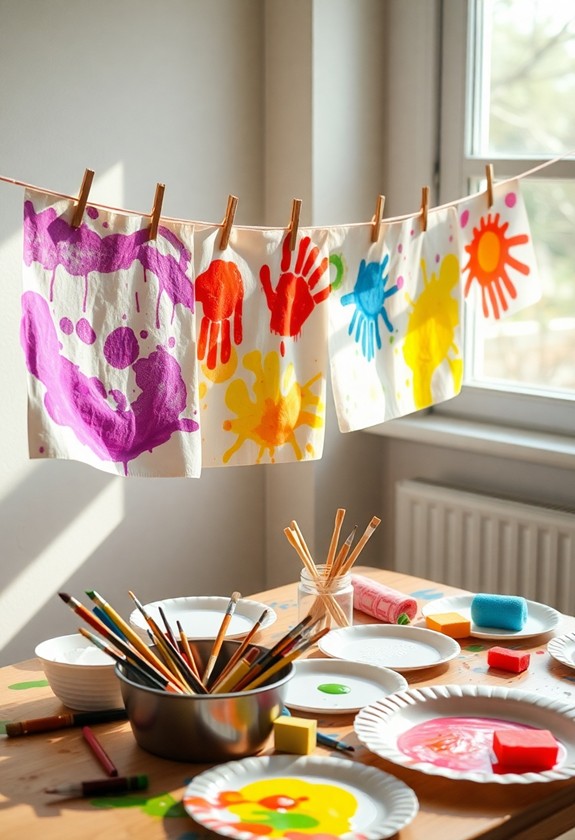
Get ready to release your toddler's creativity with these 8 amazing DIY art tools using everyday items! Transform kitchen sponges into fun stamps, and turn pasta into unique paintbrushes. Let cardboard rolls become printing tools, as forks create cool textures. Roll bubble wrap for exciting patterns, and clip cotton balls for easy dabbing. Spray paint with repurposed plastic bottles, and shake up some music with toilet paper roll instruments. These tools not only spark imagination but also improve fine motor skills and sensory exploration. Plus, they're budget-friendly and a breeze to clean up. Plunge into find the endless artistic possibilities waiting in your home!
Creative Highlights
- Sponge stamps made from kitchen sponges create various shapes and enhance fine motor skills.
- Pasta paintbrushes using uncooked pasta and wooden sticks develop sensory exploration in preschoolers.
- Cardboard roll printing transforms empty rolls into fun shapes for stamping and imaginative play.
- Fork painting tools create textures by pressing and dragging plastic forks in paint.
- Bubble wrap texture rollers provide a tactile experience and produce unique patterns when rolled in paint.
Sponge Stamps
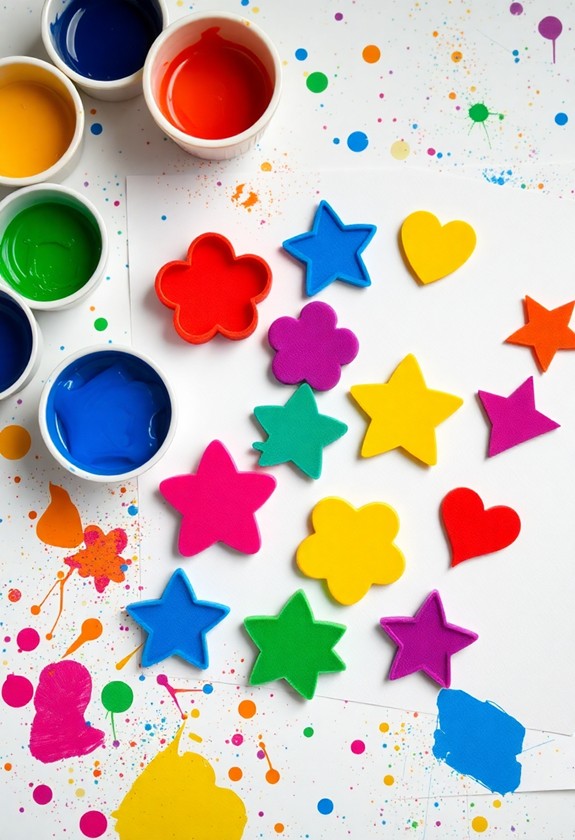
Sponge stamps are a toddler-friendly art tool that's easy to make and fun to use. You'll love how simple it is to create these with items you already have at home! Here's what you need:
- Kitchen sponges
- Scissors
- Paint
- Paper plates
Cut the sponges into fun shapes like stars, hearts, or animals. Dip them in paint spread on a paper plate, and voila! You've got instant stamps. Your little one will have a blast pressing these onto paper, making colorful masterpieces in no time. This activity is perfect for developing fine motor skills and encouraging creativity in young children. Using washable paints guarantees easy cleanup, making it a stress-free experience for parents.
But wait, there's more! Try these sponge-tastic ideas:
- Mix colors for rainbow effects
- Use different textures of sponges
- Stamp on fabric for wearable art
Get ready to soak up the fun with these absorbent art tools!
Pasta Paintbrushes
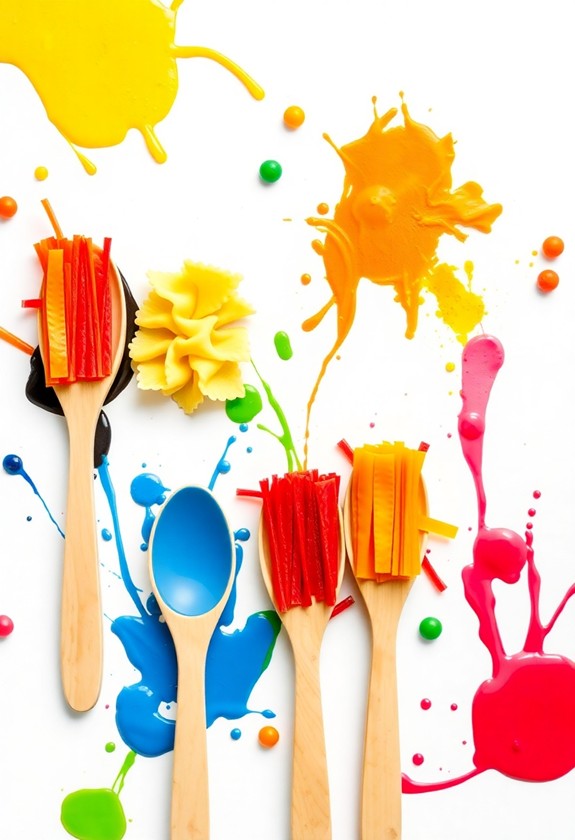
Although sponge stamps are fun, pasta paintbrushes offer a unique twist on DIY art tools. You'll love creating these quirky brushes with your little ones! Here's how to make them:
- Gather uncooked pasta shapes (penne, fusilli, or bow ties work great!)
- Grab some wooden craft sticks or popsicle sticks
- Use strong glue to attach pasta to one end of the stick
- Let dry completely (patience is pasta-tively crucial!)
This activity promotes fine motor skills and sensory exploration, making it perfect for preschoolers. Plus, it's a great way to repurpose leftover pasta!
Now, it's time to paint! Dip your pasta brushes in washable paint and watch the magic happen. The different pasta shapes create amazing textures and patterns. Your toddler will be pasta-ssionately engaged in this artistic exploration!
Pro tip: Try using colored pasta for extra pizzazz. Just mix food coloring with rubbing alcohol and soak the pasta before gluing. It's a saucy way to add more fun!
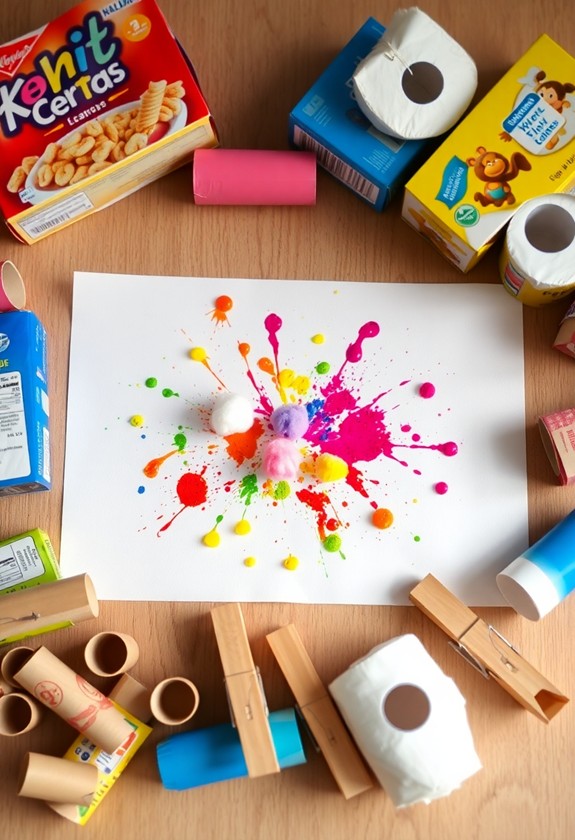
Cardboard Roll Printing
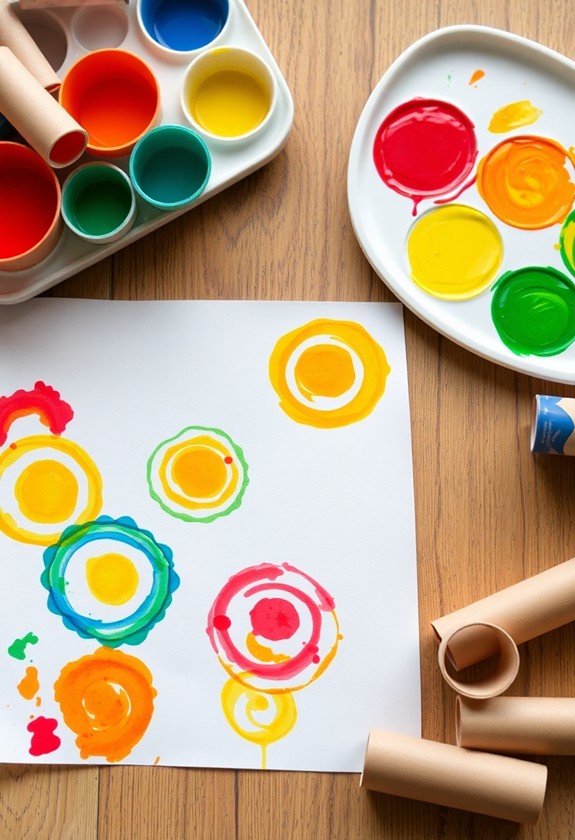
From out of the recycling bin comes another fantastic DIY art tool for your toddler: cardboard roll printing. It's time to transform those empty toilet paper rolls into mini masterpieces! This activity is perfect for creative play ideas and can help develop your 4-year-old's fine motor skills as well as nurturing their imagination.
Here's how to make these roll-y cool stamps:
- Grab a cardboard roll and bend one end into a fun shape (heart, star, or triangle).
- Secure the shape with tape.
- Pour some washable paint onto a paper plate.
- Dip the shaped end into the paint.
- Press it onto paper and voilà! You've got a unique print!
Your little artist will love experimenting with different shapes and colors. And the best part? It's a mess-free activity that's easy on your wallet! So, don't let those cardboard rolls go to waste – let's get rolling with this creative printing technique!
Fork Painting Tools
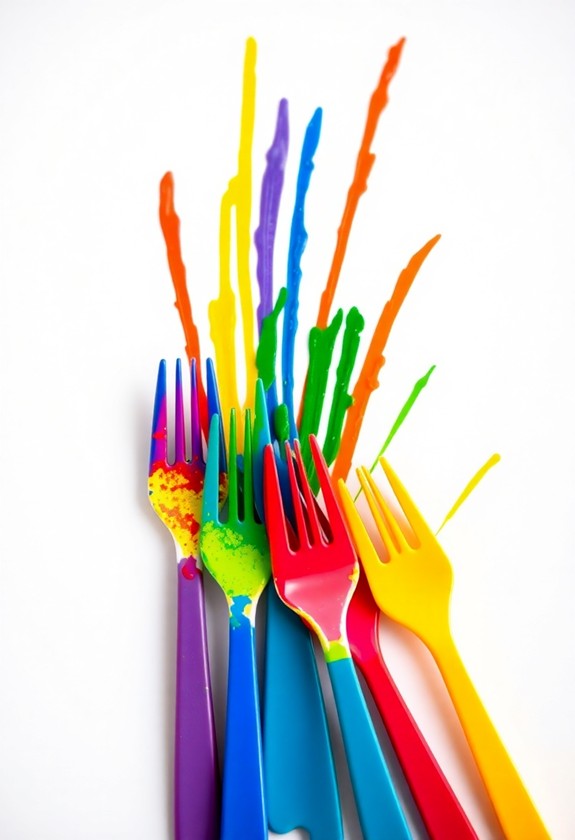
Who knew that your kitchen utensils could double as art tools? Get ready to turn your forks into fantastic painting implements! Here's how:
- Grab some plastic forks (safety first!)
- Dip the tines in paint
- Press onto paper for cool textures
You'll be amazed at the awesome effects you can create! Try:
- Dragging the fork through wet paint
- Stamping to make grass or fur
- Swirling for fun patterns
Mix it up by using different colors on each tine. Or, try pressing lightly for thin lines and harder for bold strokes. The possibilities are endless!
Fork painting is a great way to introduce your toddler to new textures and sensations. This multi-sensory experience aids in memory retention and information processing, vital for early childhood development. Plus, it's a "forking" good time! So grab those utensils and let the creative juices flow!
Bubble Wrap Texture Rollers
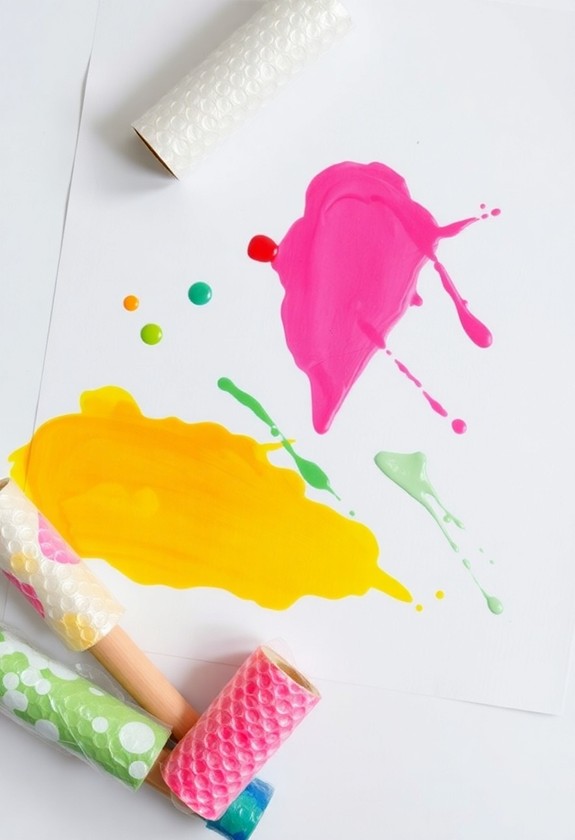
Ready to move from forks to bubbles? It's time to create some awesome texture rollers using bubble wrap! This fun DIY art tool will have your toddler giggling with delight as they roll out unique patterns. Triangle-shaped crayons and markers improve grip for toddlers, and this bubble wrap roller follows a similar principle by providing an easy-to-hold tool for little hands.
Here's how to make these bubbly beauties:
- Find a clean, empty cardboard tube (like from paper towels).
- Cut a strip of bubble wrap to fit around the tube.
- Secure the bubble wrap with tape or glue.
And voilà! You've got a textured roller that's ready to roll! Pour some paint onto a plate, dip your new tool, and let your little one go wild on paper. They'll love the bumpy, poppy sensation and the cool designs they create. It's a bubble-tastic way to investigate texture and pattern-making. Who knew bubbles could be so artsy?
Cotton Ball Dabbers
Cotton ball dabbers offer a delightful tactile experience for toddlers during doubling as an easy-to-grip painting tool. They're super simple to make and oh-so-fun to use! Here's how to create these fluffy wonders:
- Gather supplies: cotton balls, clothespins, and paint
- Clip a cotton ball in the clothespin's "mouth"
- Dip in paint and dab away!
Your little one will love the squishy sensation as they create colorful masterpieces. And the best part? It's mess-minimizing magic! The cotton absorbs excess paint, reducing drips and spills. Plus, it's a fantastic way to practice fine motor skills and hand-eye coordination.
Want to mix it up? Try different sizes of cotton balls or pom-poms for varied textures. You can even use scented cotton balls for a sensory explosion! Get ready for some cotton-tastic creativity!
Plastic Bottle Spray Painters
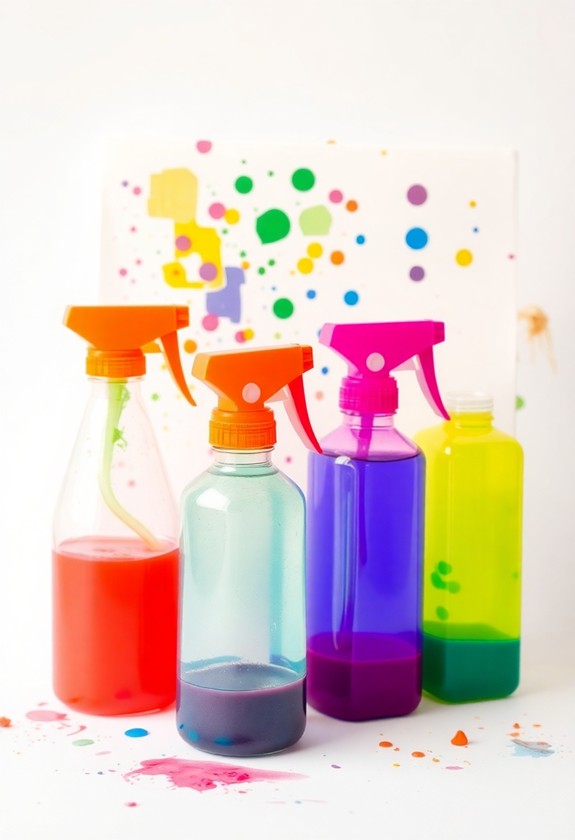
Plastic bottle spray painters take recycling to a whole new level of fun! Turn empty plastic bottles into exciting art tools for your little ones. Simply poke small holes in the bottle cap, fill the bottle with watered-down paint, and voila! You've got a spray painter that's safe and easy for toddlers to use.
These DIY spray painters offer more than just artistic fun:
- They improve fine motor skills as kids squeeze the bottle
- They teach cause-and-effect relationships
- They encourage creativity and color exploration
Let your toddlers go wild with their new spray painters! They can create misty masterpieces on large sheets of paper or cardboard. For extra giggles, take the art outside and let them spray on the sidewalk. It's a splatter-tastic way to enjoy sunny days! Just remember to dress your little artists in old clothes – this activity can get delightfully messy!
Toilet Paper Roll Shakers

Transform countless empty toilet paper rolls into exciting musical instruments for your toddler. It's a fun, eco-friendly project that'll have your little one shaking with joy!
Here's how to make these rockin' roll shakers:
- Gather your supplies:
- Empty toilet paper rolls
- Colorful paper or paint
- Rice, beans, or small beads
- Tape or glue
- Scissors
- Mix equal parts flour and water for a base
- Add a splash of salt for texture
- Stir in food coloring for brilliant hues
- Start with a splash-proof area: Cover surfaces with old sheets or plastic tablecloths.
- Keep wipes handy: Baby wipes are your best friend for quick cleanups!
- Make it a game: Turn tidying into a fun activity for your little artist.
- Rinse immediately: Don't let paint or glue dry – tackle it right away!
- Use soap and warm water: For stubborn stains, this combo works wonders.
- Always supervise your tiny Picassos
- Avoid sharp objects or small choking hazards
- Use non-toxic, child-safe materials
- Keep cleaning supplies out of reach
- Be careful with items that might break or shatter
- Create a gallery wall with colorful frames
- Make a scrapbook or photo album
- Snap photos and create a digital slideshow
- Turn art into personalized gifts (mugs, calendars)
- Use clothespins and string for an easy, changeable display
And voila! You've got yourself some tubular tunes! Encourage your little maestro to shake, rattle, and roll with their new instruments. It's music to your ears!
Curious Little Questions
How Can I Make Homemade Paint for Toddlers?
You can whip up some amazing homemade paint for your little artist! Here's how:
Presto! You've got safe, colorful paint. Want thicker paint? Add more flour. Thinner? More water! Experiment with natural dyes like beet juice or turmeric for eco-friendly options. Your toddler will have a blast creating masterpieces, and you'll love the easy clean-up. It's a win-win for budding Picassos!
What Age Is Appropriate to Introduce DIY Art Tools to Children?
You can introduce DIY art tools to children as young as 18 months old! It's an exciting adventure that starts early. By age 2-3, they're ready for more complex tools. Remember, every child develops differently, so watch for their interest and ability. Start simple with finger paints and chunky crayons, then progress to brushes and scissors as they grow. Always supervise and choose age-appropriate materials. The key is to make it fun and safe whilst nurturing their creativity!
How Do I Clean up After Messy Art Projects With Toddlers?
Cleaning up after toddler art projects can be a breeze! Here's how:
Are There Any Safety Concerns When Using Household Items for Art Projects?
Safety first, little artists! As household items can be a goldmine of creativity, they can likewise be hidden dragons in disguise. You've got to be on your toes! Here are some quick tips:
How Can I Display and Preserve My Toddler's DIY Art Creations?
You've got a mini Picasso on your hands! Let's showcase those masterpieces! Here are some fun ways to display and preserve your toddler's art:
Don't forget to date each piece! And remember, it's not just art—it's memories you're preserving. Your little artist will love seeing their creations proudly displayed!