Get ready for a year-round nature art extravaganza! You'll love these 10 Montessori-inspired projects that bring the outdoors in. Paint with flower petals in spring, create leaf rubbings in summer, and craft pinecone creatures in autumn. Winter? Try snowflake salt art! Don't forget pressed flower suncatchers, mud painting adventures, and colorful ice cube art. Stick sculptures and natural dye fabric printing round out the fun. These hands-on activities aren't just creative – they're a great way to connect with nature and investigate the changing seasons. But wait, there's more to uncover about each exciting project!
Creative Highlights
- Seasonal projects like flower petal painting and pinecone creatures align with Montessori's focus on natural materials.
- Activities such as leaf rubbings and mud painting encourage hands-on exploration and sensory learning.
- Nature-based art projects foster creativity while connecting children with the changing seasons and environment.
- Stick sculptures and pressed flower suncatchers develop fine motor skills and spatial awareness through natural materials.
- Projects like natural dye fabric printing introduce scientific concepts while promoting artistic expression and environmental awareness.
Spring Flower Petal Painting

Bursting with vivid colors, spring flowers offer the perfect opportunity for a nature-inspired art project. Get ready to release your inner artist with this petal-tastic painting adventure!
Here's what you'll need:
- Fresh flower petals
- White paper
- A flat surface
Now, let's jump in:
- Gather a rainbow of petals from your garden or local park.
- Lay your paper on a flat surface – it's canvas time!
- Gently press a petal onto the paper and drag it across. Voilà! Instant color!
- Mix and match petals to create stunning designs. Go wild!
- Let your masterpiece dry in the sun.
This blooming brilliant activity isn't just fun – it's a sensory explosion! You'll feel the silky petals, smell their sweet scent, and see a kaleidoscope of colors come alive. It's nature's paint palette at your fingertips!
Summer Leaf Rubbings
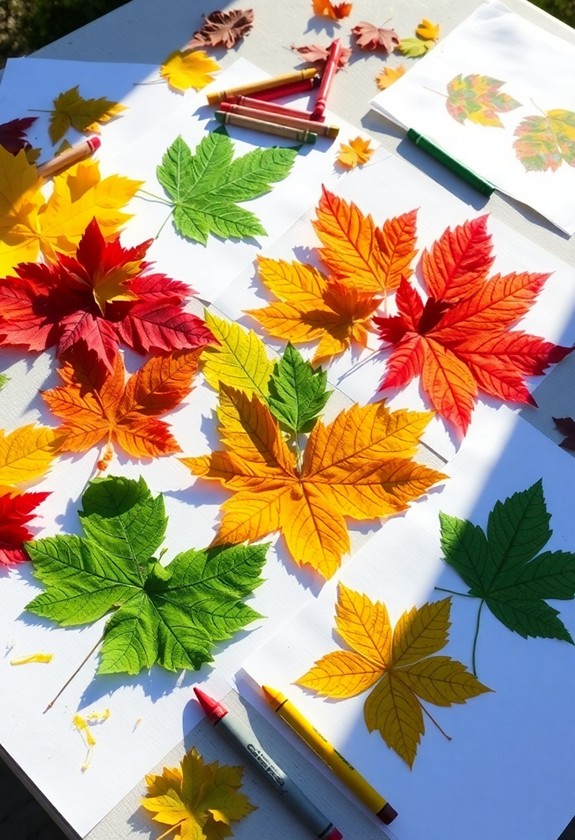
Capturing the intricate beauty of summer leaves, leaf rubbings offer a fun and tactile way to explore nature's textures. You'll love this leafy adventure! This activity aligns well with Montessori principles of hands-on learning and nature exploration, nurturing a connection with the environment. Here's how to get started:
- Gather supplies: paper, crayons (with wrappers removed), and various leaves
- Place a leaf under your paper, vein-side up
- Gently rub the crayon over the paper, revealing the leaf's pattern
Voila! You've just created a leaf-tastic masterpiece! Try different colors and leaves for a rainbow of rubbings. But wait, there's more! You can:
- Make a leaf rubbing collage
- Create greeting cards with your designs
- Use them as gift wrap
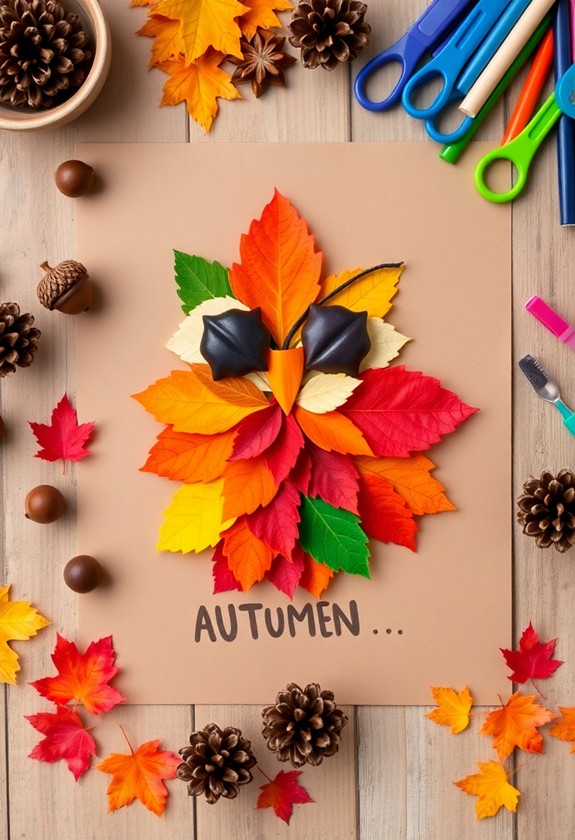
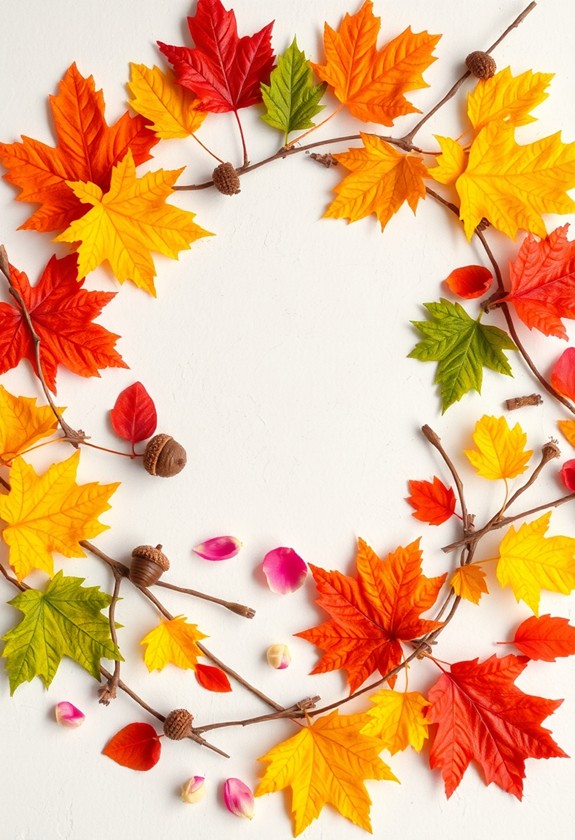
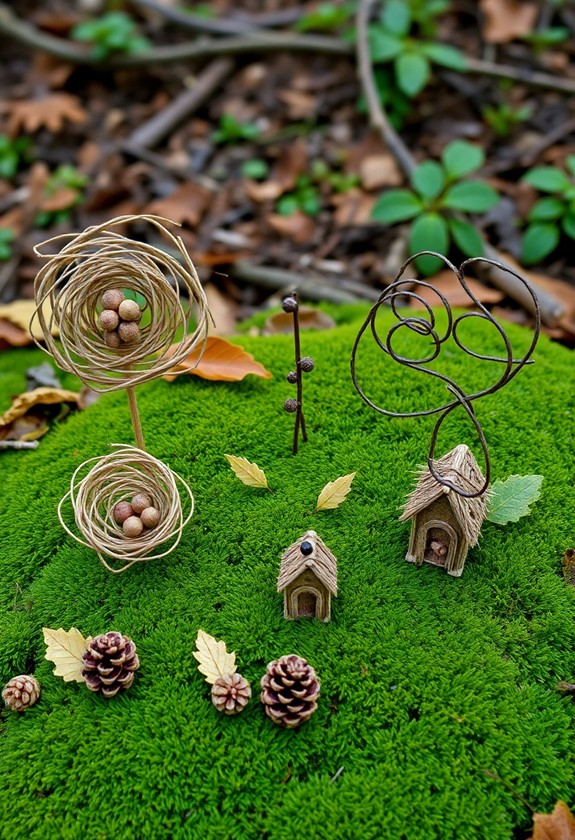
Autumn Pinecone Creatures

As autumn leaves fall, pinecones become nature's perfect canvas for imaginative creations. You'll love turning these natural treasures into adorable pinecone creatures! Here's how:
- Gather pinecones from your backyard or local park.
- Clean them gently with a soft brush.
- Let your creativity soar! Use craft supplies like:
- Googly eyes
- Colorful pipe cleaners
- Felt scraps
- Pom-poms
Pinecone painting is a fantastic way to add lively colors to your creations, using child-safe, washable paints for easy cleanup. Glue on eyes, craft little arms and legs, or even add felt ears. Voila! You've got a pinecone owl, hedgehog, or whatever critter you can dream up. These cute creations make perfect autumn decorations or gifts. Plus, they're a fun way to learn about local wildlife and seasonal changes. So, get ready to pine for more of this cone-tastic craft time!
Winter Snowflake Salt Art
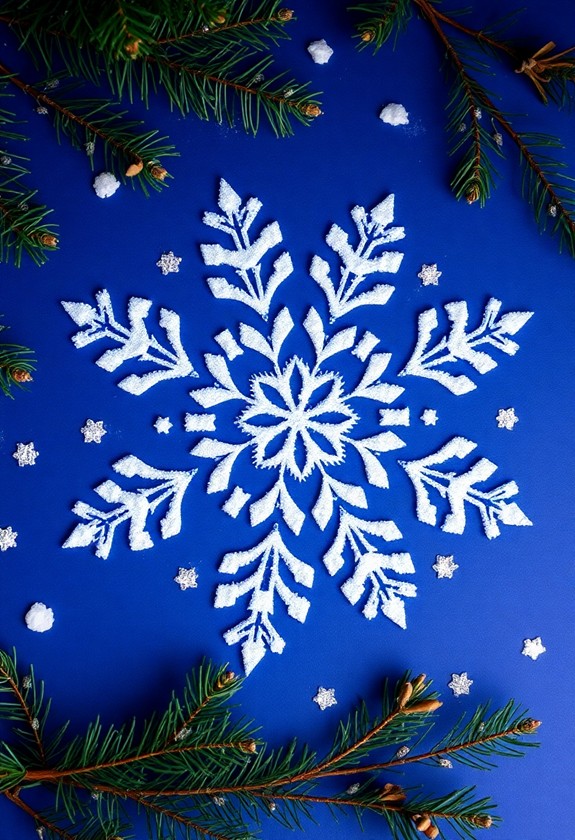
Shimmering with winter magic, snowflake salt art brings the beauty of frosty crystals indoors. You'll love creating these sparkling masterpieces! Here's how to make your own:
- Gather materials: white paper, white glue, table salt, and glitter (optional).
- Draw a snowflake design with glue on the paper.
- Sprinkle salt over the wet glue, covering it completely.
- Shake off excess salt and let dry.
- Add a pinch of glitter for extra sparkle!
This cool project is snow much fun! It's a great way to examine symmetry and patterns during the embrace of the winter wonderland. Plus, it's a sensory delight – feel the rough texture of the salt and watch it stick to the glue. Multi-sensory experiences like this aid in memory retention and information processing, vital for early childhood development. You can even experiment with colored salt or paper for a unique twist. Get ready to let your creativity crystallize!
Pressed Flower Suncatchers
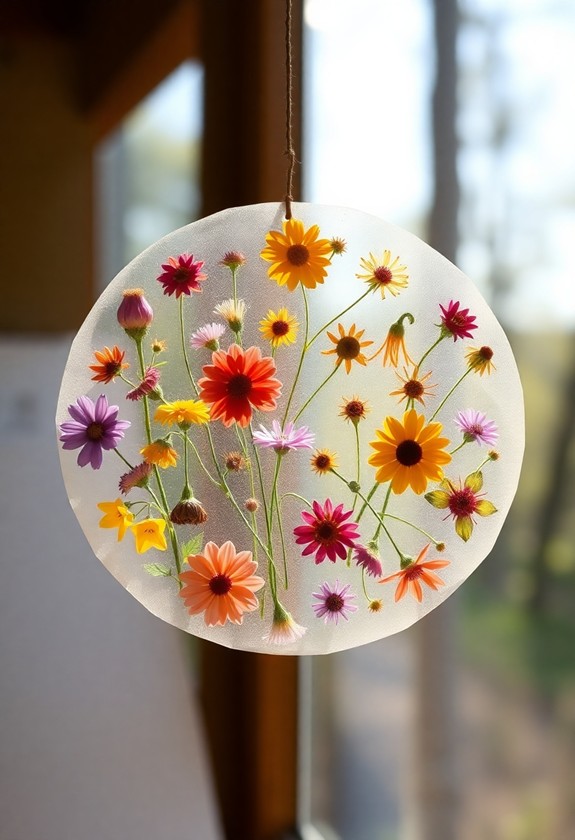
When spring blooms fade, you can preserve their beauty with pressed flower suncatchers. It's a magical way to capture nature's colors! Here's how:
- Gather flowers and leaves
- Press them between heavy books for a week
- Cut two circles from clear contact paper
- Peel one circle and arrange flowers on it
- Cover with the second circle, sticky-side down
- Trim excess and punch a hole for hanging
Voila! You've created a window to spring's splendor. Hang your suncatcher and watch it glow! But wait, there's more! Try these fun variations:
- Use petals to form shapes or patterns
- Add glitter for extra sparkle
- Make a garland of mini suncatchers
These petal-perfect projects are certain to brighten any room. And remember, every suncatcher tells a unique floral story!
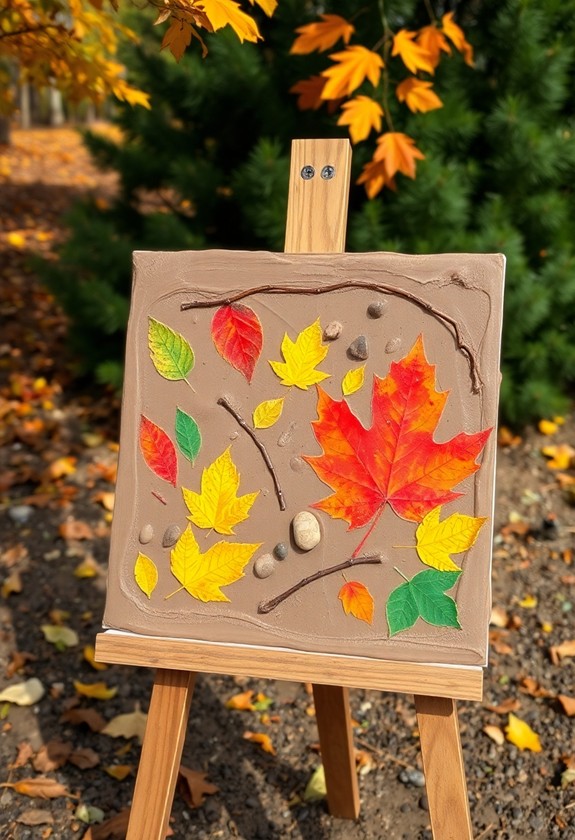
Nature Texture Collages
Nature texture collages bring the outdoors inside, allowing children to examine and appreciate various tactile elements from their environment. It's a fantastic way to get hands-on with nature's treasures! Here's how to create these sensory masterpieces:
- Gather materials: Leaves, bark, pebbles, and more!
- Choose a sturdy base: Cardboard or thick paper works great.
- Arrange your finds: Play with patterns and textures.
- Glue everything down: Be generous with the adhesive!
Watch as your little ones become texture detectives, investigating the rough and smooth, bumpy and flat. They'll love feeling the difference between a silky flower petal and a scratchy pine cone! Plus, it's a tree-mendous opportunity to discuss the natural world. Who knew art could be so down-to-earth? Get ready for some nature-inspired fun!
Mud Painting Adventures
Mud-masterpieces await in this messy and marvelous Montessori art project! Get ready to release your inner mud artist and create earthy masterpieces. Here's how:
- Gather supplies: mud, water, natural pigments (crushed berries, leaves, etc.), and thick paper or cardboard.
- Mix mud with water to create different consistencies.
- Add natural pigments for a splash of color!
- Use fingers, sticks, or brushes to paint your muddy masterpiece.
Let your imagination run wild! Paint environments, abstract designs, or even muddy portraits. The possibilities are endless, and the results are always unique. But wait, there's more! Why not take it up a notch? Try:
- 3D mud sculptures
- Mud handprints
- Mud splatter art
Colorful Ice Cube Art

From muddy marvels to frozen fantasies, let's explore the cool world of Colorful Ice Cube Art! You'll love this frosty, fun activity that's perfect for hot summer days. It's time to get creative with ice!
Here's how to make your icy masterpiece:
- Fill ice cube trays with water and add a drop of food coloring to each cube.
- Freeze overnight – the anticipation will be unbearable!
- Pop out your colorful cubes and let the art begin!
Now, grab a sheet of paper and start sliding those icy gems around. Watch as they melt, leaving behind dynamic trails of color! Mix and match hues to create rainbow swirls. It's like painting with frozen magic wands! And the best part? When you're done, you can enjoy a revitalizing, colorful drink with the leftover cubes. How cool is that?!
Stick and Twig Sculptures
Forest floors and backyard treasures come alive in this engaging Montessori art project. Gather an array of sticks and twigs, and watch your child's imagination soar! This activity isn't just fun—it's a hands-on lesson in physics, balance, and creativity.
Here's how to get started:
- Collect a variety of sticks and twigs
- Provide string, yarn, or rubber bands for binding
- Offer a sturdy base (like clay or a small wooden plank)
Let your little artist stack, balance, and intertwine the pieces. They'll learn about structure and stability as they build. Encourage them to experiment with different shapes—how high can they go? Can they create a "stick-tacular" animal or a wacky house?
Natural Dye Fabric Printing
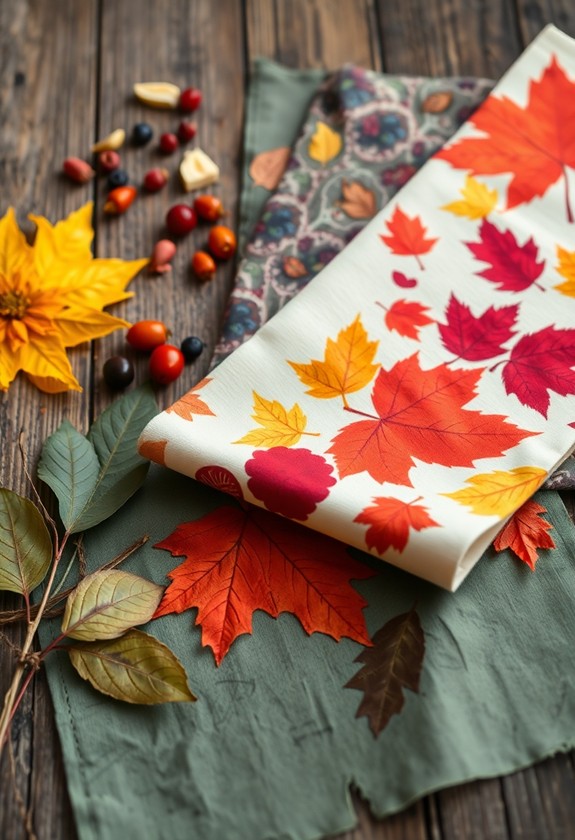
As stick sculptures capture nature's forms, natural dye fabric printing infuses its colors into art. You'll love this eco-friendly project that turns plants into lively pigments! It's like magic – watch as flowers, berries, and leaves transform plain fabric into a rainbow of hues.
Ready to get started? Here's what you'll need:
- White cotton fabric
- An assortment of natural materials (e.g., onion skins, turmeric, berries)
- Large pots for boiling
First, gather your natural dye sources. Then, boil them to extract the pigments. Now for the fun part – dip your fabric in and watch the colors bloom! You can create patterns by folding, tying, or using stencils. Experiment with different plants to uncover a whole palette of nature's own paints. It's a dye-namite way to bring the outdoors into your art!
Curious Little Questions
How Can I Adapt These Projects for Children With Sensory Sensitivities?
Did you know that 1 in 6 children have sensory processing difficulties? But don't worry! You can adapt art projects for kids with sensory sensitivities. Here's how:
- Use soft, non-toxic materials
- Offer noise-canceling headphones
- Provide fidget tools
- Create a calm, quiet workspace
- Allow breaks as needed
- Let them choose their level of participation
What Age Group Are These Montessori Art Projects Most Suitable For?
You'll love this! Montessori art projects are perfect for kids aged 3 to 12. But here's the scoop: younger ones (3-6) thrive with simple, sensory-focused activities. Older kiddos (6-12) can delve into more complex projects. It's all about matching the task to their skills! Remember, every child's different, so you might need to adjust. The key? Keep it fun and engaging! Watch your little artists bloom as they investigate their creativity at their own pace.
How Do I Incorporate Montessori Principles Into Nature-Based Art Activities?
You can easily blend Montessori magic into nature art! Here's how:
- Let kids choose their materials – twigs, leaves, flowers, oh my!
- Encourage self-directed exploration – no cookie-cutter projects here!
- Set up inviting "work stations" with natural items
- Teach proper tool use, then step back and observe
- Welcome the process, not just the product
- Connect art to real-life experiences in nature
Are There Any Safety Concerns When Collecting Materials for These Projects?
Imagine little Timmy picking up a beautiful but poisonous mushroom! Yikes! Safety first, always! When collecting materials for nature art, you've got to be careful. Here are some quick tips:
- Supervise kids closely
- Teach them to ask before touching
- Avoid sharp or prickly items
- Watch out for poisonous plants
- Clean hands after outdoor play
- Check for ticks after forest trips
How Can I Extend These Projects Into Other Areas of Learning?
You can turn these projects into exciting learning adventures! Use them to investigate science by studying plant life cycles or animal habitats. Practice math skills by counting, measuring, or creating patterns with natural materials. Immerse yourself in geography by mapping where you found your treasures. Get creative with storytelling, using your nature-inspired art as a springboard for imaginative tales. And don't forget history – research how different cultures have used natural materials in art throughout time. The possibilities are endless!