Ignite your little one's imagination with these five dazzling art projects! Transform ordinary items into magical creations with a Shadow Puppet Theater, where storytelling comes alive. Get messy and glow with Glow-in-the-Dark Finger Painting, perfect for nighttime fun. Bring rainbows indoors by crafting Colorful Suncatchers that twirl in the sunlight. Turn any surface into an illuminated canvas with a DIY Light Table for Drawing Adventures. Finally, chase shadows and create unique artwork with Flashlight Tracing Fun. These projects not only spark creativity but additionally improve fine motor skills and cognitive development. Ready to light up your child's artistic world? Let's investigate these illuminating ideas further!
Creative Highlights
- Shadow Puppet Theater encourages creativity and fine motor skills through character creation and storytelling with light.
- Glow-in-the-Dark Finger Painting allows children to explore vibrant colors and textures in a unique, dark environment.
- Colorful Suncatcher Creations teach children about light refraction while crafting personalized, hanging decorations.
- Light Table Drawing Adventures enhance artistic exploration by illuminating artwork from below, making colors pop.
- Flashlight Tracing Fun introduces children to perspective and shadow play while creating unique wall art.
Shadow Puppet Theater
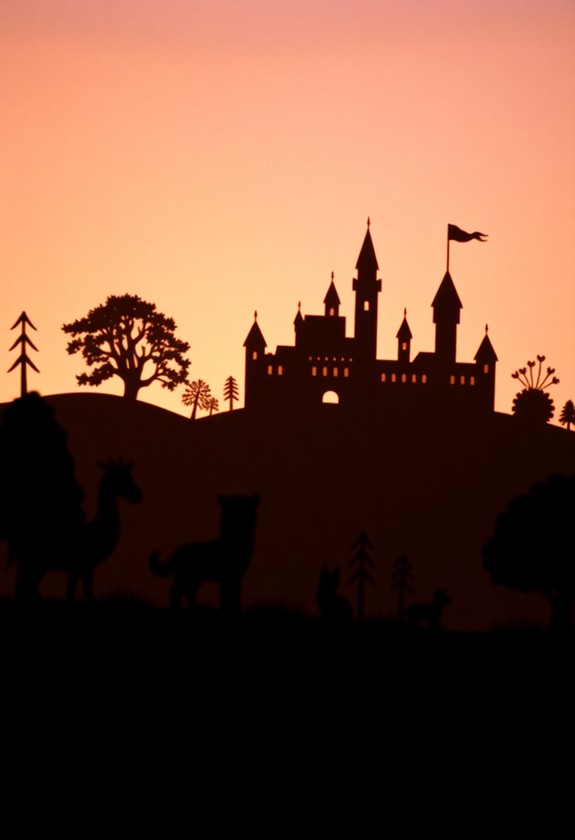
Behind a white sheet, a whole world of imagination comes to life. Shadow puppet theater is a magical way to tell stories and release your creativity! You'll need:
- A white sheet or paper
- A bright light source
- Cardboard or paper for puppets
- Scissors
- Pencils or markers
Get ready to become a puppet master! Cut out fun shapes from cardboard to create characters and props. Attach them to sticks, and you're set! Now, dim the lights and let the show begin. Move your puppets between the light and the sheet to cast amazing shadows. Watch as your creations sway and play on the screen! This activity is perfect for intergenerational bonding and helps develop fine motor skills as it encourages creativity.
But wait, there's more! Try using your hands to make shadow animals. Can you create a barking dog or a hopping rabbit? The possibilities are endless in this illuminating world of shadows!
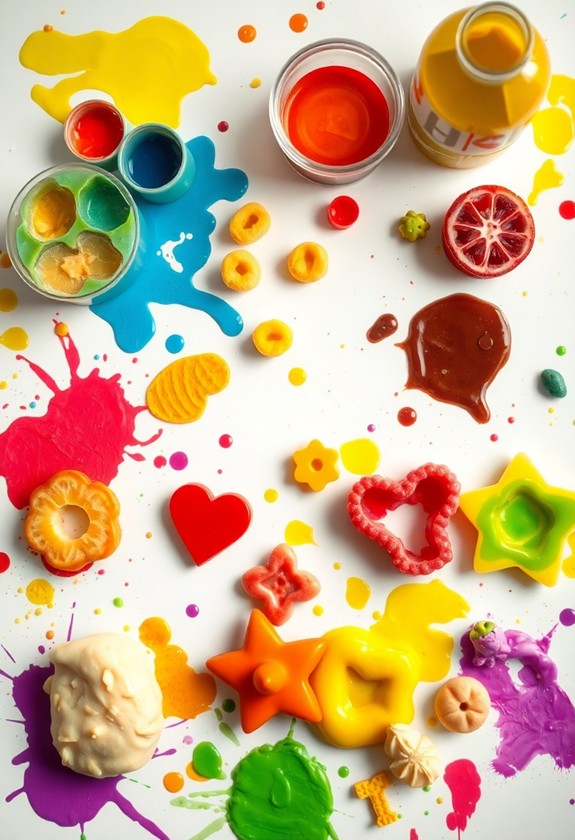
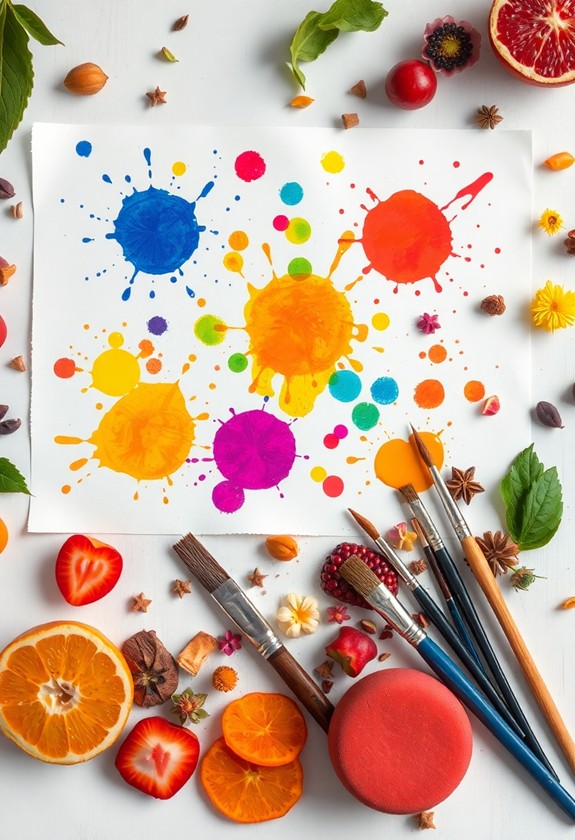
Glow-in-the-Dark Finger Painting
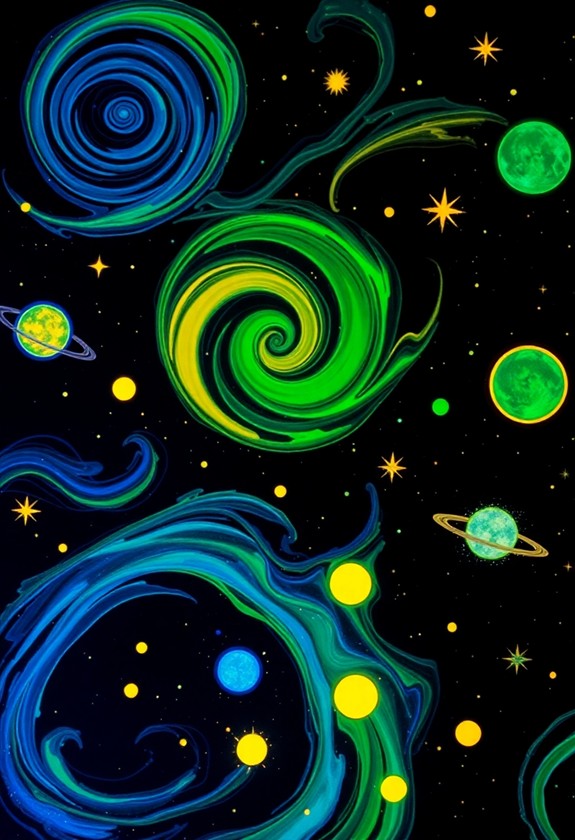
From out of the shadows, we move into a world of luminous creativity with glow-in-the-dark finger painting. Get ready for some seriously bright fun! Here's what you'll need:
- Glow-in-the-dark paint
- Dark paper or canvas
- UV light (optional, but awesome!)
Now, let's get glowing:
- Set up in a dark room
- Squirt paint onto a palette
- Dip your fingers in and start creating!
Your masterpiece will come to life in the dark. Try making starry skies, alien terrains, or underwater scenes. For extra pizzazz, use a UV light to make your art glow even brighter! This activity is perfect for enhancing fine motor skills and stimulating cognitive growth as children experiment with colors and shapes in a unique way.
Clean-up tip: This paint can be messy, so wear old clothes and cover surfaces. But don't worry – the fun is worth the potential mess!
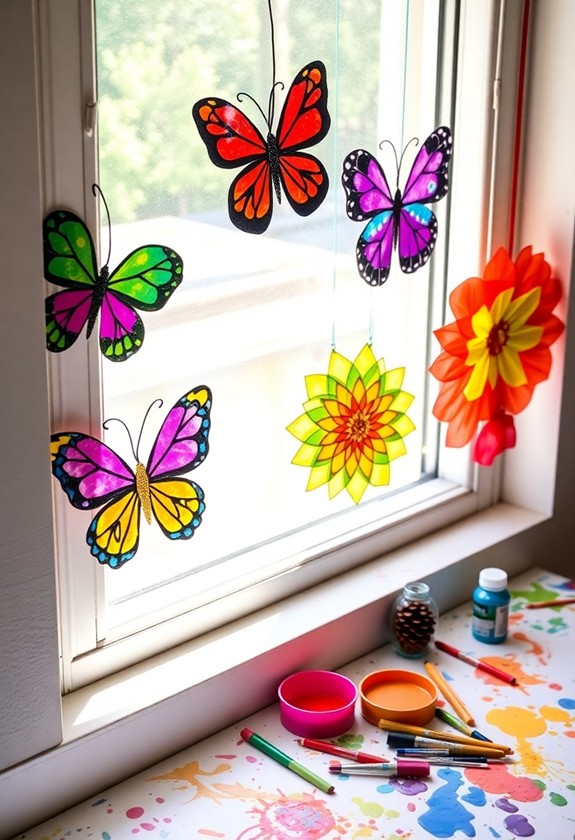
Colorful Suncatcher Creations
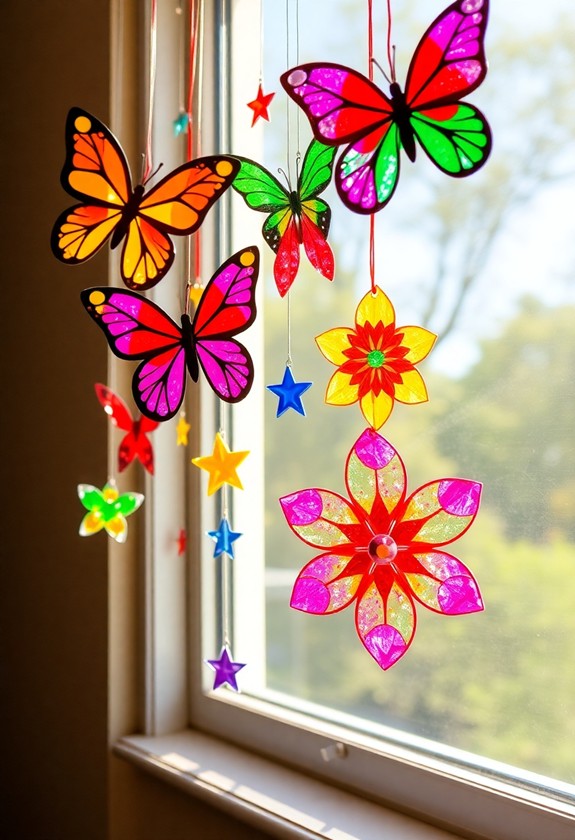
Let's brighten up our windows with colorful suncatcher creations! These dazzling decorations will make your room shine with rainbow hues. You'll need:
- Clear plastic sheets or old CD cases
- Permanent markers
- String or fishing line
- Scissors
Here's how to make your suncatcher:
- Cut the plastic into fun shapes (stars, circles, hearts)
- Color your shapes with lively marker designs
- Punch a small hole at the top
- Thread string through the hole
- Hang your masterpiece in a sunny spot!
Watch as sunlight streams through your artwork, casting colorful shadows all around. It's like having your very own light show! Mix and match colors for a dazzling display. And don't forget to experiment with patterns – swirls, dots, and stripes all look fantastic when illuminated by the sun's rays.
Light Table Drawing Adventures
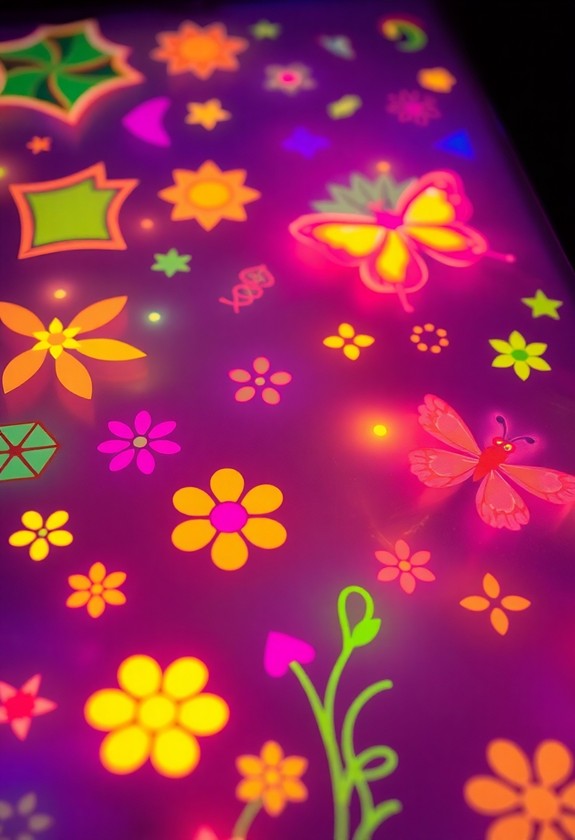
Turning ordinary drawing into a magical experience, light table adventures open up a whole new world of artistic possibilities. You'll be amazed at how a simple light source can transform your child's artwork! This activity not only sparks creativity but likewise enhances fine motor skills and hand-eye coordination, much like the dot sticker kits mentioned earlier. Start by setting up a light table or box – it's easier than you think. Here's what you'll need:
- A clear plastic container
- String lights or a flashlight
- Translucent paper
Place the lights in the container, cover with the paper, and voila! Your light table is ready for action. Now, let your little artist's imagination run wild! They can trace images, create shadow puppets, or design colorful masterpieces. The illuminated surface makes colors pop and lines glow. It's like drawing with light itself! Encourage experimentation with different materials – tissue paper, cellophane, even leaves work great. Get ready for some illuminating fun!
Flashlight Tracing Fun
As night falls, a whole new world of artistic possibilities opens up! Grab your flashlights and get ready for some illuminating fun with flashlight tracing. This exciting activity combines creativity and light play, perfect for young artists who love to investigate.
Here's how to get started:
- Tape a large sheet of paper to the wall
- Choose objects with interesting shapes to trace
- Shine your flashlight on the object, creating a shadow on the paper
Now, it's time to let your imagination glow! Trace the shadows with pencils or markers, creating unique silhouettes and designs. You'll be amazed at how ordinary items transform into extraordinary art pieces. Don't forget to experiment with different angles and distances to change the size and shape of your shadows. It's a brilliant way to illuminate your artistic talents!
Curious Little Questions
What Age Group Are These Art Projects Most Suitable For?
Hey there, art enthusiasts! These awesome projects are perfect for little adventurers aged 5-10. You'll find them super engaging and just right for curious minds! They're designed to be:
- Easy enough for 5-year-olds to try
- Challenging enough to keep 10-year-olds interested
But don't let that stop you if you're older or younger! Art knows no age limits. So grab your supplies and get ready to create some illuminating masterpieces. It's time to let your creativity shine!
How Can I Incorporate These Projects Into a Classroom Setting?
Picture your classroom as a blank canvas, ready to be transformed! You can easily weave these artsy adventures into your lessons. Start with a bang by introducing a project during circle time. Then, set up art stations where kids can investigate freely. Mix it up! Use these projects for:
- Rainy day fun
- Holiday celebrations
- Science experiments
- Story illustrations
Don't forget to display their masterpieces proudly! Remember, art isn't just about creating – it's about learning, growing, and having a blast during doing it!
Are There Any Safety Precautions to Consider When Doing These Activities?
Safety first, little artists! When you're getting creative, keep these fun precautions in mind:
- Always wear safety goggles to protect those peepers!
- Use non-toxic, washable materials – they're a-paint-ly safer!
- Have adult supervision for projects with scissors or hot glue.
- Cover your work area with newspaper – it's mess-terpiece protection!
- Wash your hands after crafting – no paint-icles left behind!
- Keep materials away from mouths and noses – let's not taste the rainbow!
What Alternative Materials Can Be Used for Budget-Friendly Versions?
You're about to commence a budget-friendly art adventure that'll blow your mind! Here are some wallet-saving alternatives that'll make your projects shine:
- Use old newspapers instead of fancy paper
- Swap glitter for crushed eggshells (dye them for extra pizzazz!)
- Try natural dyes from fruits and veggies
- Upcycle cardboard boxes for 3D creations
- Make homemade playdough with flour and salt
How Can These Projects Be Adapted for Children With Special Needs?
You can totally adapt art projects for kids with special needs! Here are some awesome ideas:
- Use bigger brushes and tools for easier grip
- Try textured materials for sensory exploration
- Break tasks into smaller, manageable steps
- Offer verbal and visual instructions
- Provide adaptive seating or standing options
- Use non-toxic, washable materials
- Incorporate assistive technology when possible