Get ready to release your toddler's inner artist with these budget-friendly DIY art supplies! You can whip up finger paint using cornstarch, water, and food coloring. Play dough is a cinch to make with flour, salt, and a few kitchen staples. Create edible sidewalk chalk for outdoor fun using cornstarch and food coloring. No-cook glue sticks are perfect for little hands and only require a few simple ingredients. And don't forget washable window crayons for mess-free creativity! These homemade supplies are safe, easy to make, and will keep your little one entertained for hours. Excited to find out more about these creative concoctions?
Creative Highlights
- Homemade finger paint offers a safe, non-toxic alternative using just cornstarch, water, and food coloring.
- DIY play dough promotes fine motor skills and creativity with simple ingredients like flour, salt, and oil.
- Edible sidewalk chalk provides outdoor fun and easy clean-up, made from cornstarch, water, and food coloring.
- No-cook glue sticks ensure safe art activities for toddlers, using cornstarch, water, corn syrup, and vinegar.
- Washable window crayons transform surfaces into canvases, made from soap flakes, warm water, and food coloring.
Homemade Finger Paint
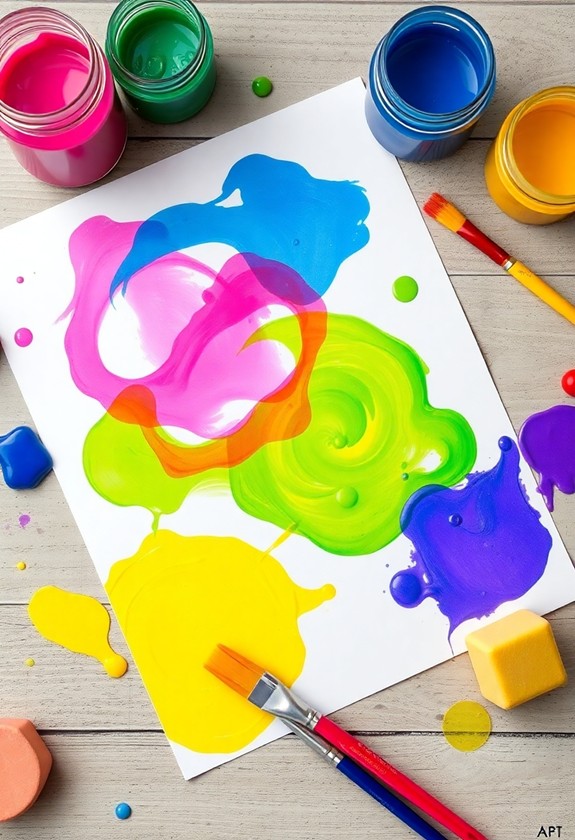
Three simple ingredients are all you need to make colorful homemade finger paint: cornstarch, water, and food coloring. It's so easy, you'll be finger-painting in no time! First, mix 1/4 cup of cornstarch with 2 cups of cold water in a saucepan. Stir it up until it's smooth as silk. Now, turn on the heat to medium and keep stirring. Watch the magic happen as it thickens! Once it's pudding-like, remove it from the heat and let it cool down. This DIY approach provides a safe alternative to store-bought options, ensuring non-toxic play for your little ones.
Time to add some pizzazz! Divide the mixture into separate containers and add different food coloring to each. Voila! You've got a rainbow of finger paints. But wait, there's more! You can get creative with scents too. Add a drop of vanilla extract for a sweet smell, or try peppermint for a cool twist. Your little Picasso will love investigating these sensory delights!
Storage tip: Keep your homemade finger paints in airtight containers in the fridge. They'll stay fresh for up to two weeks. Now, let the messy fun begin!
DIY Play Dough
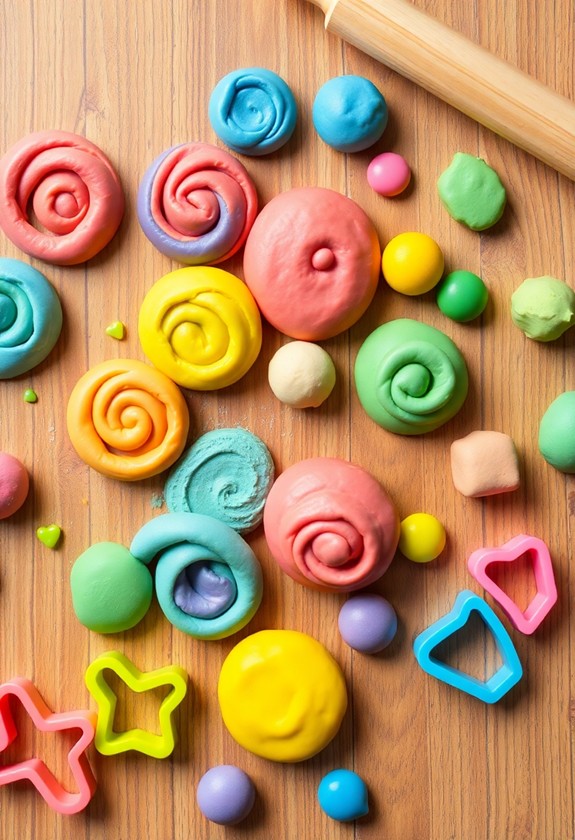
Even though store-bought play dough can be expensive, you can easily whip up a batch of homemade play dough with ingredients from your kitchen. Get ready to knead some fun! This DIY option is not only cost-effective but likewise promotes fine motor skills and creative exploration, much like other wipeable art supplies for toddlers.
Here's what you'll need:
- 2 cups flour
- 1 cup salt
- 2 tablespoons oil
- 1.5 cups boiling water
- Food coloring
Let's get doughy!
- Mix the flour and salt in a large bowl.
- Add the oil and boiling water. Stir until it forms a dough.
- Let it cool, then knead until smooth.
- Divide the dough and add food coloring to each portion.
Now you've got a rainbow of play dough! It's squishy, moldable, and totally safe if your little one decides to taste-test their creation. Plus, it'll last for months in an airtight container!
Want to spice things up? Add glitter for sparkly dough, or mix in vanilla extract for a sweet scent. You can even create textured dough by adding rice or oatmeal. The possibilities are endless!
Edible Sidewalk Chalk
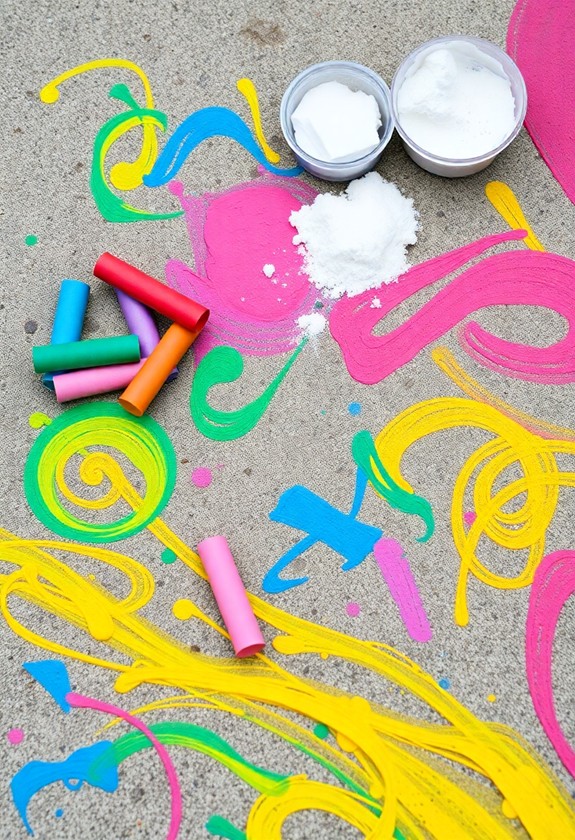
With summer just around the corner, it's time to take your toddler's creativity outdoors. And what better way to do that than with edible sidewalk chalk? It's fun, safe, and super easy to make! This DIY approach aligns with the eco-friendly options that 60% of parents prefer, offering a sustainable alternative to store-bought supplies.
Here's what you'll need:
- 1 cup cornstarch
- 1 cup water
- Food coloring
Let's get chalky!
- Mix the cornstarch and water in a bowl. It'll feel weird at first, but keep stirring!
- Divide the mixture into smaller containers.
- Add different food coloring to each container. Go wild with colors!
- Pour the colorful goop into popsicle molds or paper cups.
- Freeze overnight. The suspense is killer!
In the morning, pop out your chalky popsicles and let the sidewalk shenanigans begin! Your little Picasso can draw, scribble, and even taste their creations. Don't worry, it's all edible!
But wait, there's more! This chalk washes away easily with water, so clean-up is a breeze. Plus, it's a great way to beat the heat. Who knew art could be so cool? Get ready for a summer filled with colorful adventures right outside your door!
No-Cook Glue Sticks
Continuing our exploration of budget-friendly art supplies, let's turn our attention to no-cook glue sticks. These sticky wonders are a breeze to make and perfect for little hands! Non-toxic materials are vital for child safety during art activities, making these homemade glue sticks an excellent choice for toddlers.
Ingredients:
- 1/2 cup cornstarch
- 1/2 cup water
- 1/4 cup light corn syrup
- 1 tsp white vinegar
Steps:
- Mix it up! Combine all ingredients in a bowl.
- Stir, stir, stir! Whisk until smooth and lump-free.
- Pour and chill! Transfer the mixture into empty glue stick containers.
- Cool it down! Refrigerate for 24 hours.
Voila! You've got yourself some homemade glue sticks that'll stick around without breaking the bank. These no-cook wonders are safe, non-toxic, and oh-so-fun to use. Your little Picasso will love creating masterpieces with these sticky sidekicks!
Pro tip: Add a drop of food coloring for some colorful creations. But watch out – your toddler might get stuck on this new favorite activity! And the best part? If they accidentally eat some, it's no big deal. These glue sticks are totally safe and won't cause a sticky situation for your wallet or your worries!
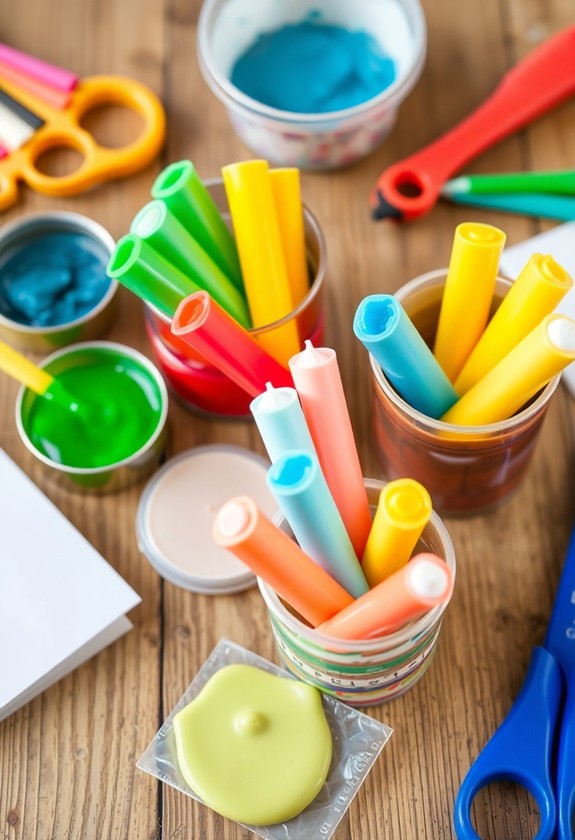
Washable Window Crayons
Imagination knows no bounds regarding washable window crayons. These fun-tastic art tools let your little one turn windows into magical canvases! And guess what? You can make them at home for a fraction of the cost! These homemade crayons are perfect for enhancing fine motor skills and promoting creative expression in toddlers, just like many popular craft kits.
Here's how to create these window wonders:
Ingredients:
- 1/2 cup soap flakes
- 1/4 cup warm water
- Food coloring
Steps:
- Mix soap flakes and water until you get a thick paste.
- Divide the mixture into small portions.
- Add different food coloring to each portion. Get creative with your color combos!
- Spoon the mixtures into ice cube trays or small molds.
- Let them dry for 48 hours. Patience is key!
Voilà! You've got yourself some a-window-some crayons! These colorful creations will have your toddler drawing up a storm on windows, mirrors, and even the bathtub!
But wait, there's more! These crayons are super easy to clean up. Just wipe them away with a damp cloth, and it's like the masterpiece never happened. Now that's what we call mess-free fun!
Curious Little Questions
How Can I Safely Store Homemade Art Supplies?
You've got this, art supply maestro! Safely storing your homemade creations is a breeze. First, choose airtight containers to keep your masterpieces fresh. Label them clearly, so you'll always know what's inside. Store them in a cool, dry place – no soggy supplies allowed! For extra safety, keep them out of reach of curious little hands. And don't forget to date your creations, so you'll know when it's time for a fresh batch. Your homemade art supplies will thank you!
What Age Is Appropriate for Introducing DIY Art Materials to Toddlers?
As they say, "The early bird catches the worm!" You can introduce DIY art materials to toddlers as young as 18 months old. But remember, every child is different! Start with safe, non-toxic options like homemade playdough or finger paints. Keep a close eye on your little Picasso, and ensure they don't eat the supplies. As they grow, you can introduce more complex materials. It's all about nurturing creativity during keeping safety in mind. Let the messy fun begin!
Are There Eco-Friendly Alternatives for Creating Budget Toddler Art Supplies?
You'll love these eco-friendly options for budget-friendly toddler art supplies. Try making paint with natural ingredients like berries, beets, or turmeric mixed with water. Create playdough using flour, salt, and vegetable oil. Recycled materials are your best friends! Turn cardboard boxes into canvases, use old newspapers for papier-mâché, or make crayons from melted beeswax. It's a win-win: you're saving money and the planet as you nurture your little one's creativity. How cool is that?!
How Long Do Homemade Art Supplies Typically Last Before Spoiling?
Did you know that 94% of parents believe art is crucial for kids? That's awesome! Regarding homemade art supplies, you're in for a treat. Most DIY creations can last anywhere from a few days to several months. It all depends on what you're whipping up! Paint and play dough might spoil in a week or two, but salt dough sculptures can stick around for years. Just remember, the fresher, the better for your little Picasso's masterpieces!
Can These DIY Art Supplies Be Used for Sensory Play Activities?
Your DIY art supplies are perfect for sensory play activities! You'll love how versatile they are. Use homemade playdough for squishing and molding, or try finger paints for messy, tactile fun. Imagine the giggles as your little one investigates textures and colors! You can even create scented supplies for an extra sensory boost. It's a win-win: you're saving money and providing endless opportunities for learning through play. Get ready for some hands-on, creative adventures!